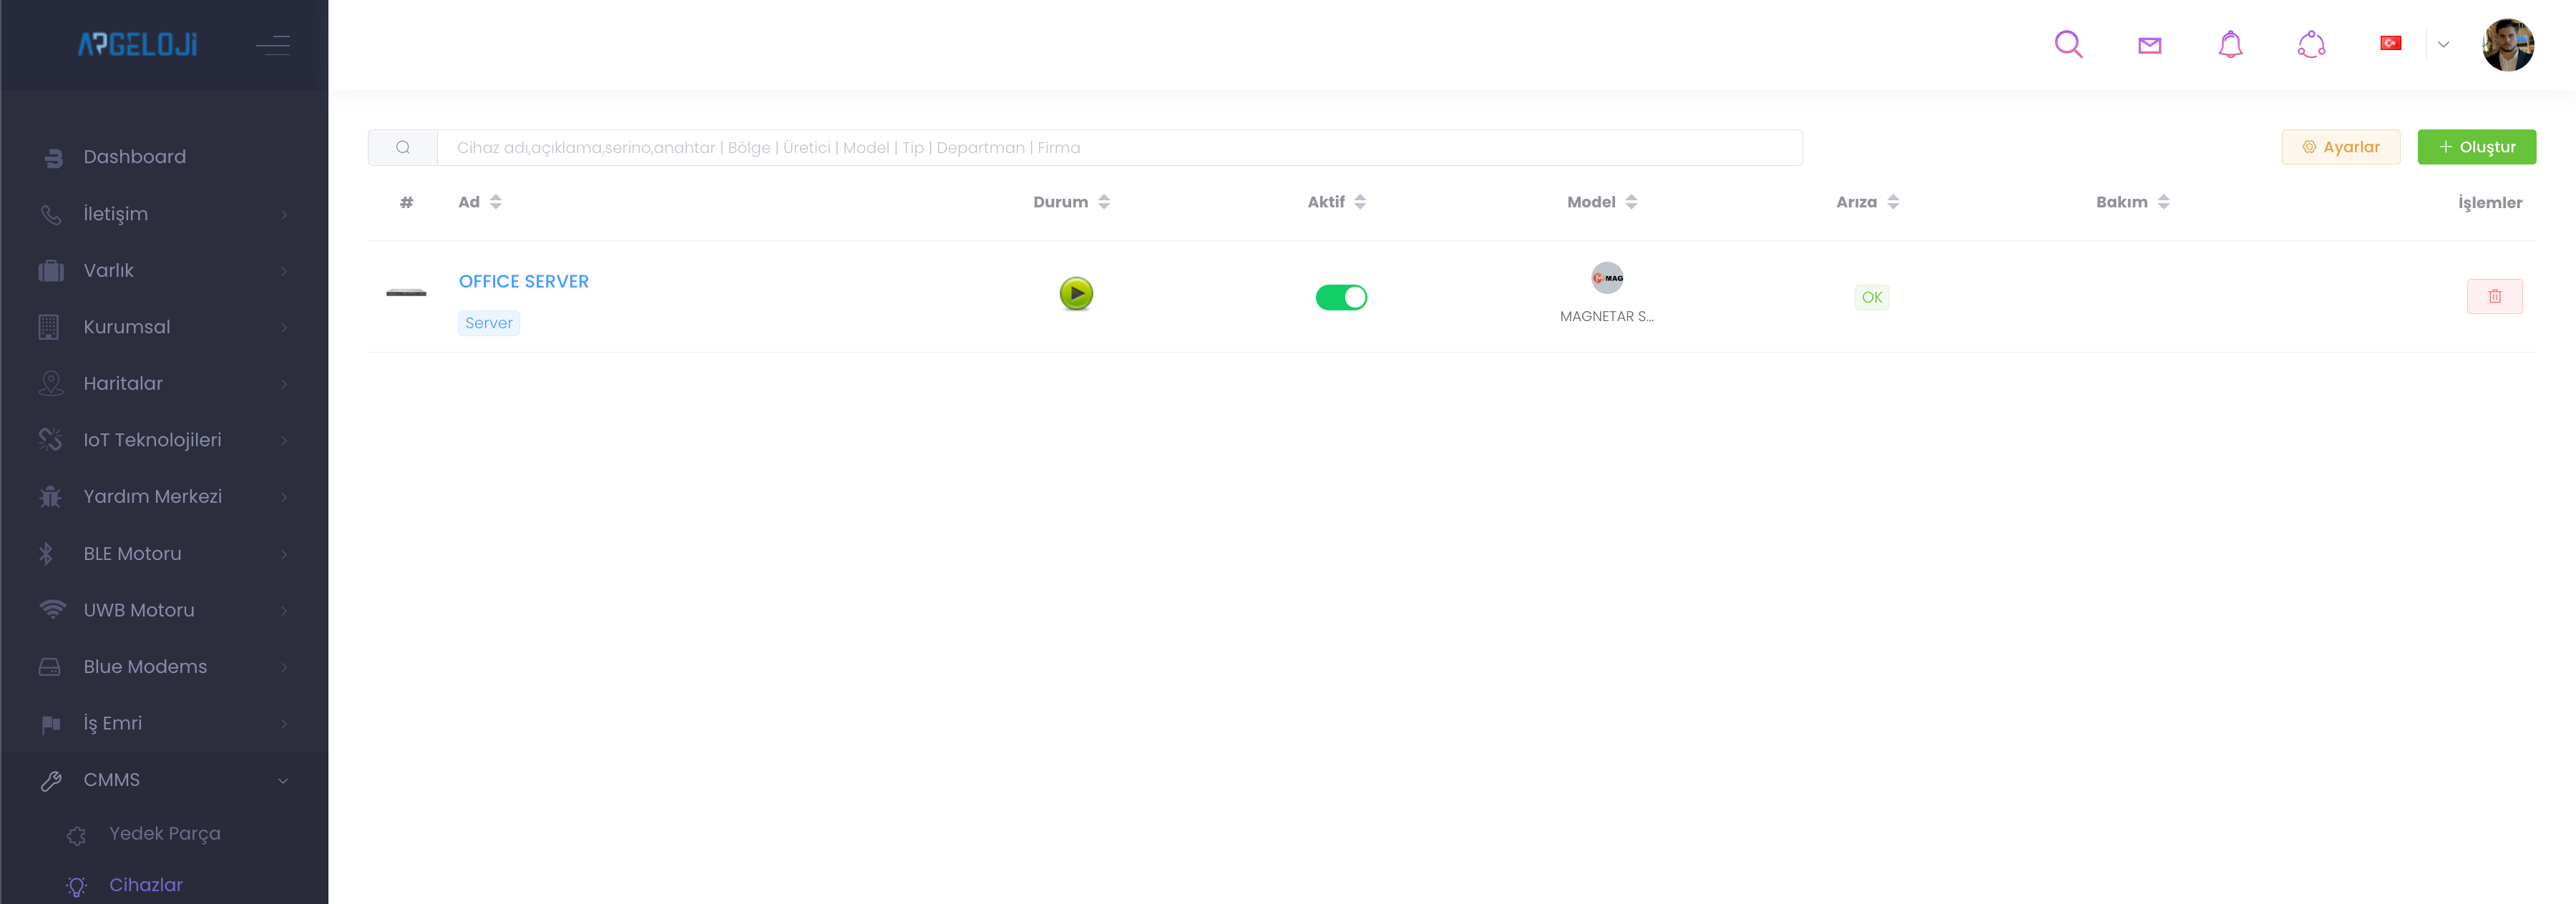
Devices
CMMS is the panel where devices are managed. It is the place where you can manage all devices status, model, activity status, etc. in the Devices panel.
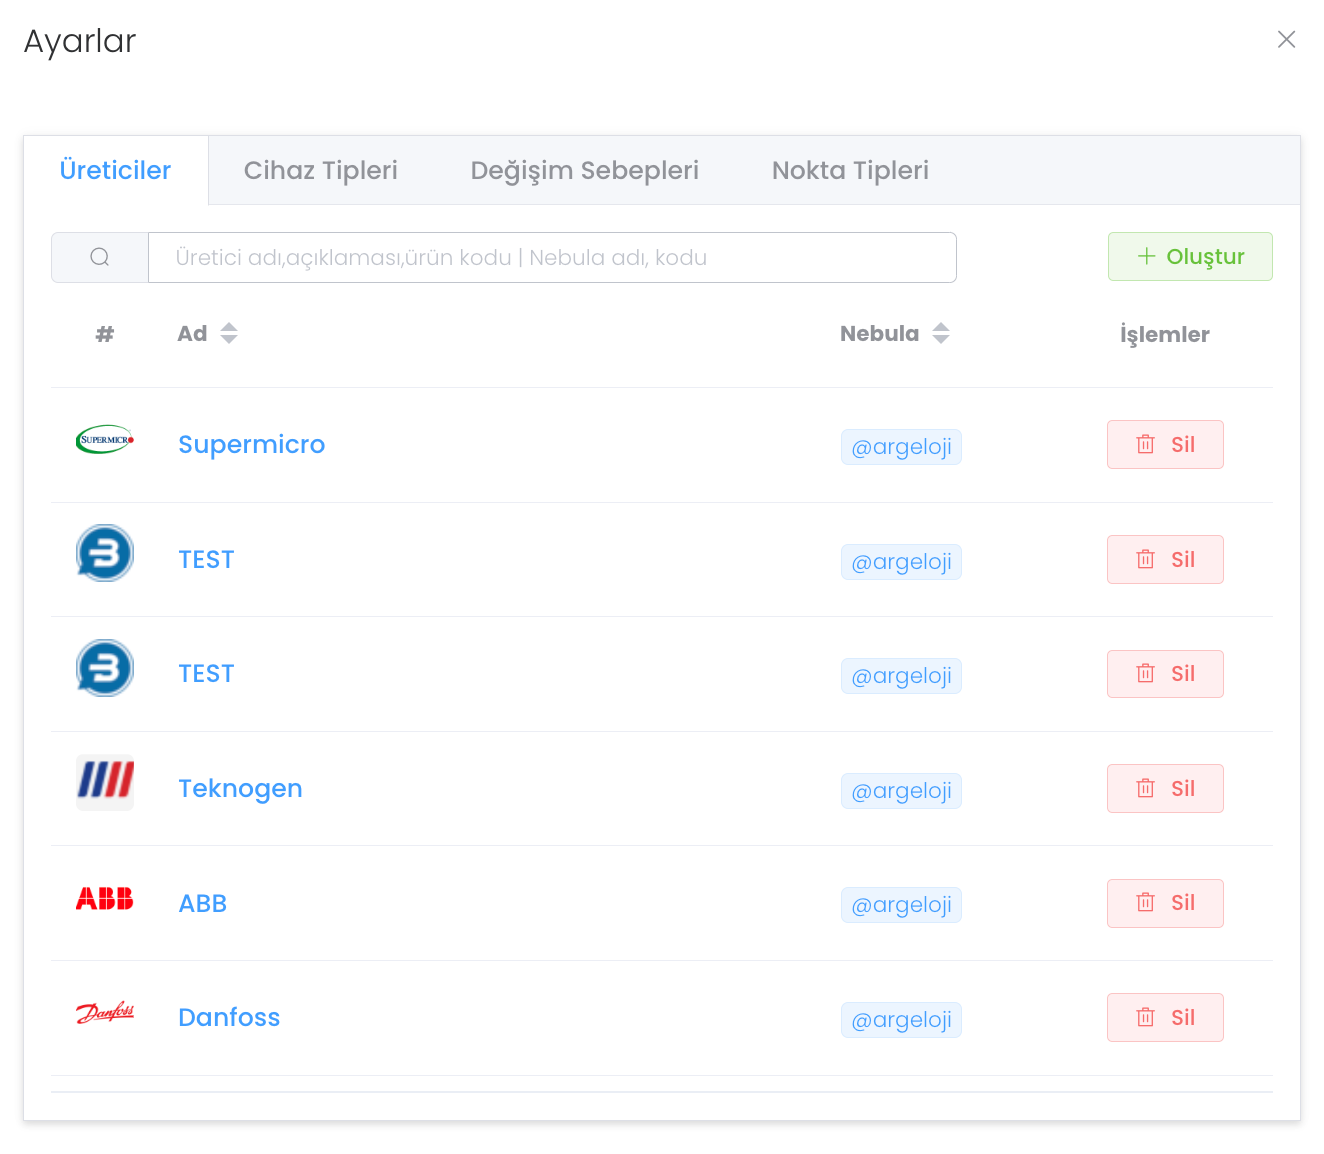
When "Settings" button is pressed, there are 4 different tabs as Manufacturers - Device Types - Reasons for Change - Point Types. Manufacturers allows you to create a manufacturer and manage as we explained in detail in the spare parts section.
The device types are managed in a separate zonefor ease ofparticle control`.
If the device type you want to select is available, you can create new device types with the "Create" button.
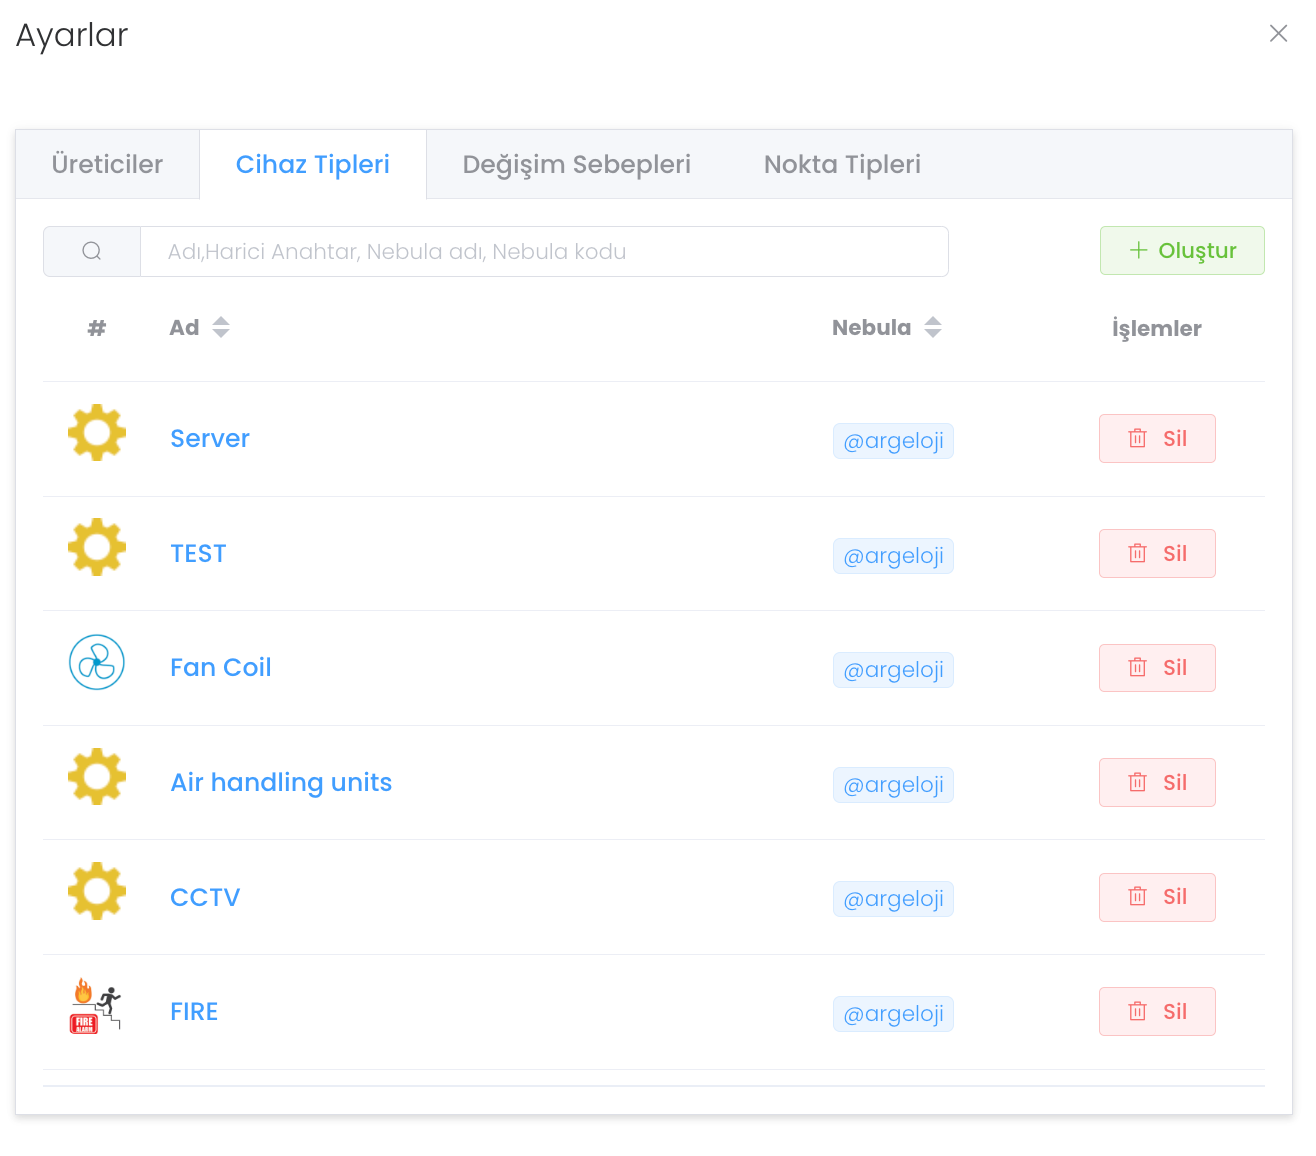
After pressing the "Create" button, you can create a new device type by entering the name and external key.

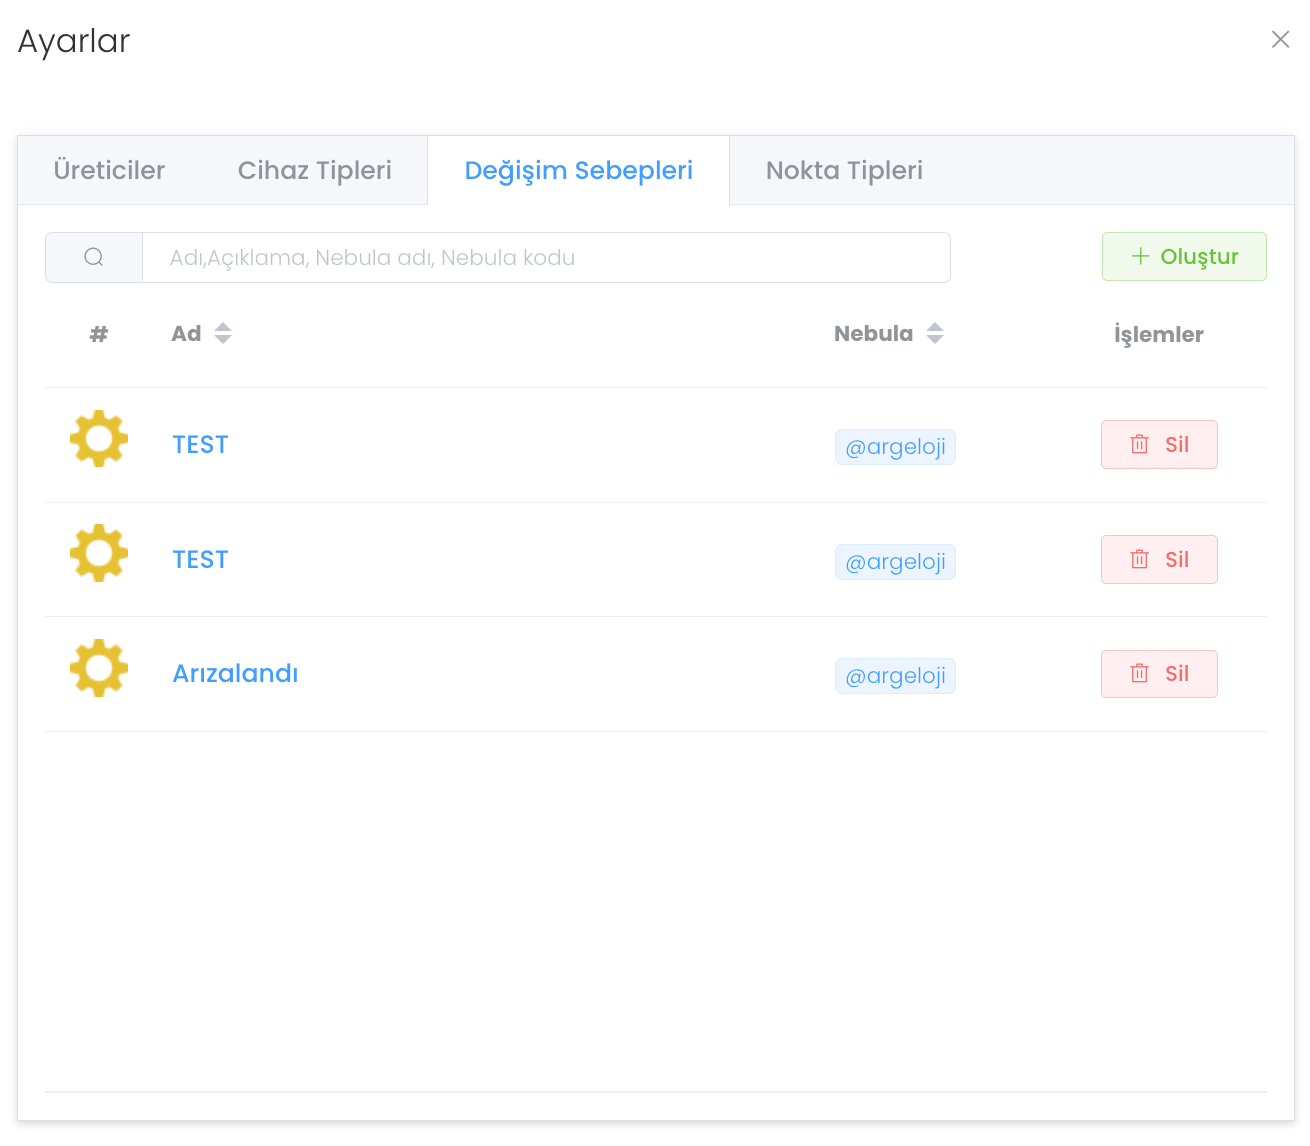
The Reasons for Change menu is the area that makes it easier for us to understand why the part has changed and forward it to the authority. Entering ready-made fault types here and making a selection when necessary will speed up your work.
You can define the Failure Reasons with the "Create" button.
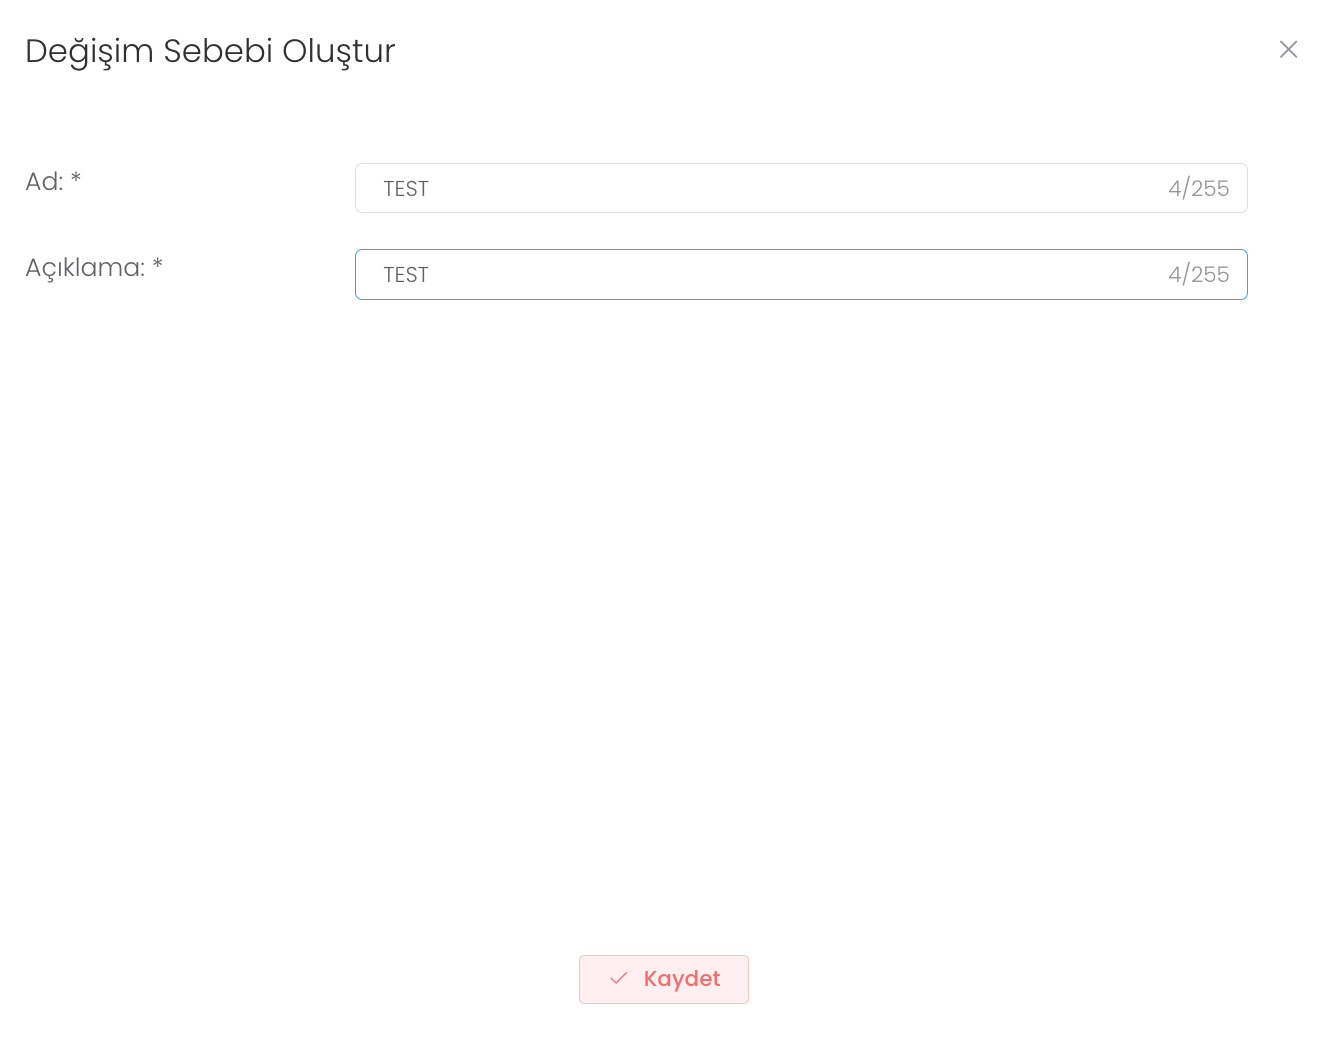
After pressing the "Create" button, you can create a new reason for change by entering a name and description.
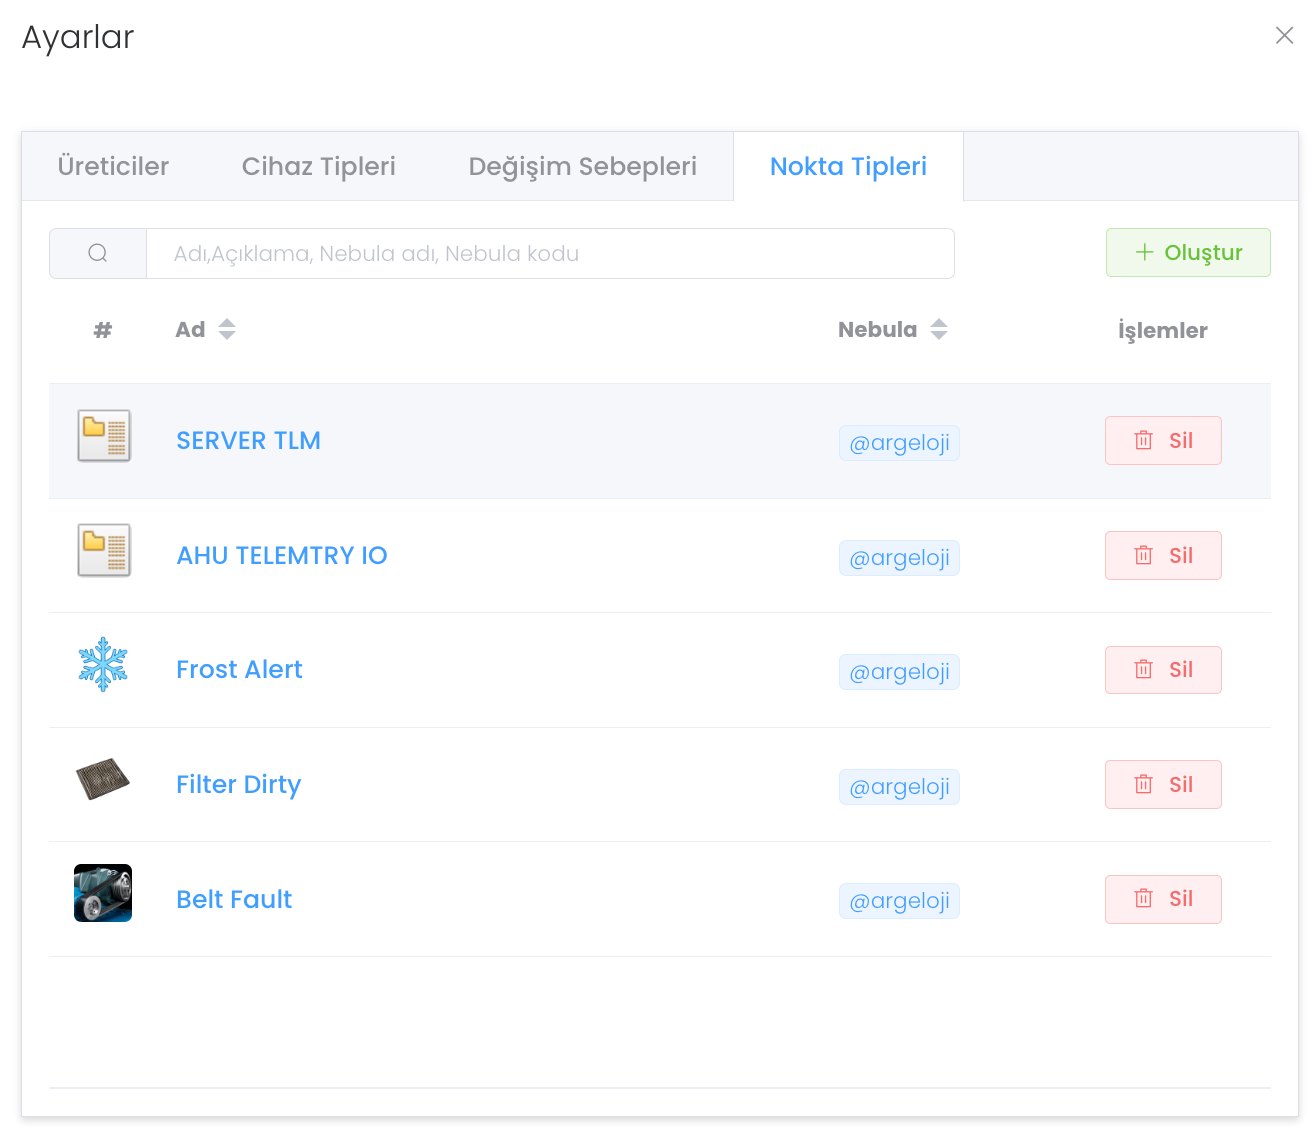
In order to manage this area well, it is important to enter the point types of all devices you have in advance.
With the "Create" button you can define all the point types you have.
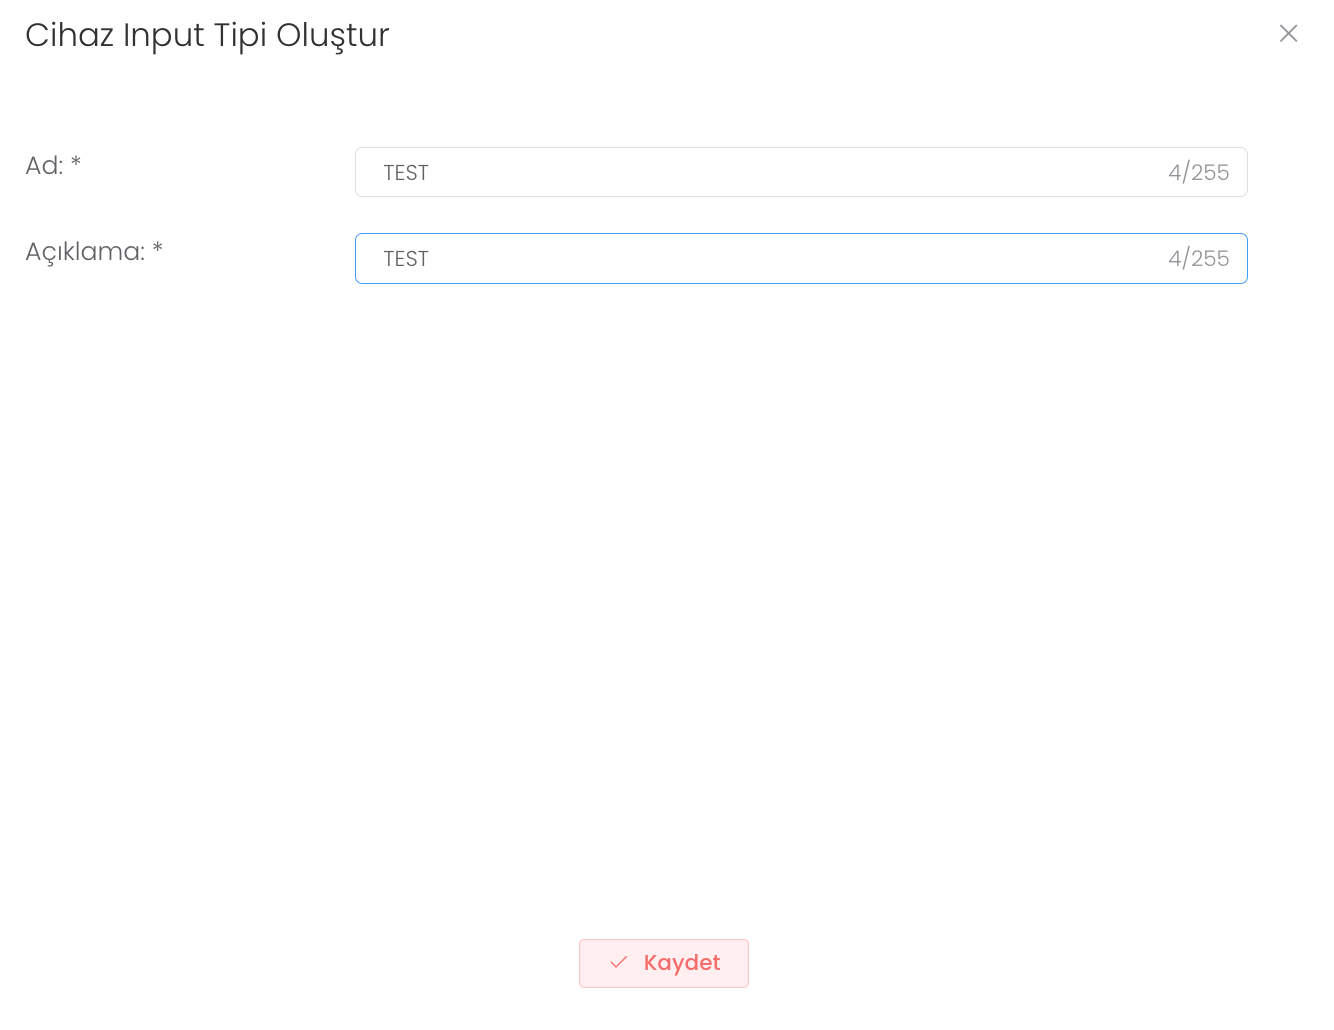
After pressing the "Create" button, you can create a new device point by entering name and description.
When we return to the main panel, you can create a new device with the "Create" button next to the "Settings" button.
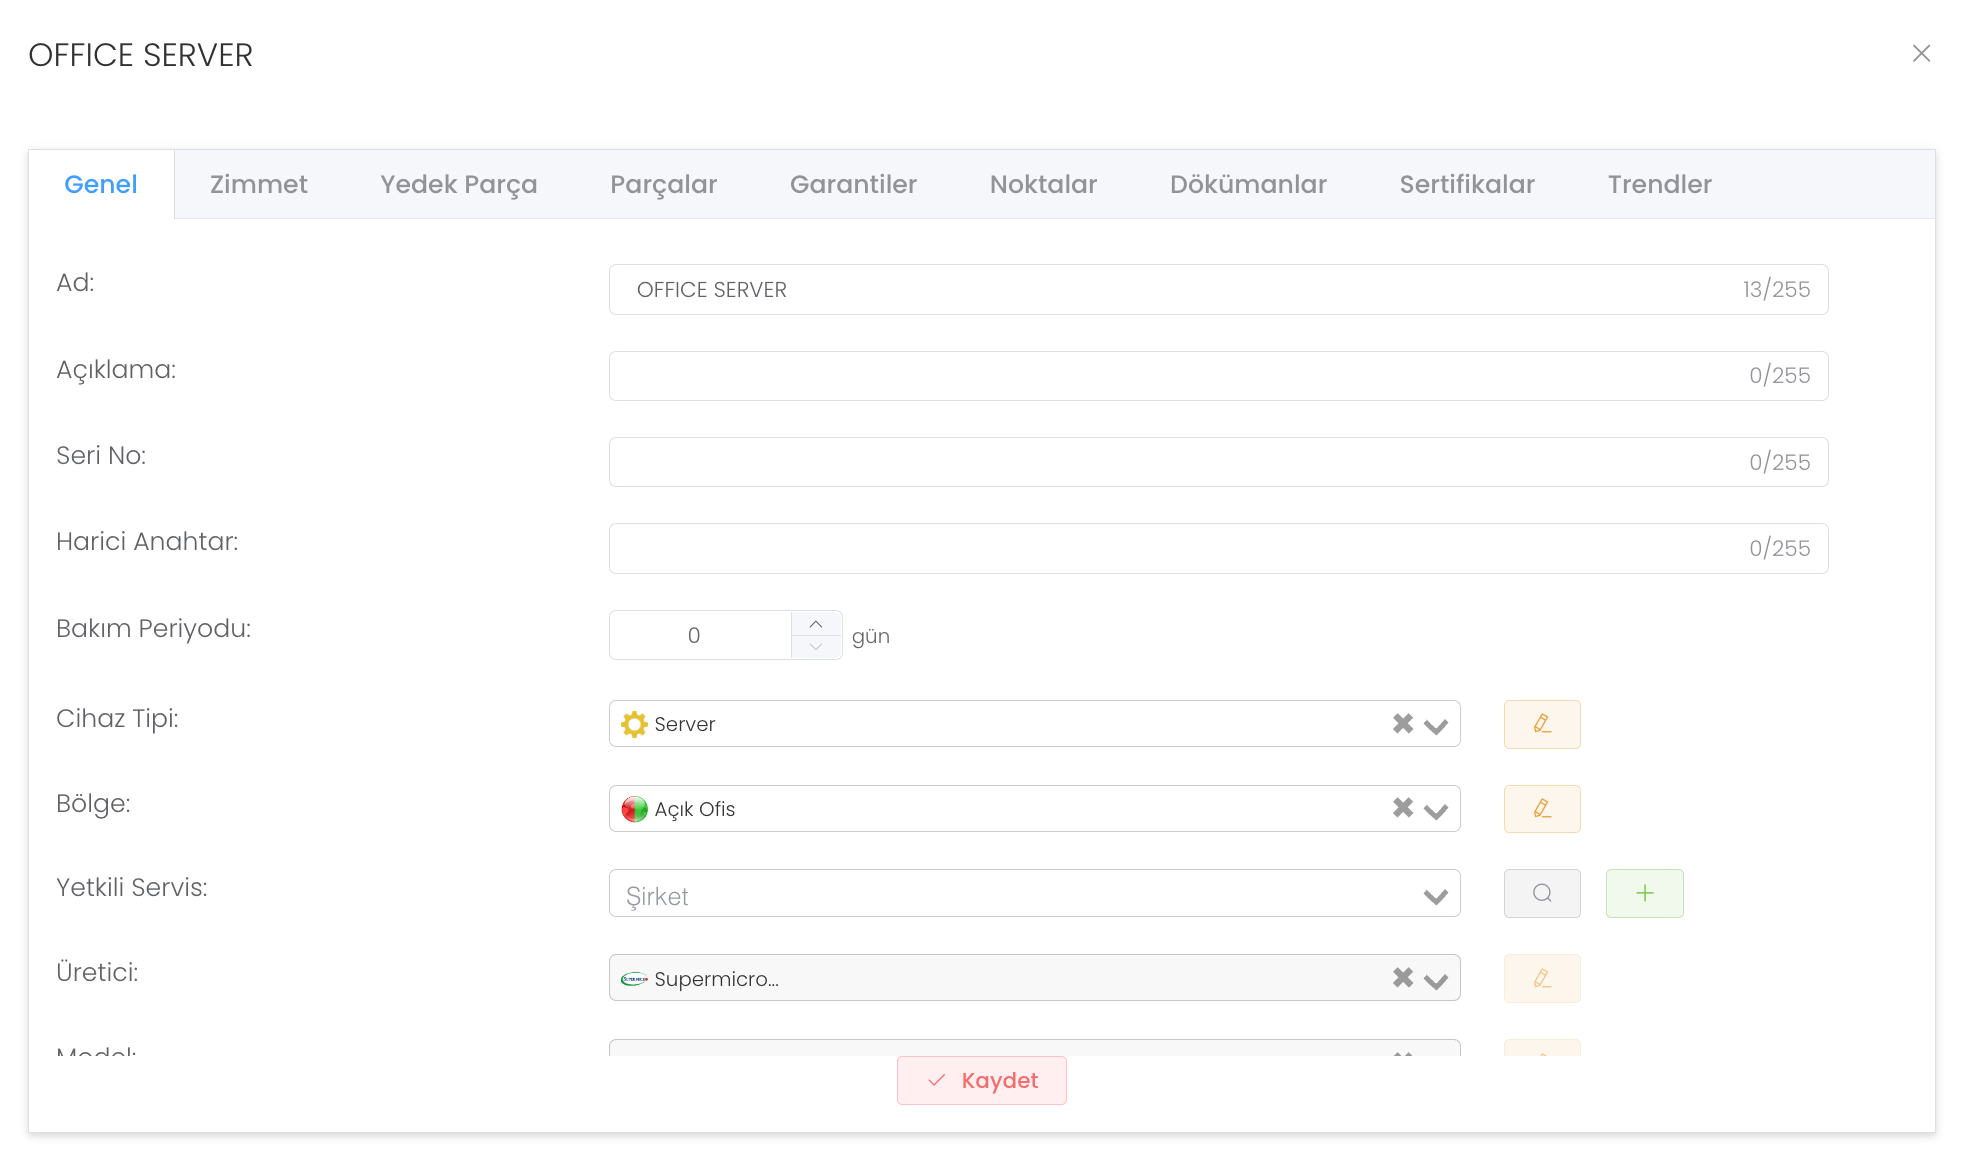
Carefully entering the items such as maintenance period, authorised service, manufacturer, control point etc. given in the image will make their work easier and eliminate the error risk.
When we click on a device we created, a multiple panel opens as in the image.
The "General" section of this panel provides a structure where you can `change and update all the information you entered when you created the device.
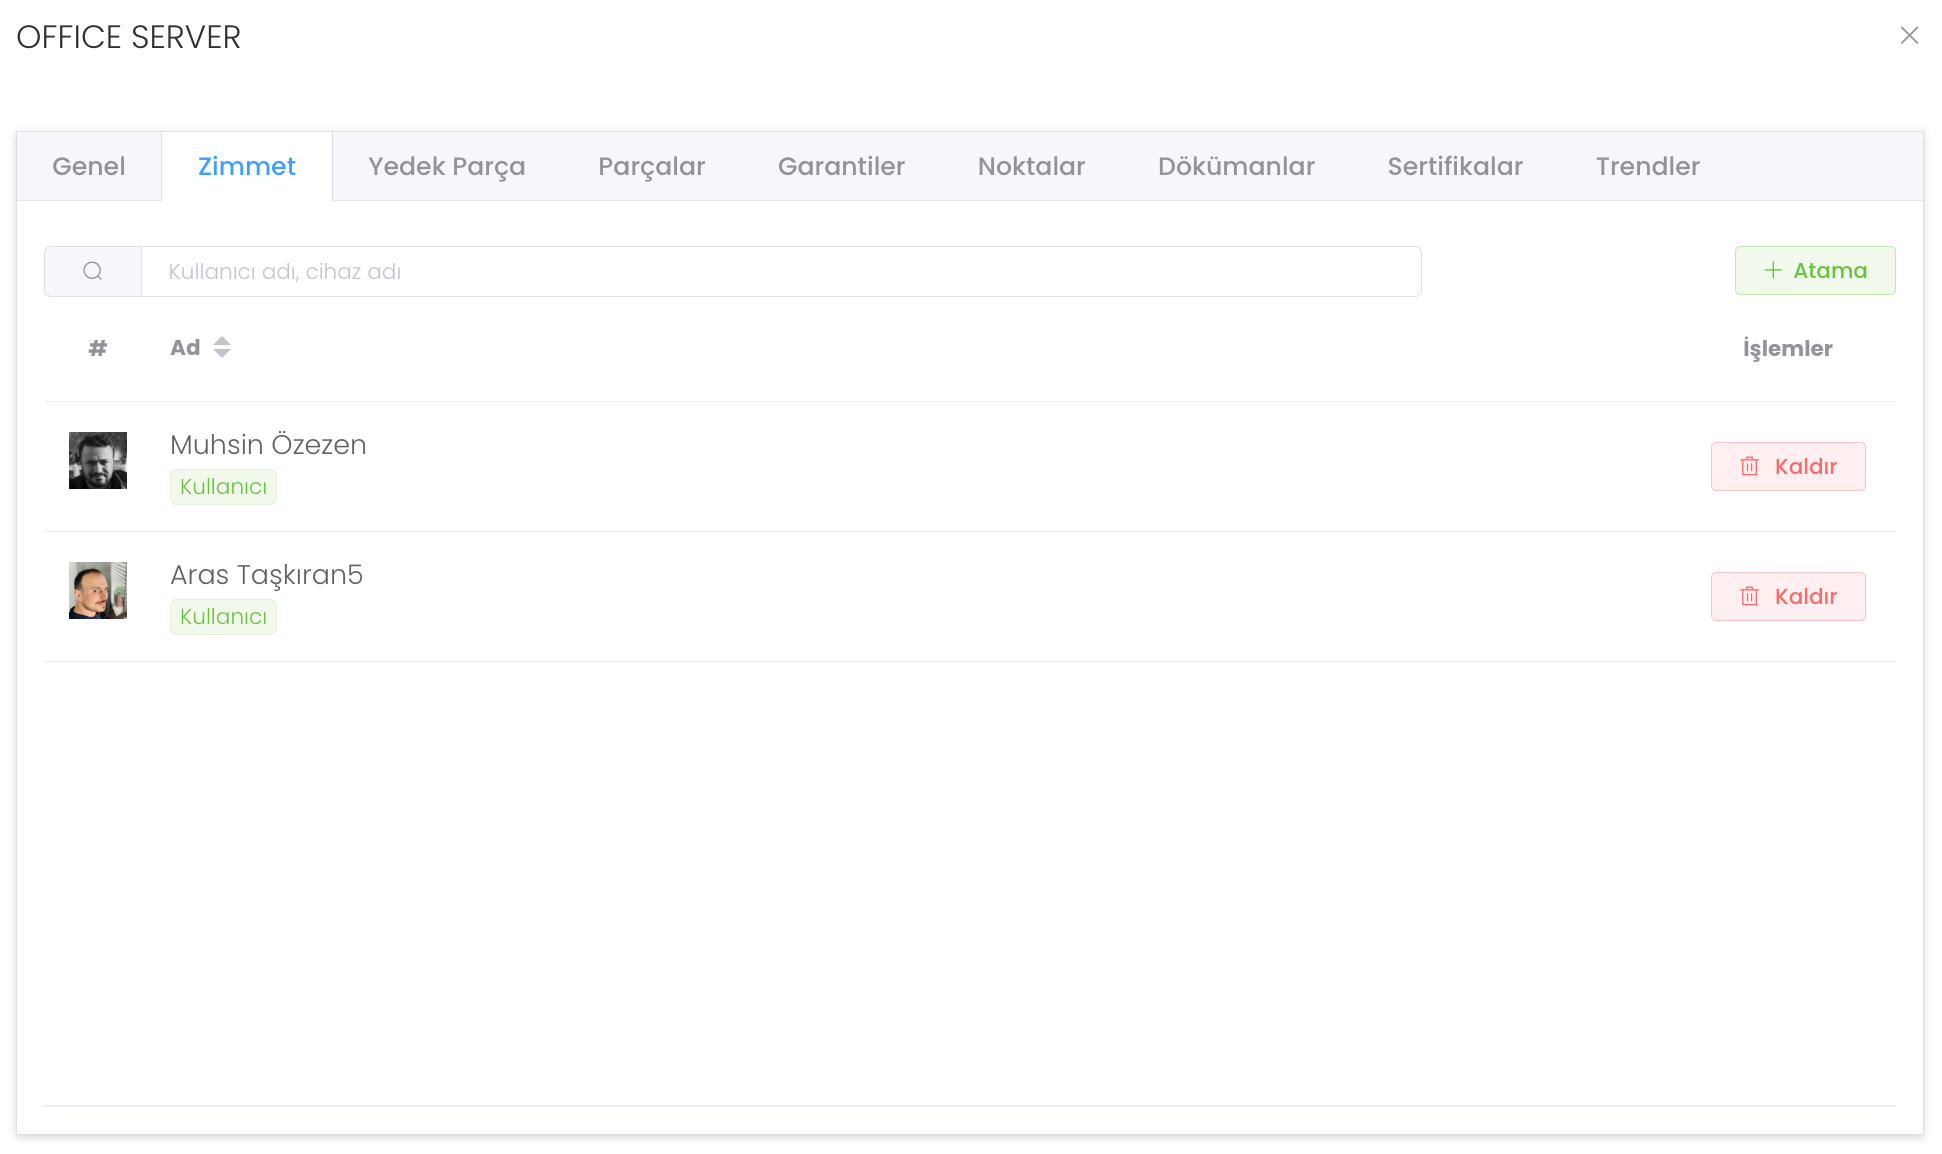
This is the area where you will manage the embezzlement operations. The panel you need to use when you want to embezzle a product to a staff in the field.
You can assign the device to a user by pressing the "Assign" button.
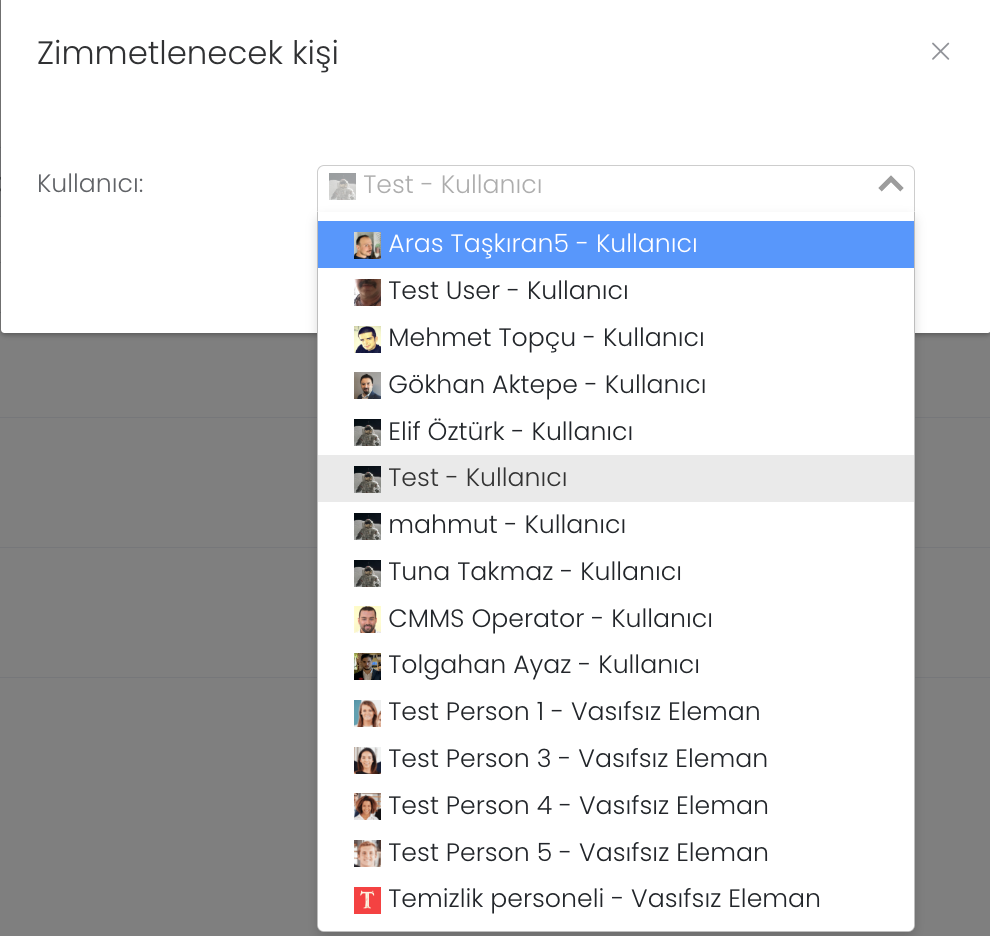
When you press the "Assign" button, all you have to do is find the user registered in the system and select it and press the "Save" button.
This is the area where you will manage the Spare Parts operations of the device. It is the structure where you check the general status of spare parts of a product in the field.
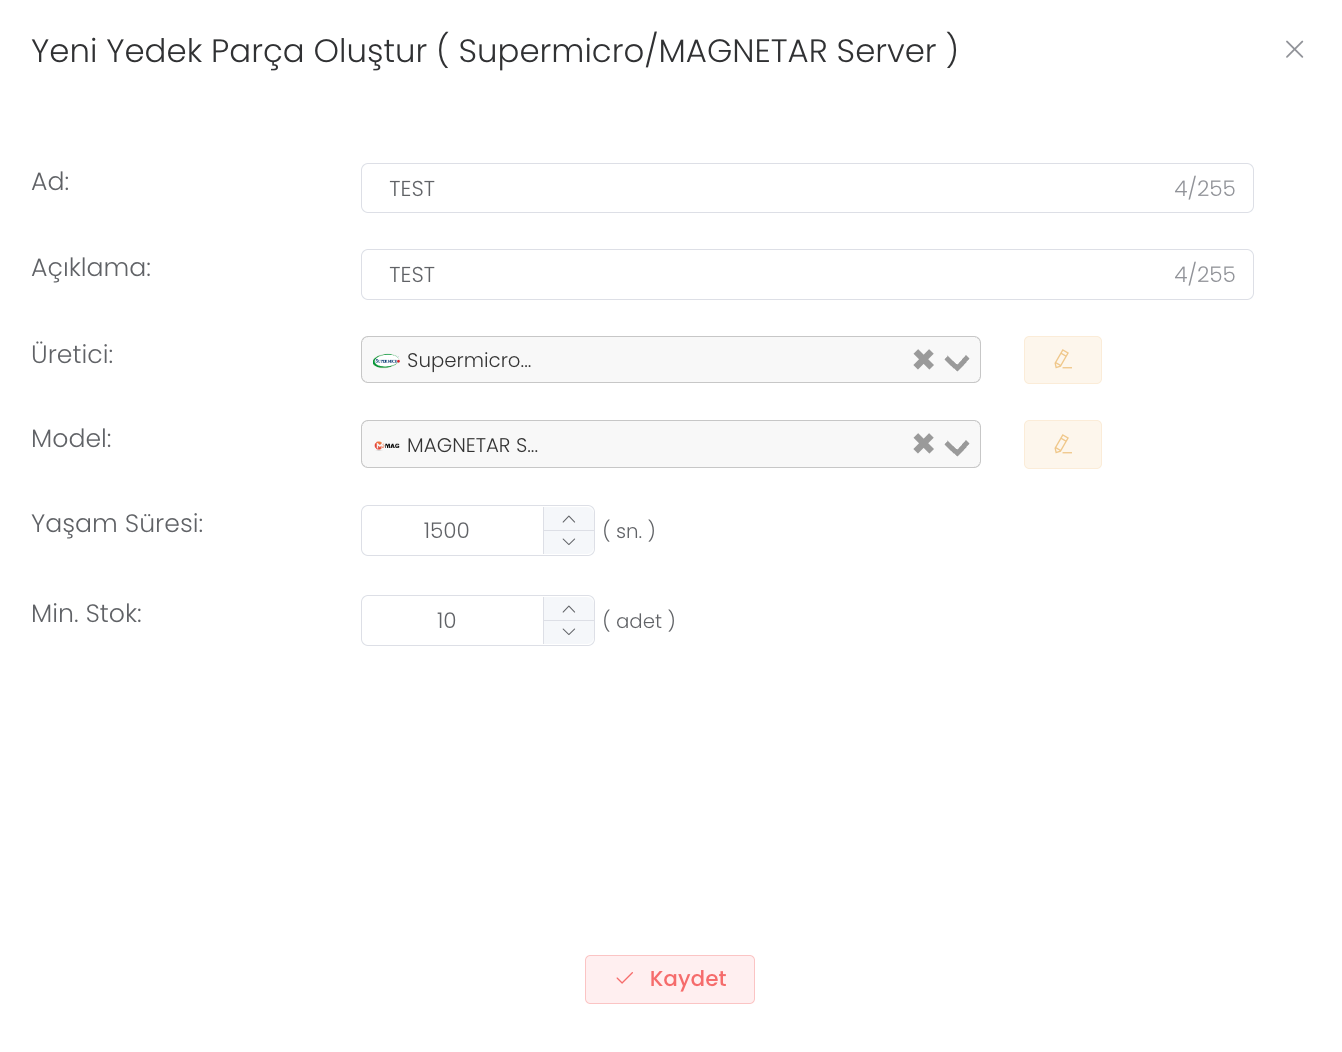
You can create a new spare part by pressing the "Create" button.
After pressing the "Create" button, you can create a new device spare part by entering name and description, manufacturer, model, lifetime and minimum stock status.
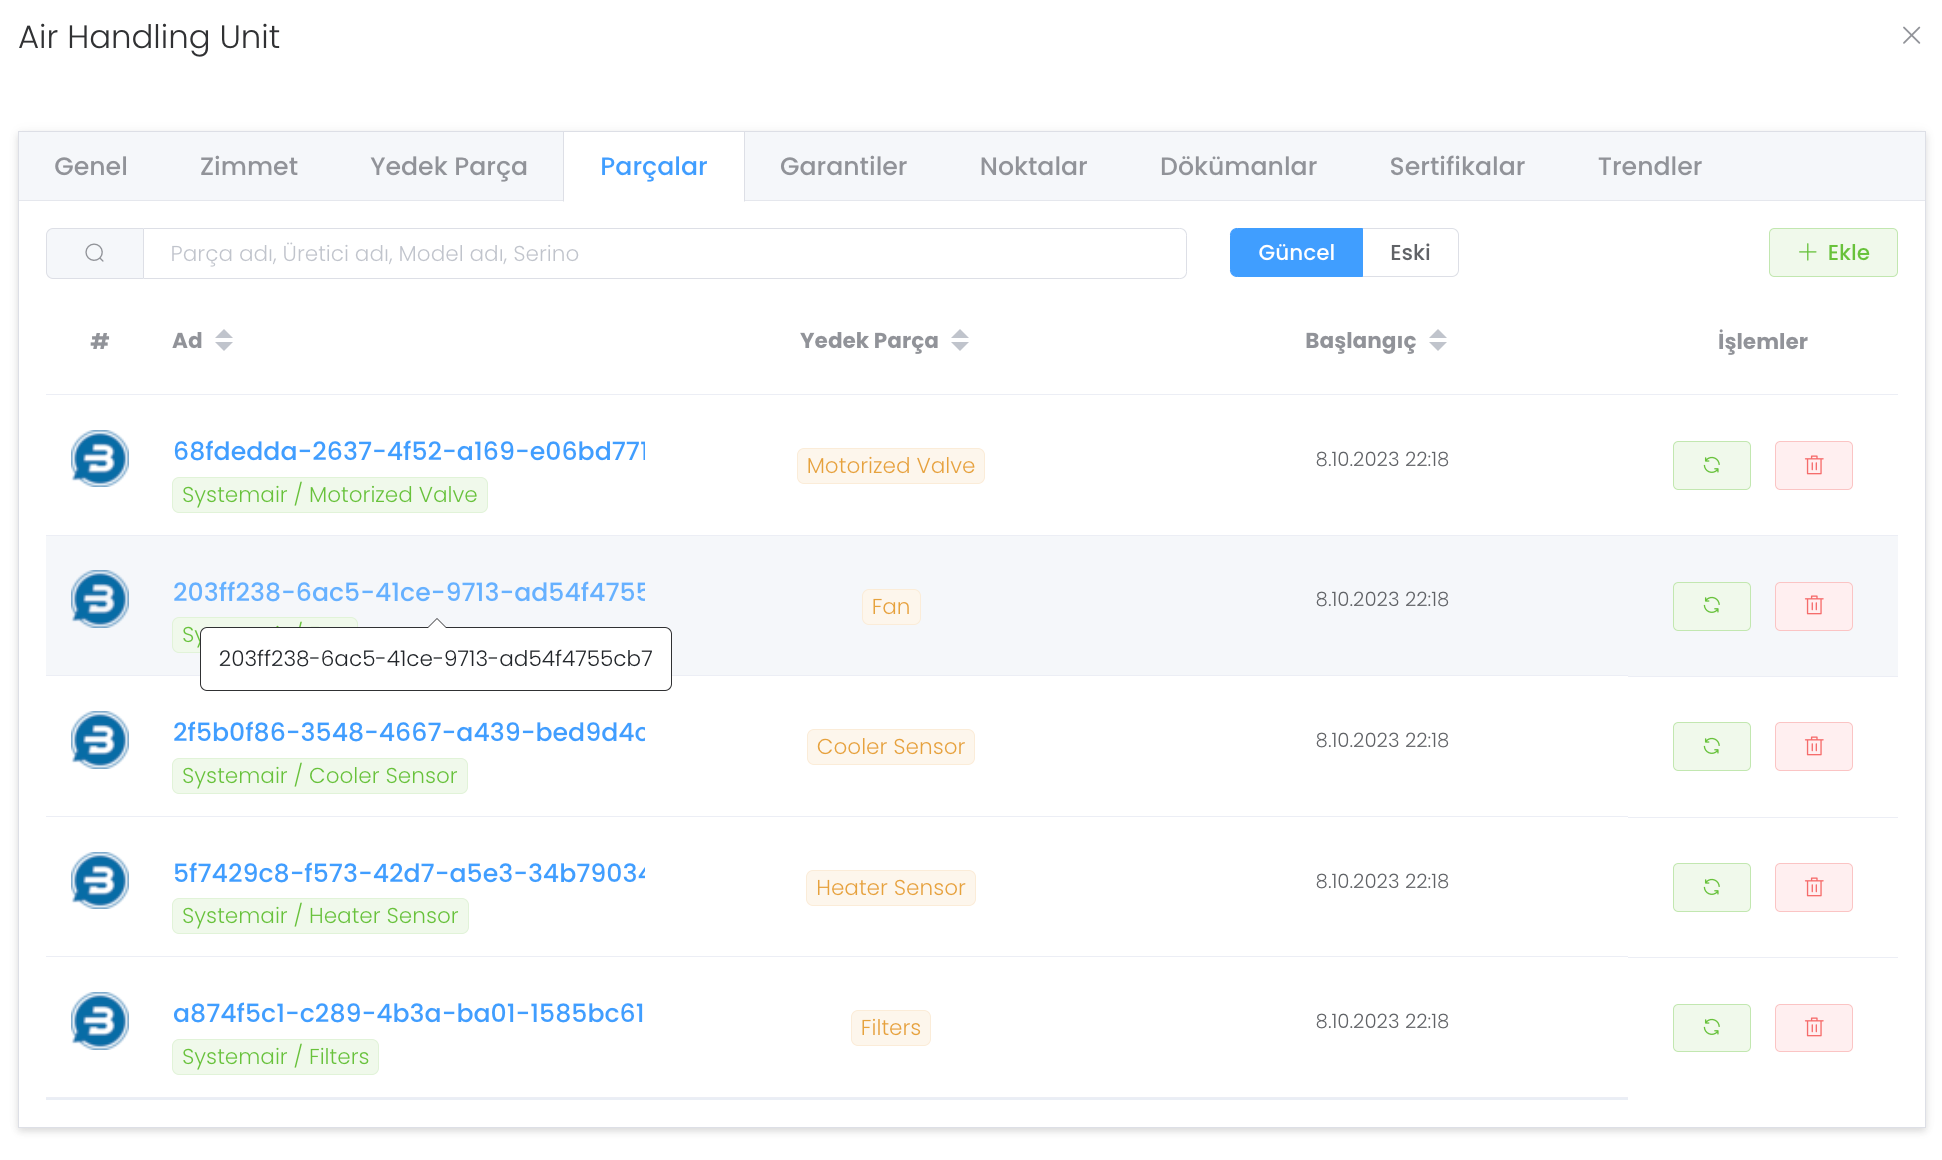
Parts panel is a structure where we can manage the parts we have, including current and old states, change them with the green button next to the delete button, and add new parts with the Add` button.
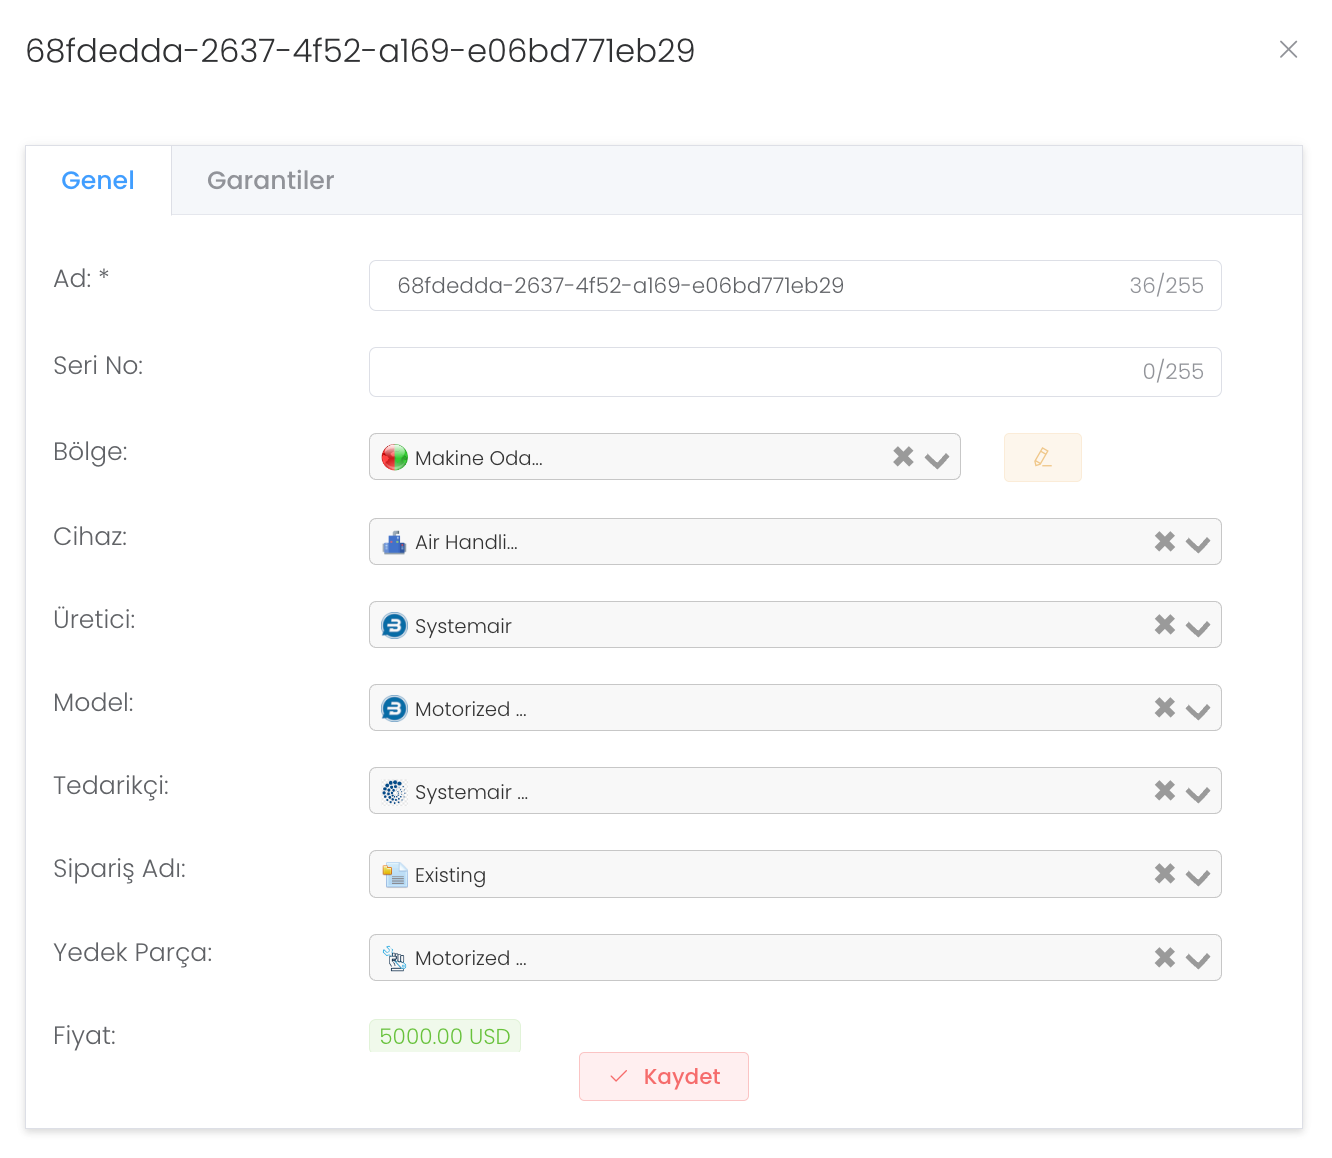
When we click on any track, we are presented with two separate sections. In the "General" section you can view and edit all the information of the tracks.
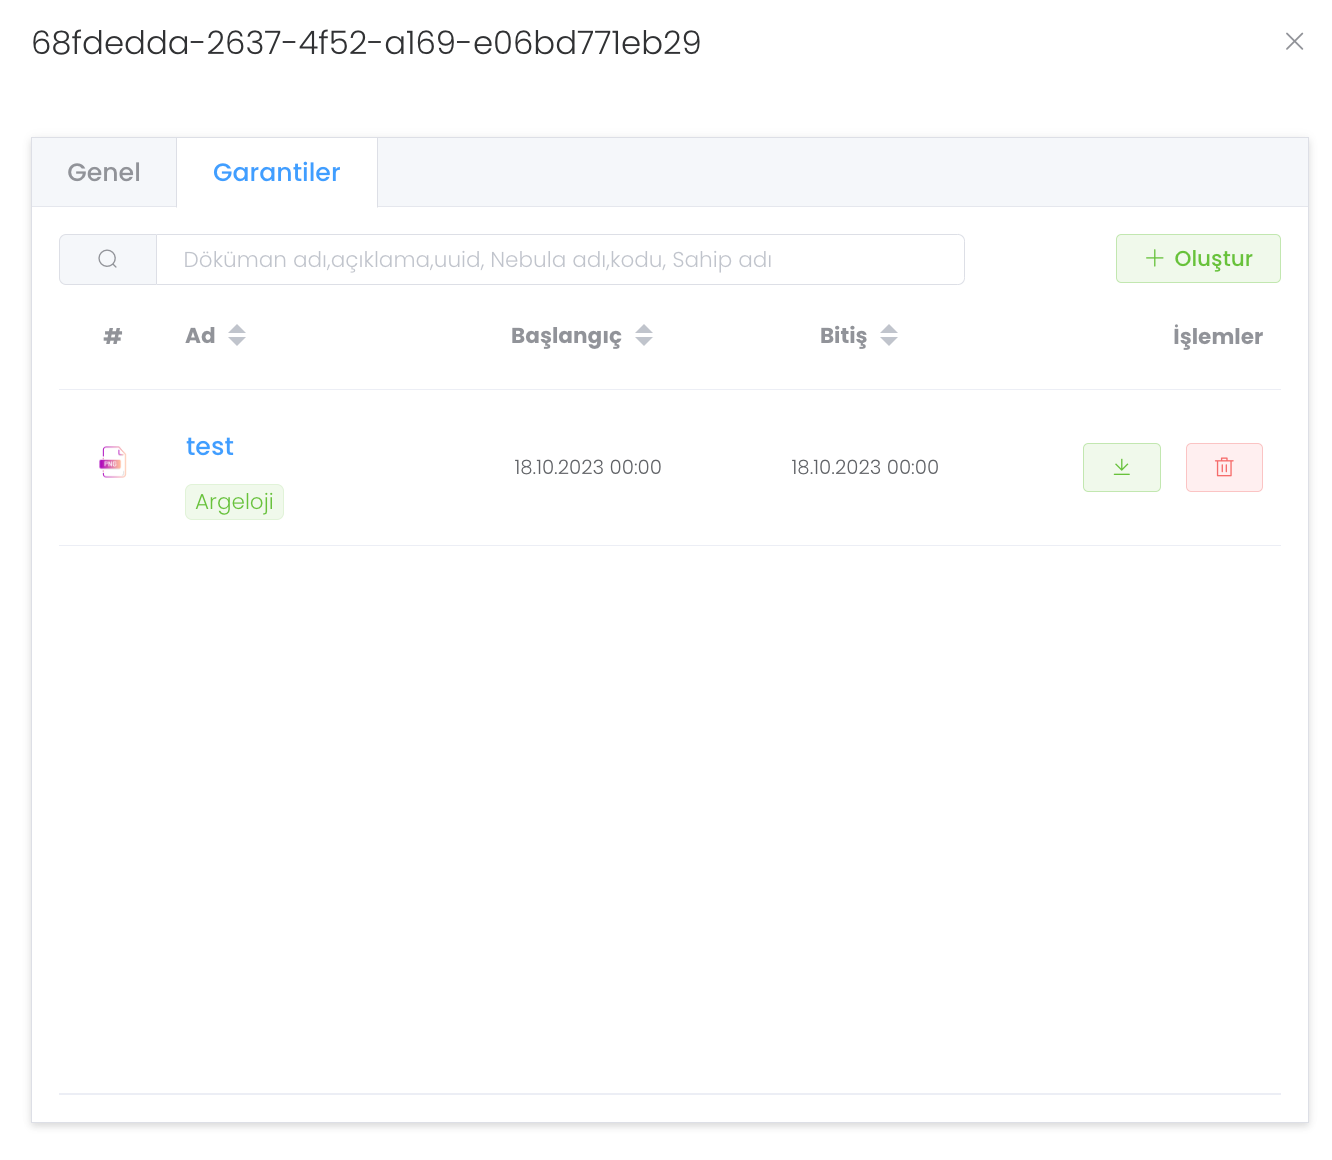
In the warranty section, you can create the warrantyof this part in the system by uploading the requiredfileafter entering thepart name, description, company, start and end information`.
We mentioned that the "green button" changes parts. When you click on this button, you will be presented with a system where you can select the part you want to change, specify the reason and initiate the change.
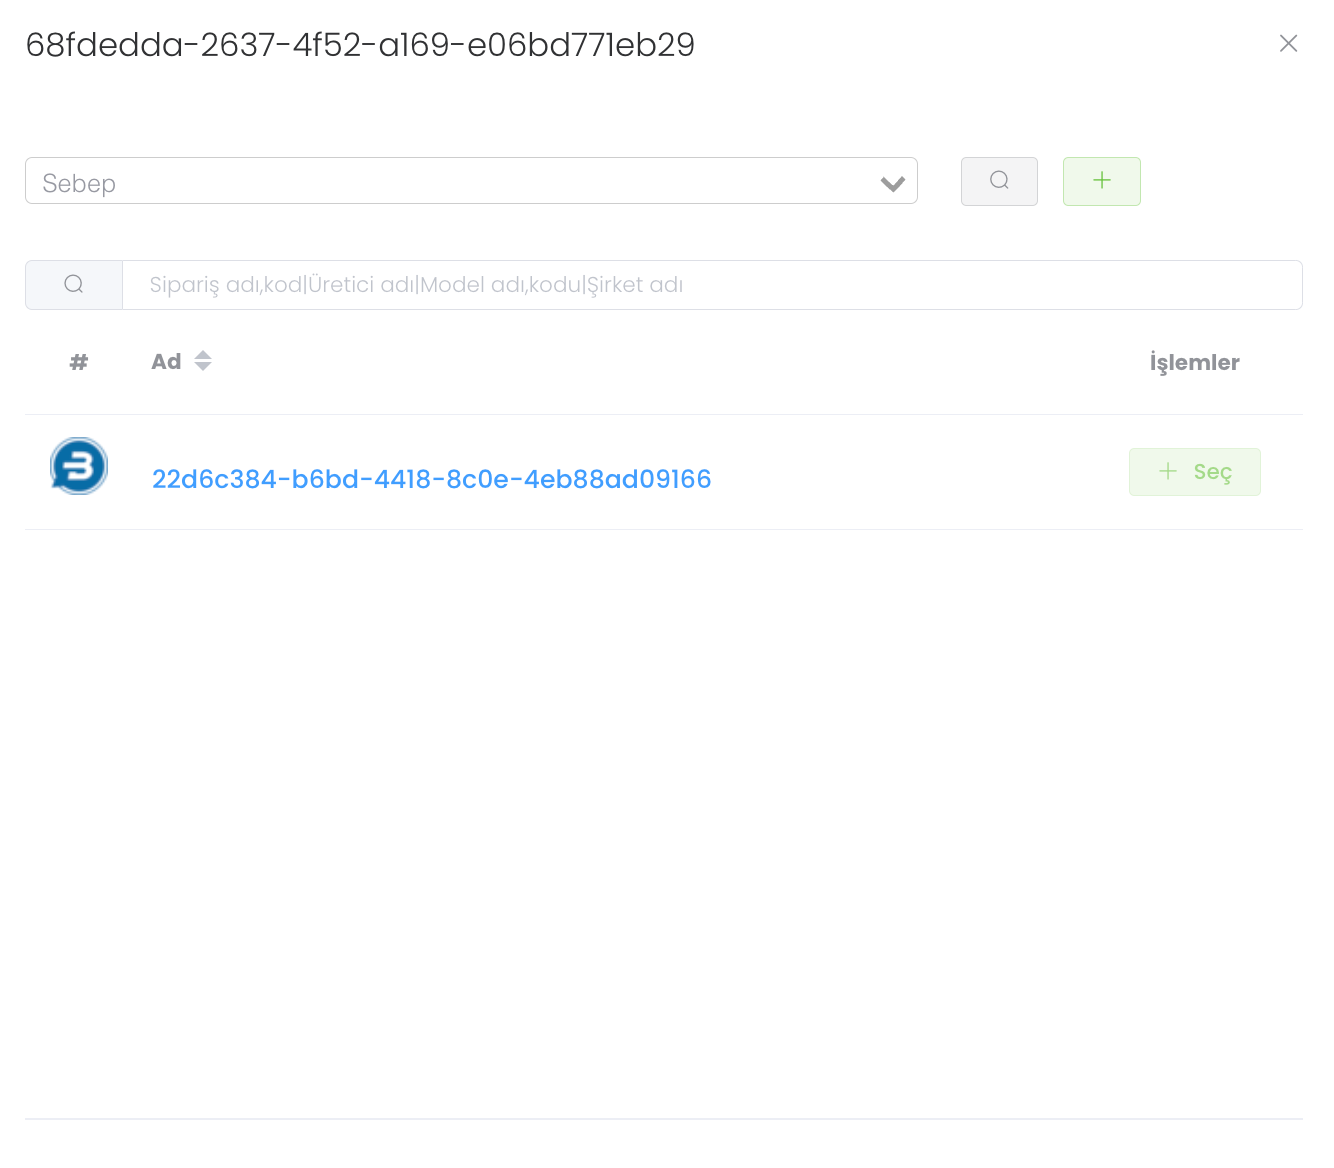
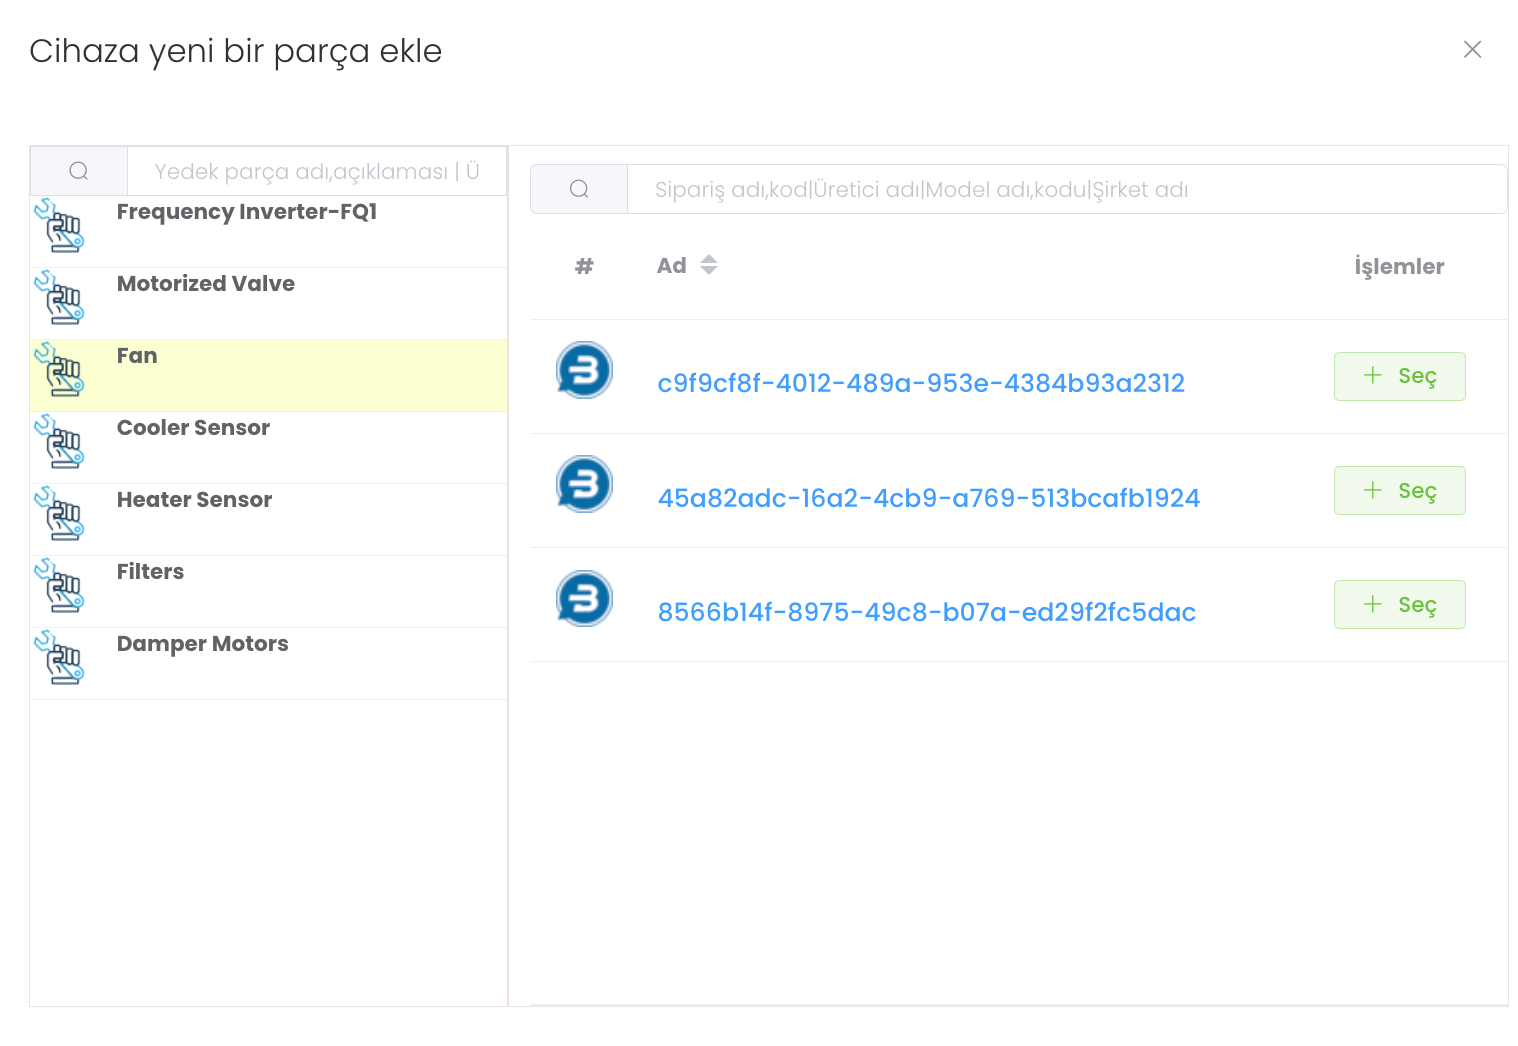
When you want to add a new part to the device with the "Add" button, after selecting the device, you select the appropriate one among the available parts.
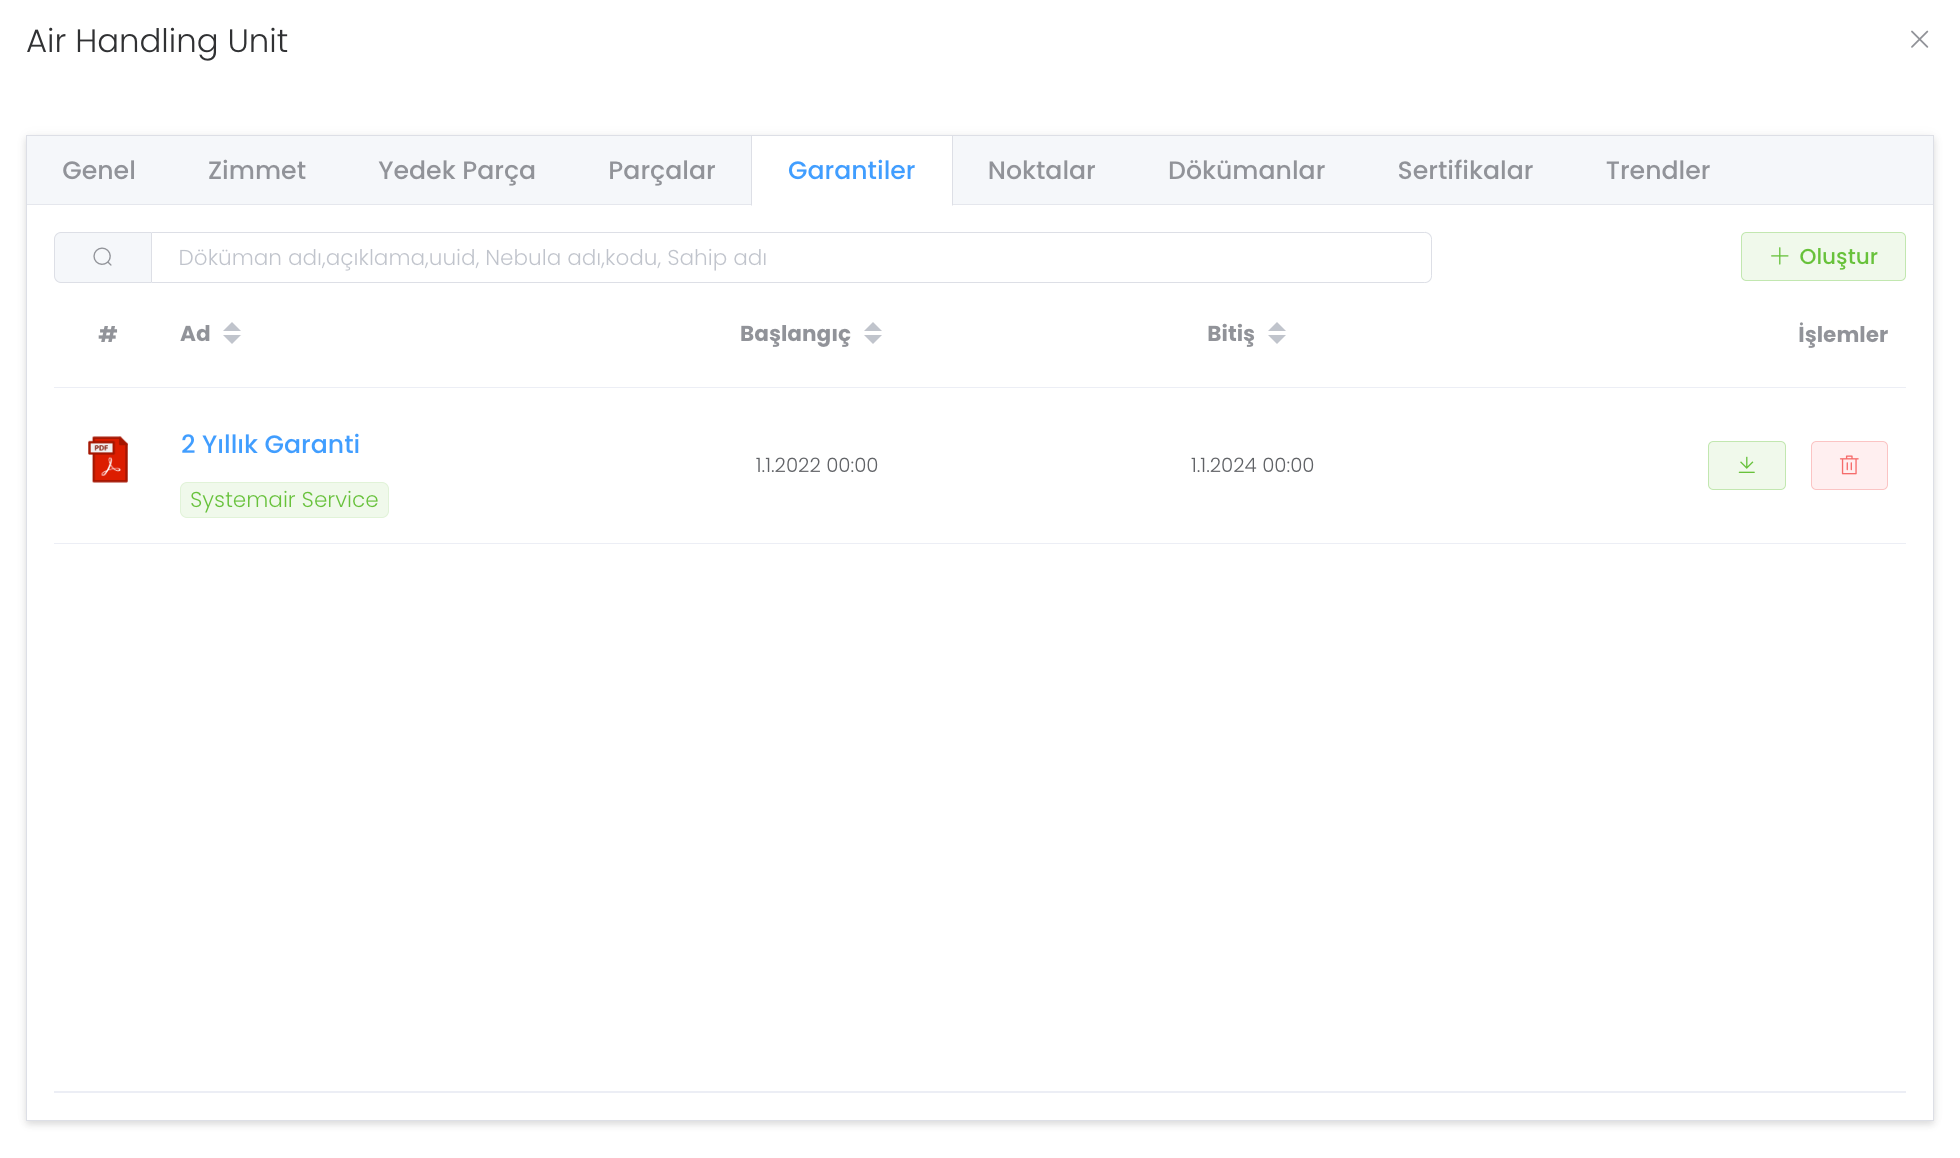
In the "Warranties" section, you can view, manage and download the warranties of the device when necessary. You can create a new warranty with the "Create"` button.
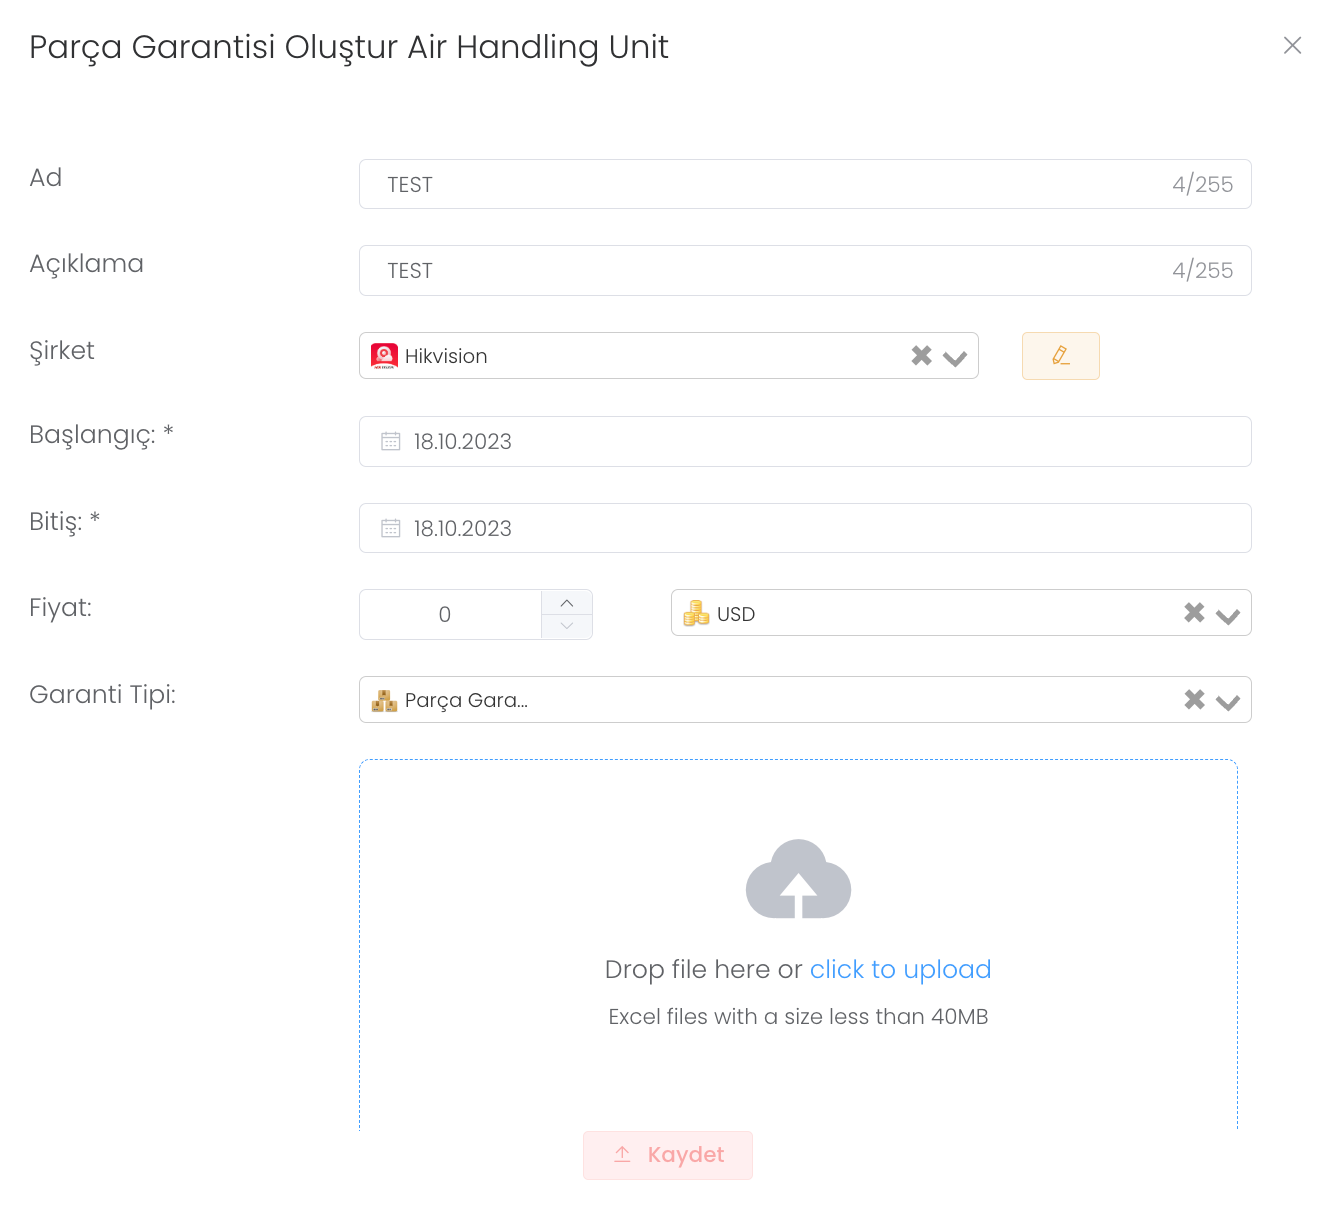
After pressing the "Create" button, you can create a new device parts warranty by entering name and description, company, price, start and end date, price and warranty type status.
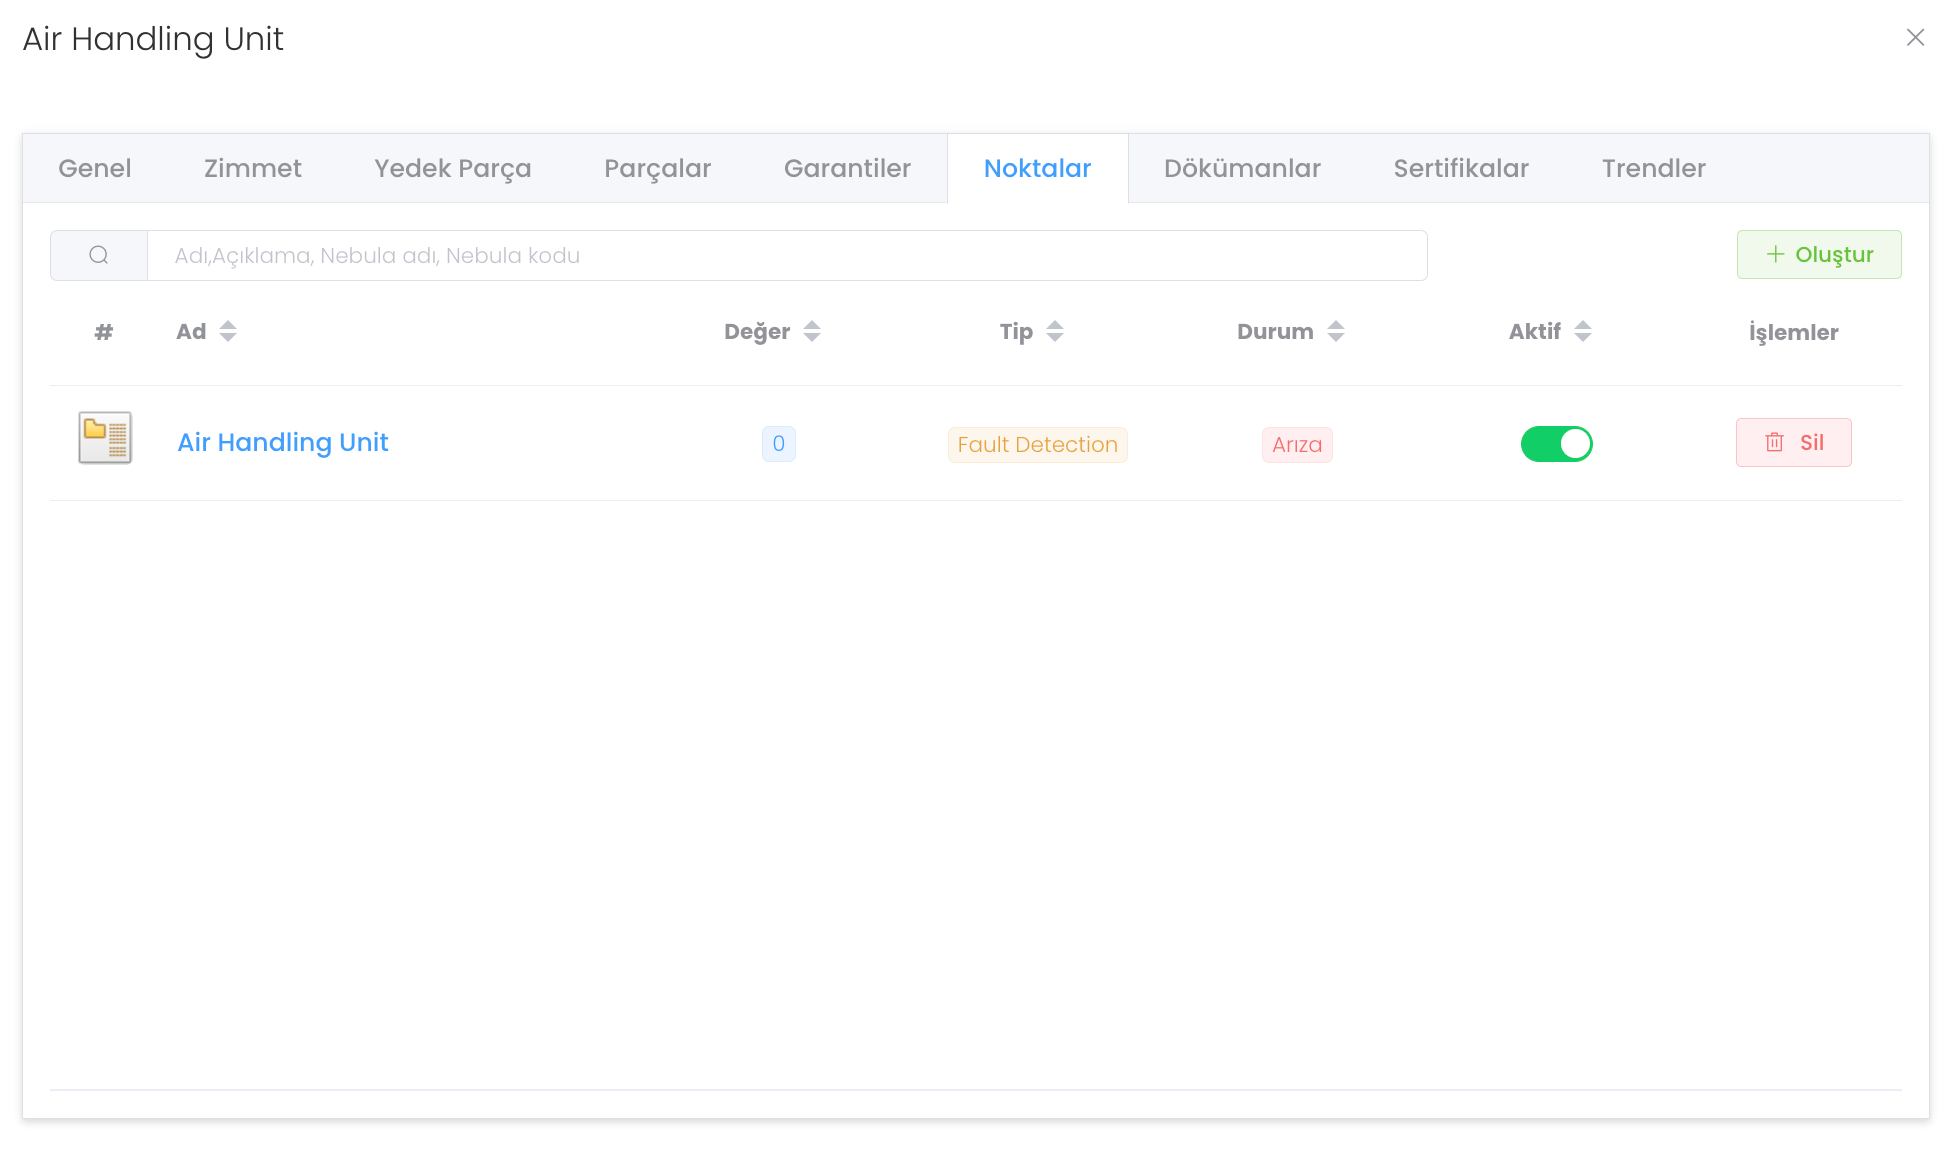
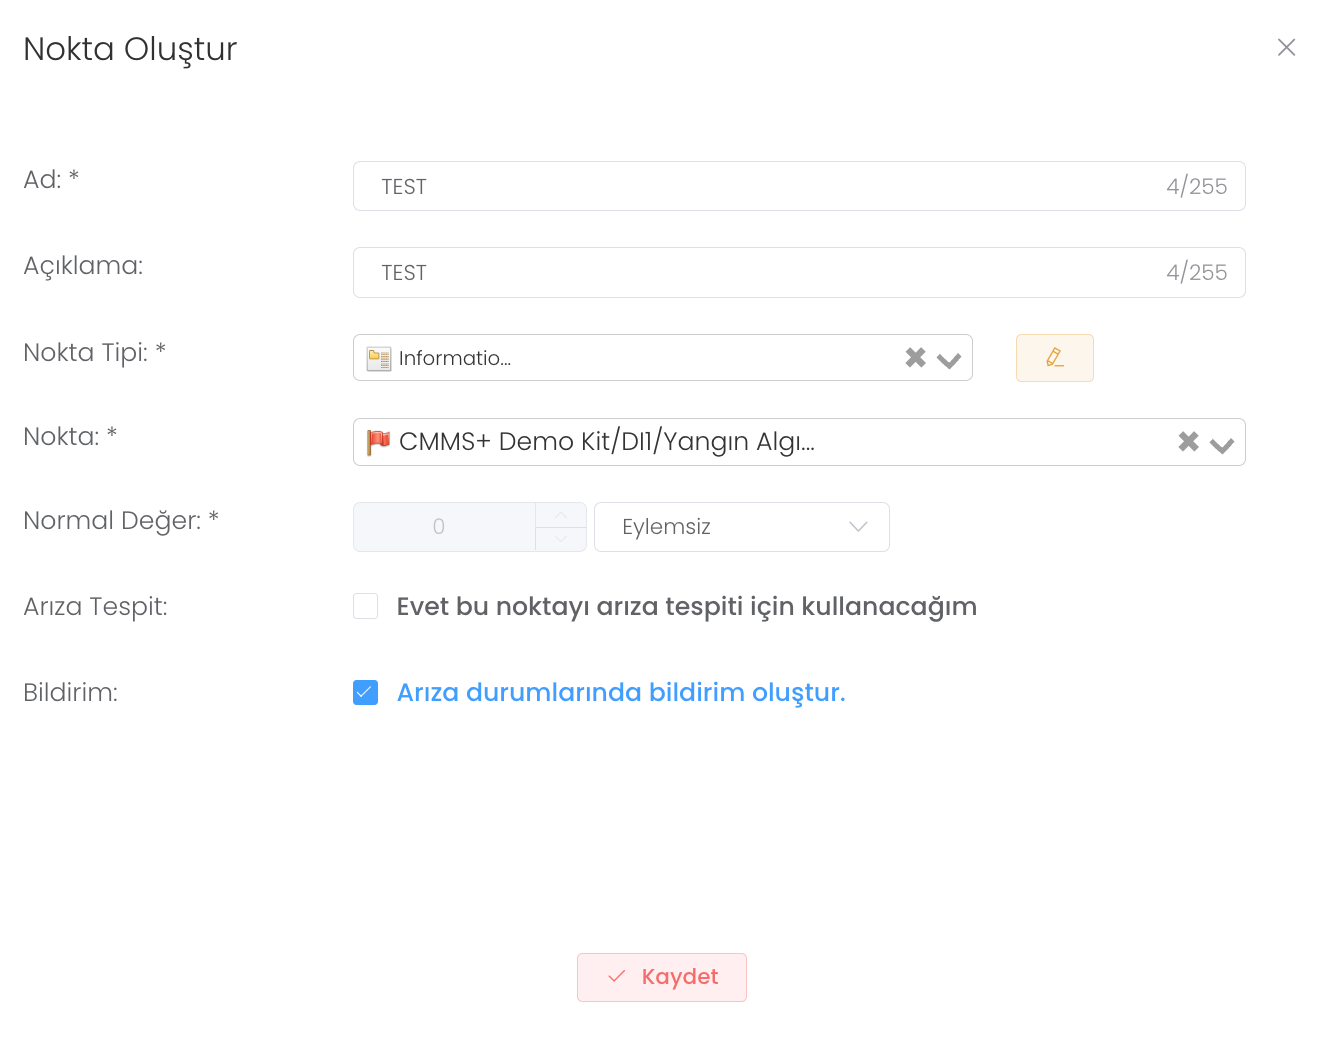
In Points section, it is the structure where you can view, manage and activate the points of the device. You can create a new guarantee with the "Create" button.
After pressing the "Create" button, you can create a new device point by entering name and description, point type, point, normal value, fault detection and notification status.
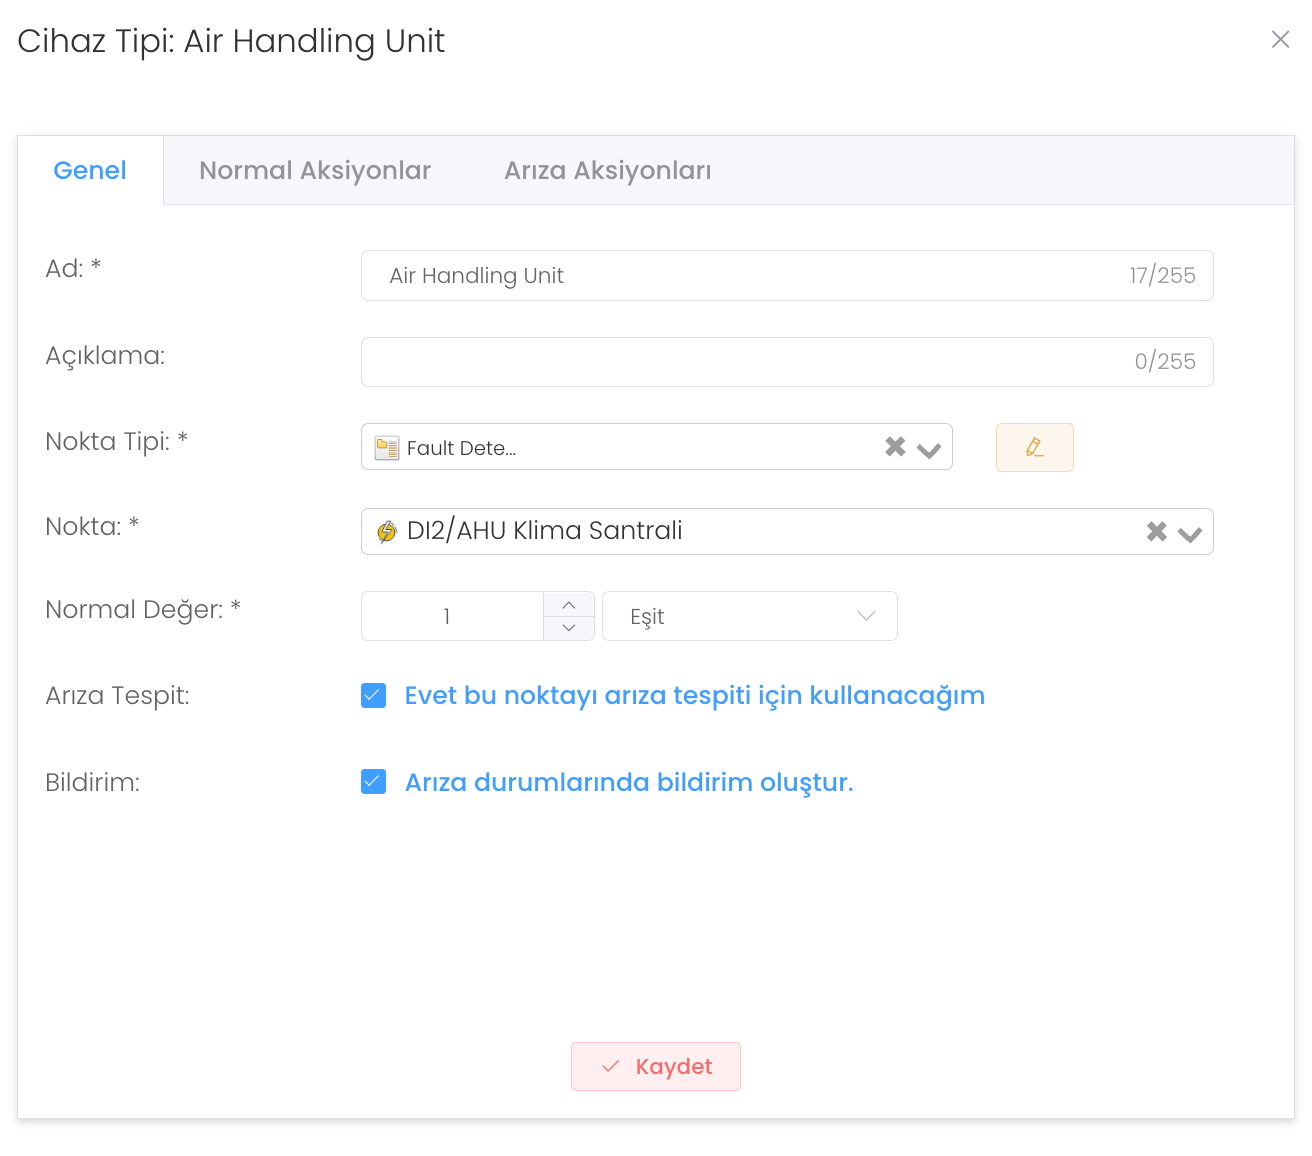
When we click on any point, we are presented with three separate sections. In the "General" section you can view and edit all the information of the parts.
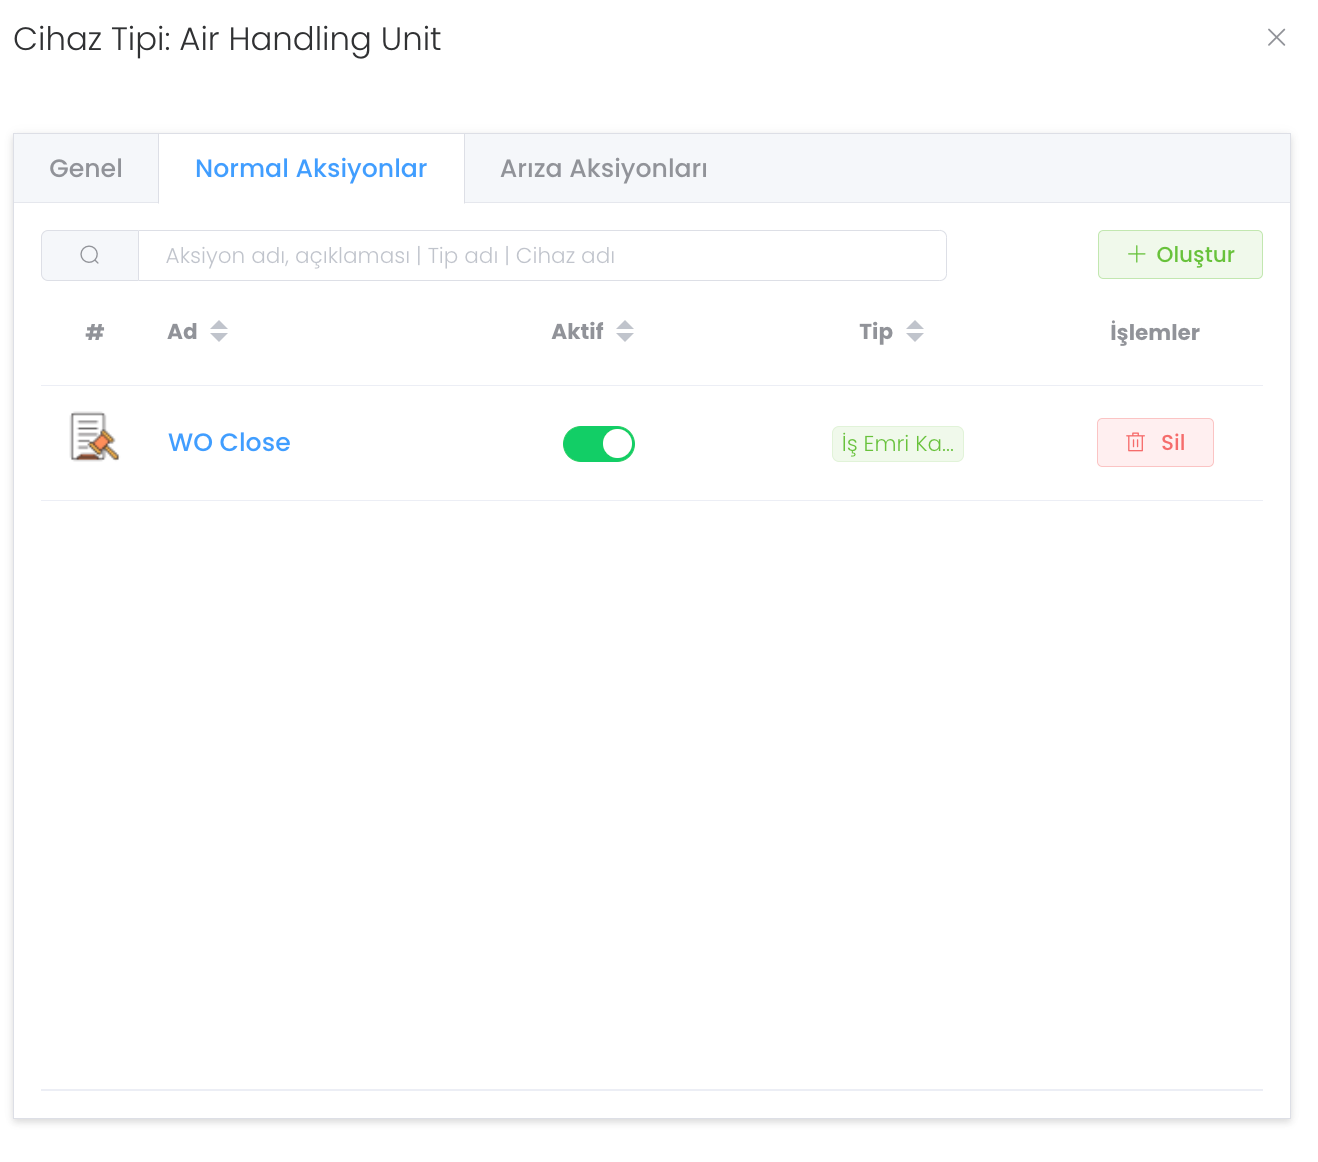
In the "Normal Actions" section, you can assign 5 different types of actions to the device and in the situations you specify, you can notify, system shutdown, personnel call etc. It offers a system where you can set up jobs.
All actions appear in this way. You can set the Activity status and press the Create button for a new action.
"Normal Actions" and "Failure Actions" are exactly the same in structure. The only difference is that in the "Normal Actions" section, when the device is working normally, smoothly, we specify which states will work, and when the device fails, in the "Failure Actions" section, we specify which states will work when the device fails. Since this is the only difference, I will explain the whole structure through "Normal Actions".
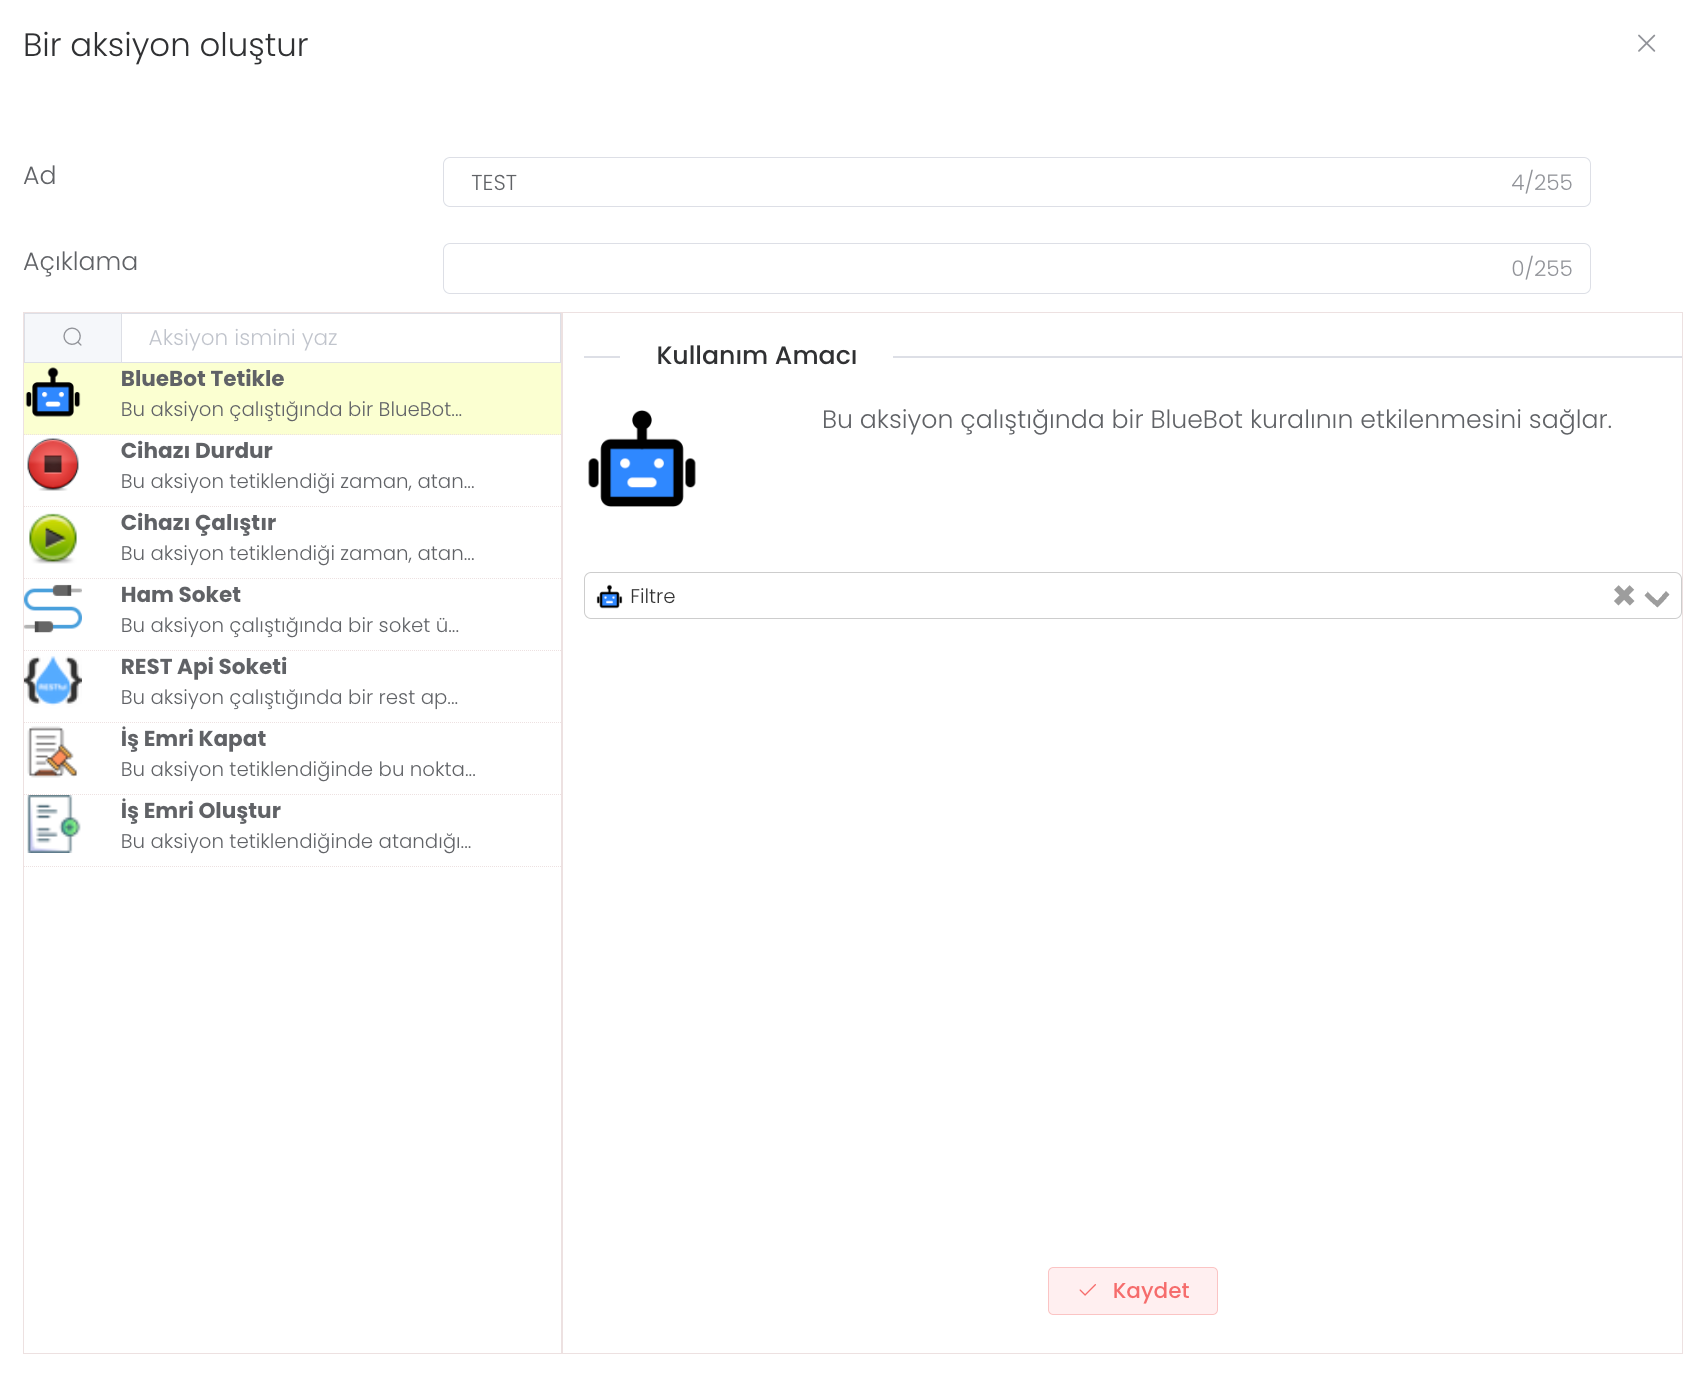
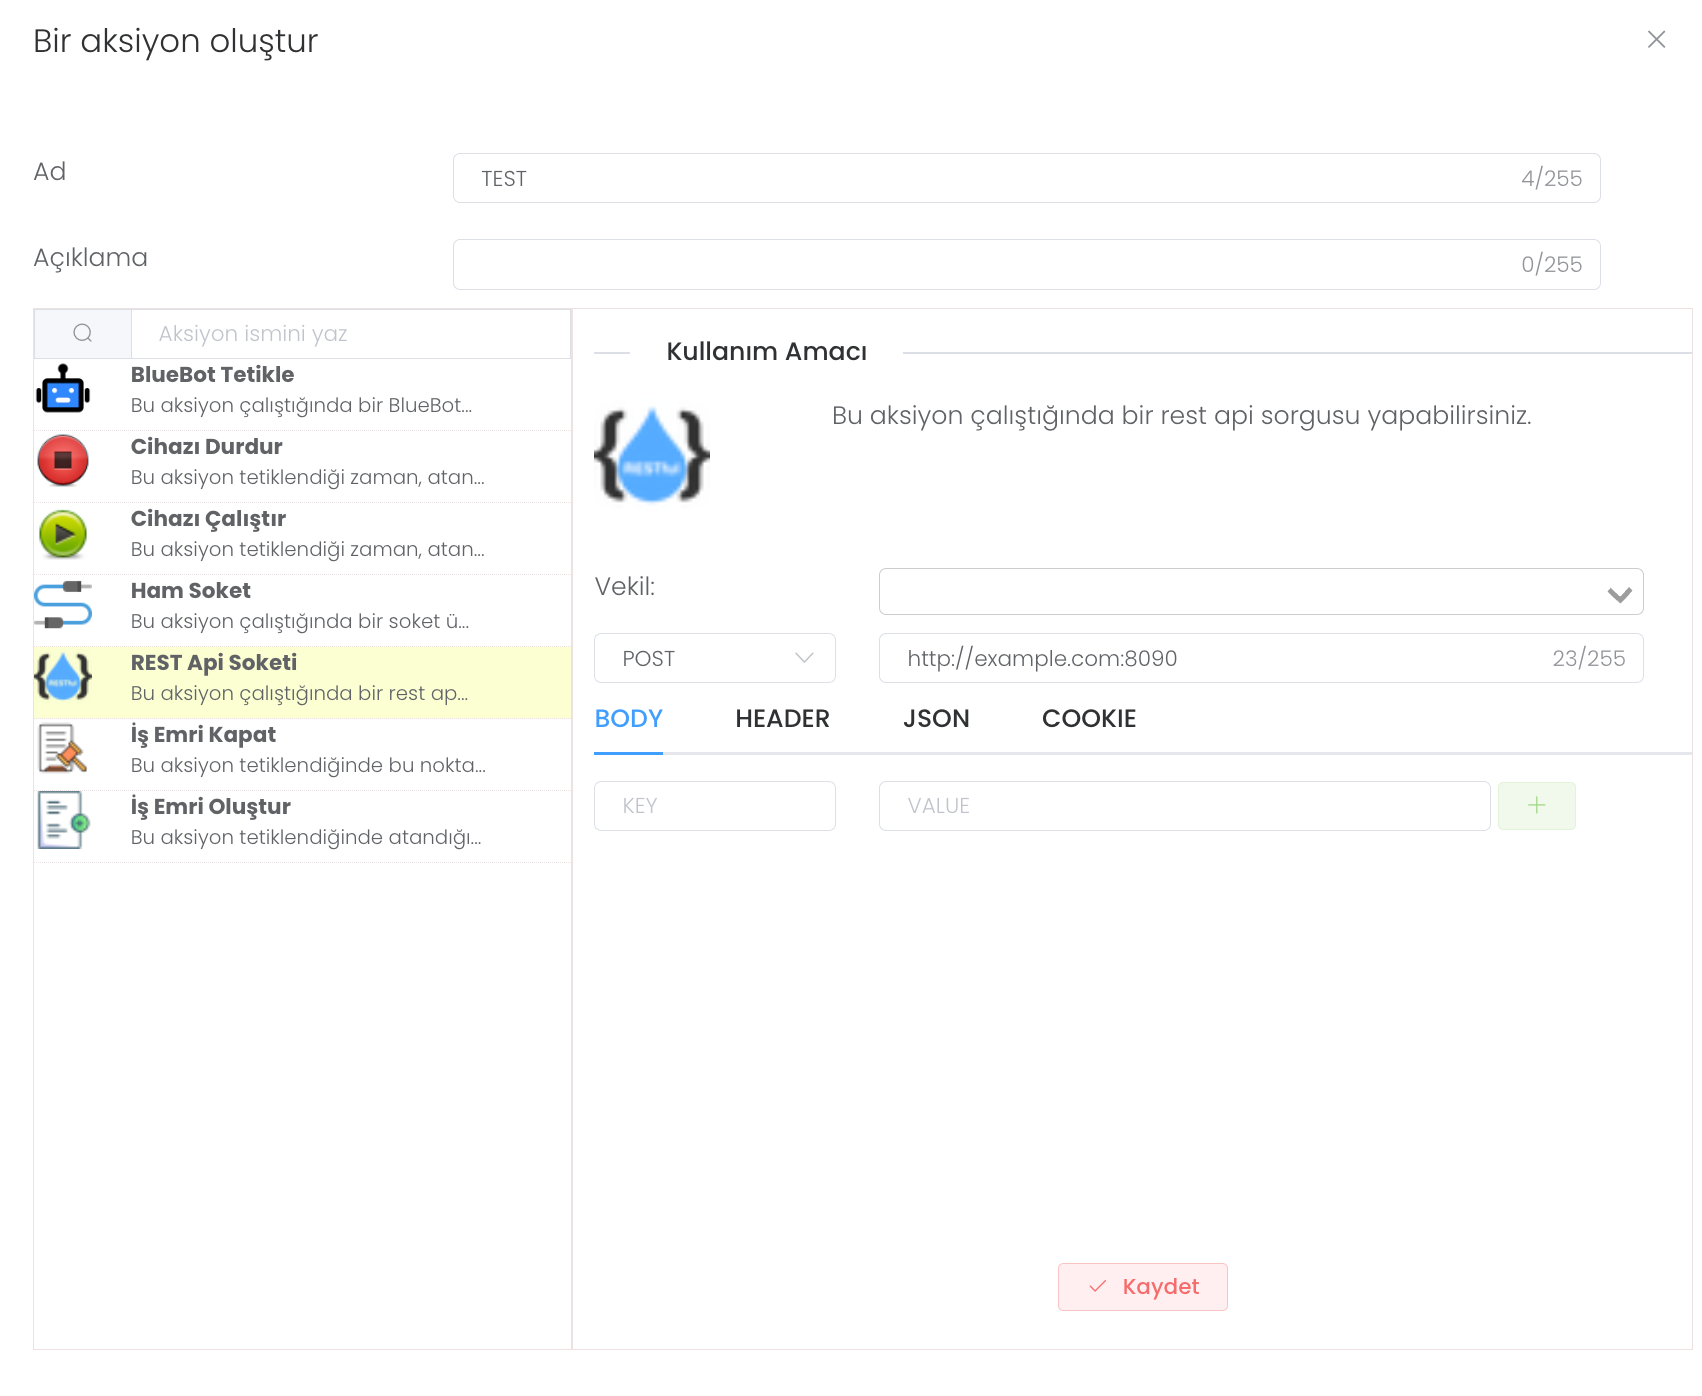
During the creation, you will receive 7 structures, firstly, after determining the name and description, we select the structure we want to use.
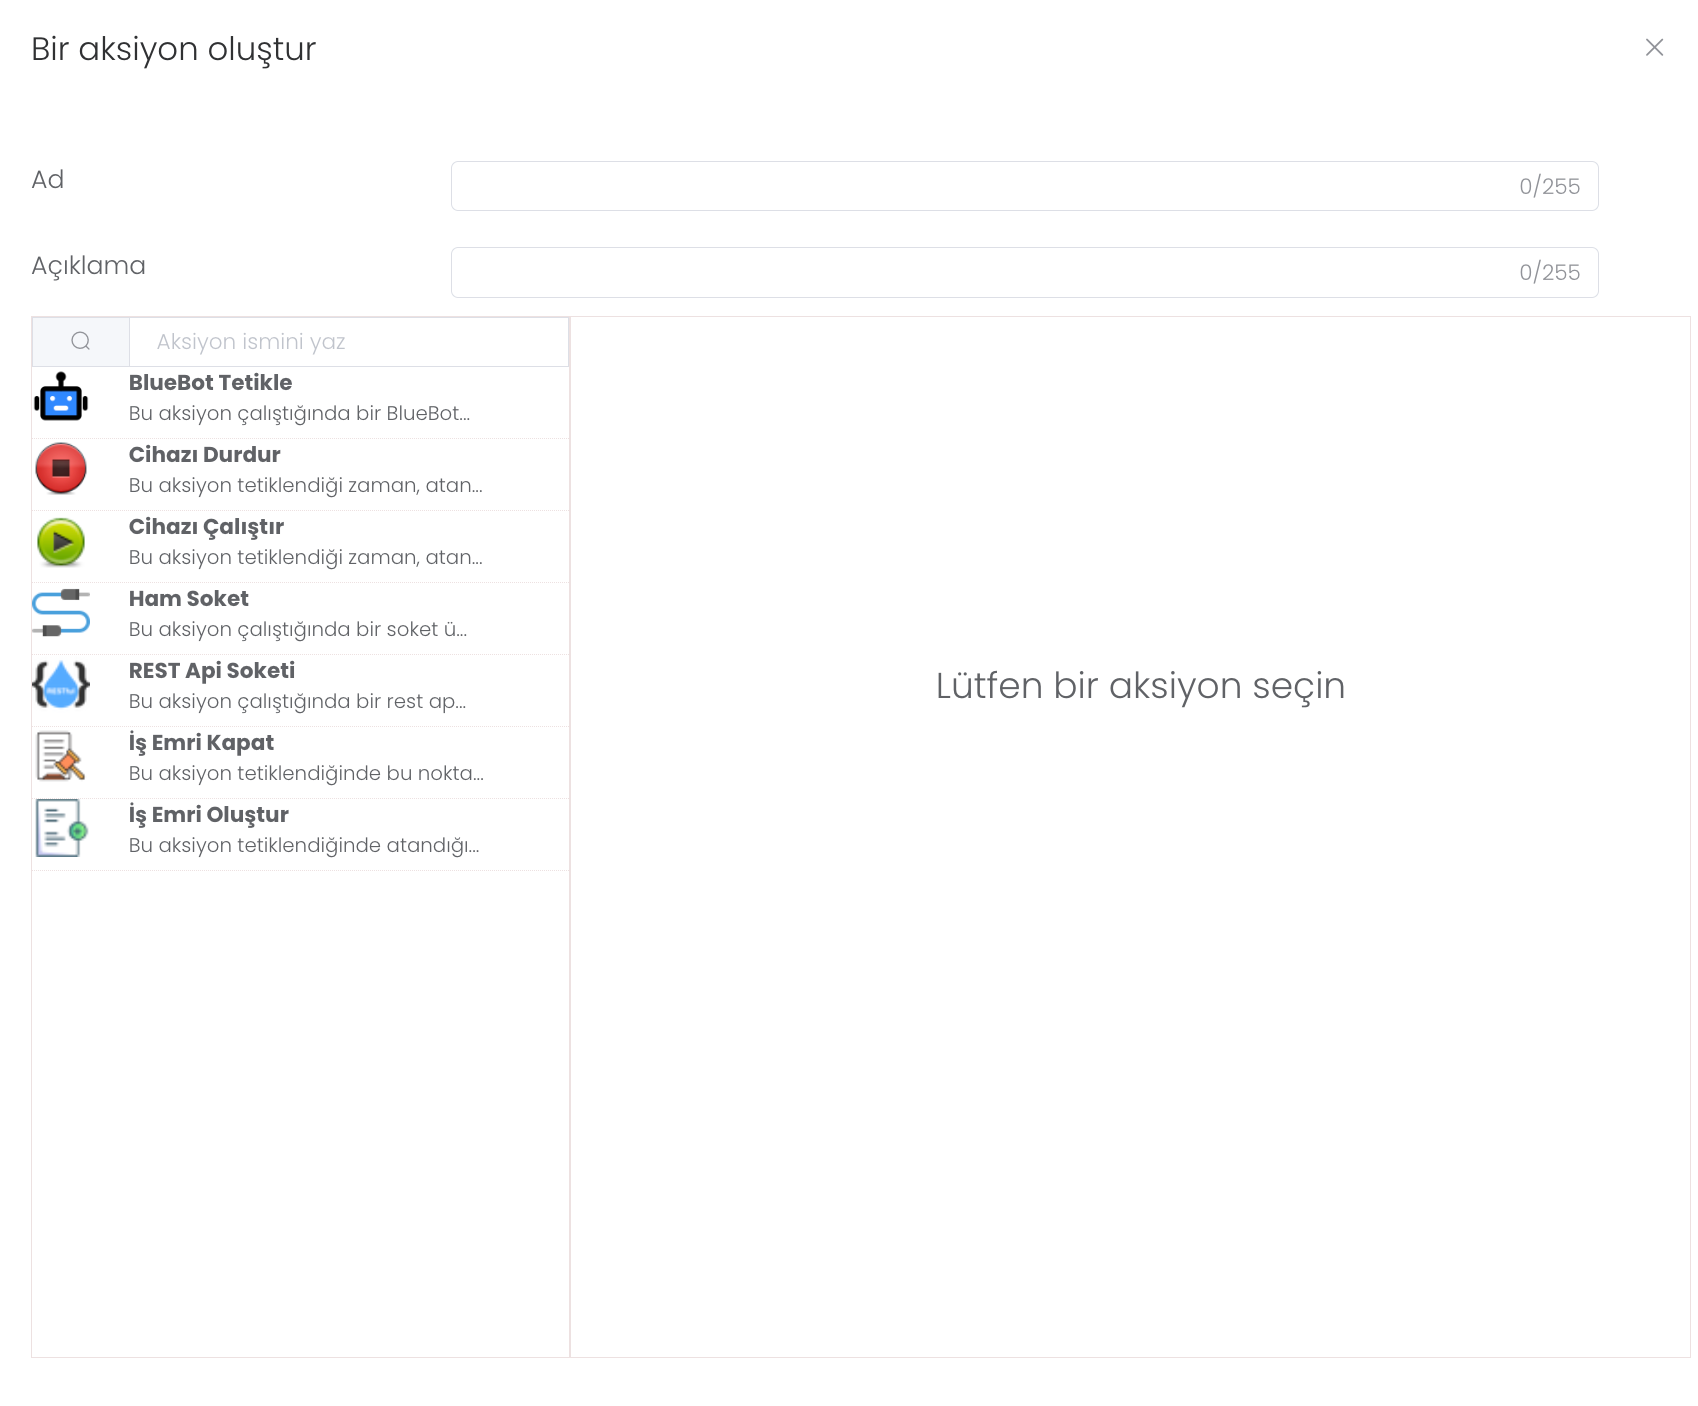
BlueBot Trigger: This action ensures that a BlueBot rule is affected when it runs. These rules are predefined by BlueBot.
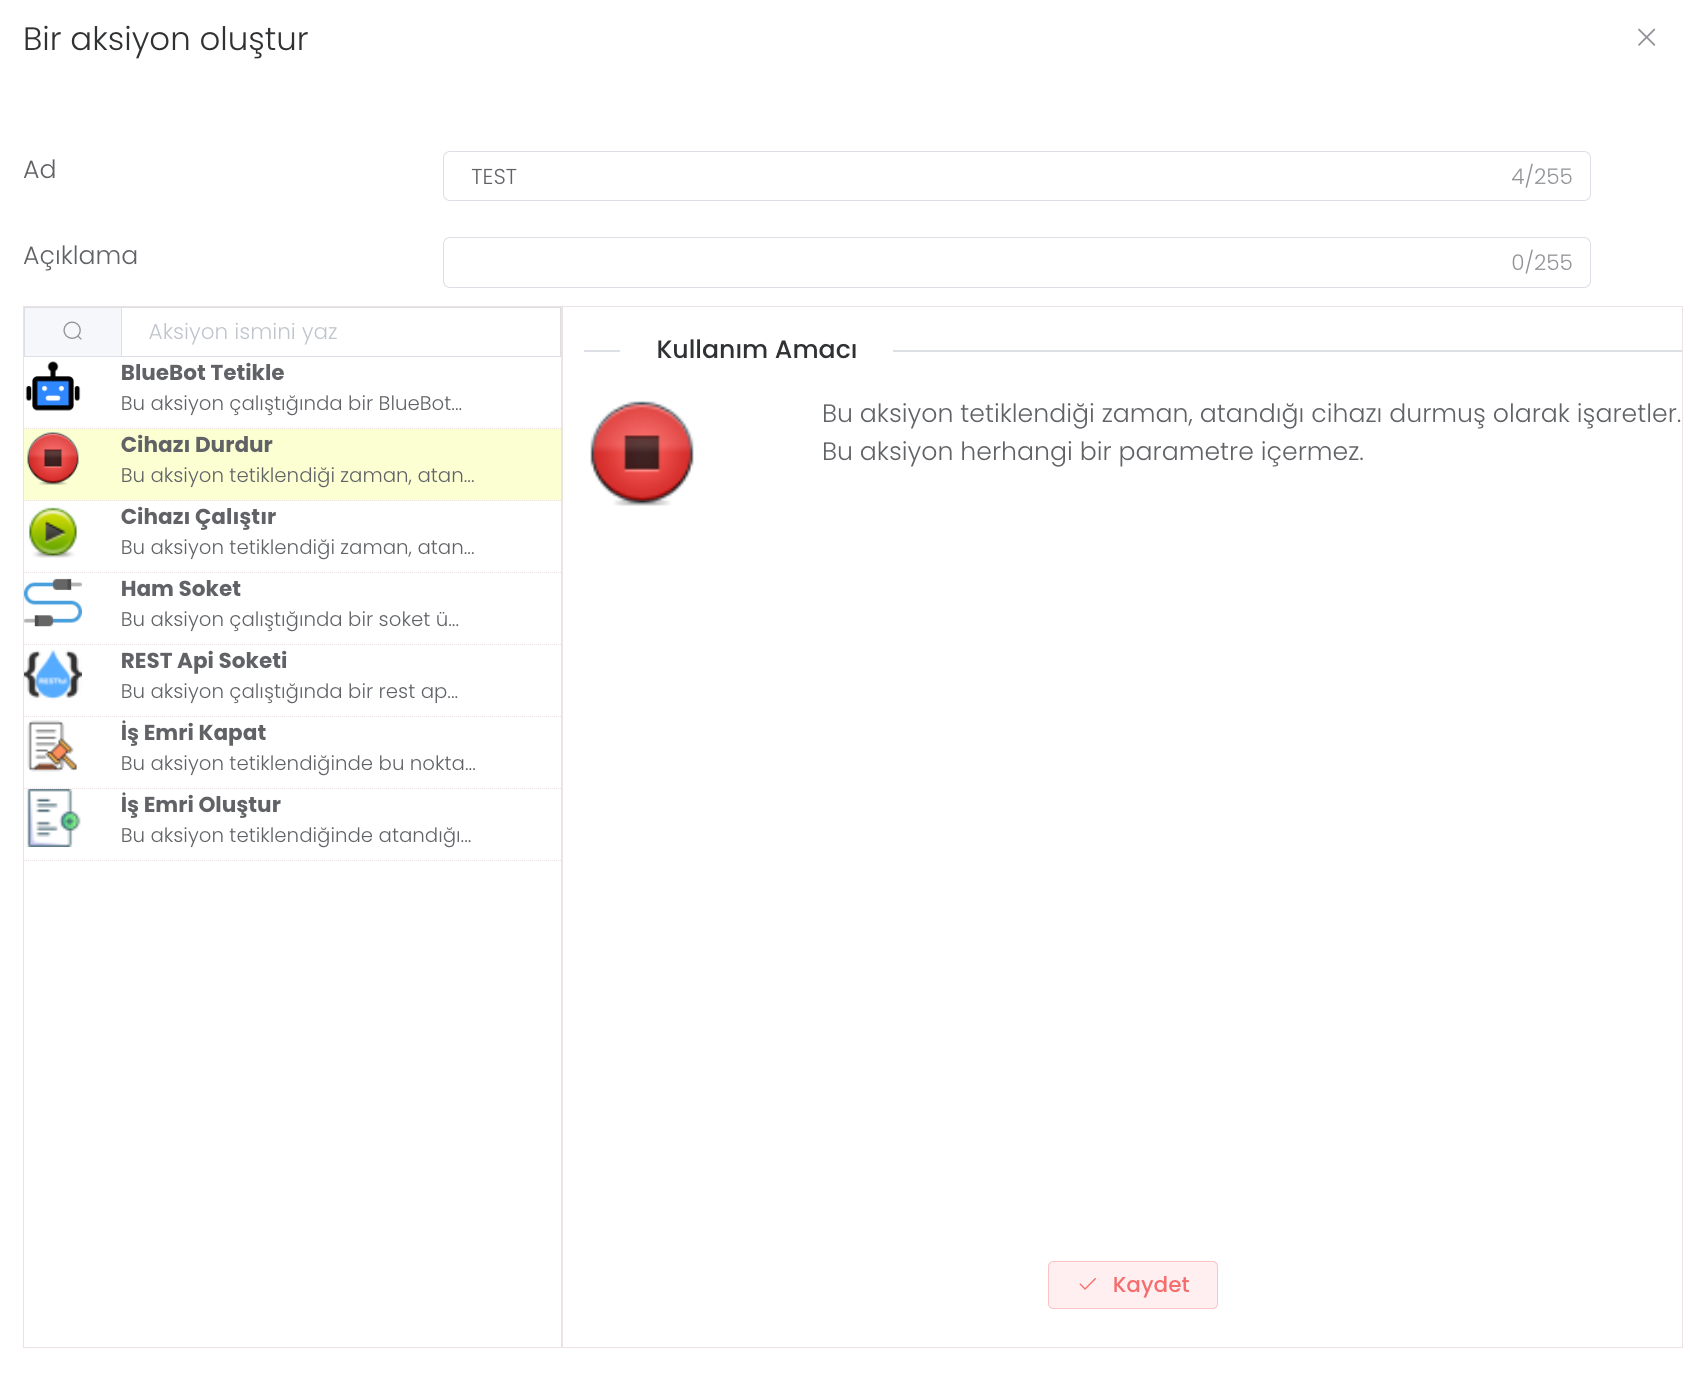
Stop Device: When this action is triggered, it marks the assigned device as stopped. This action does not contain any parameters.
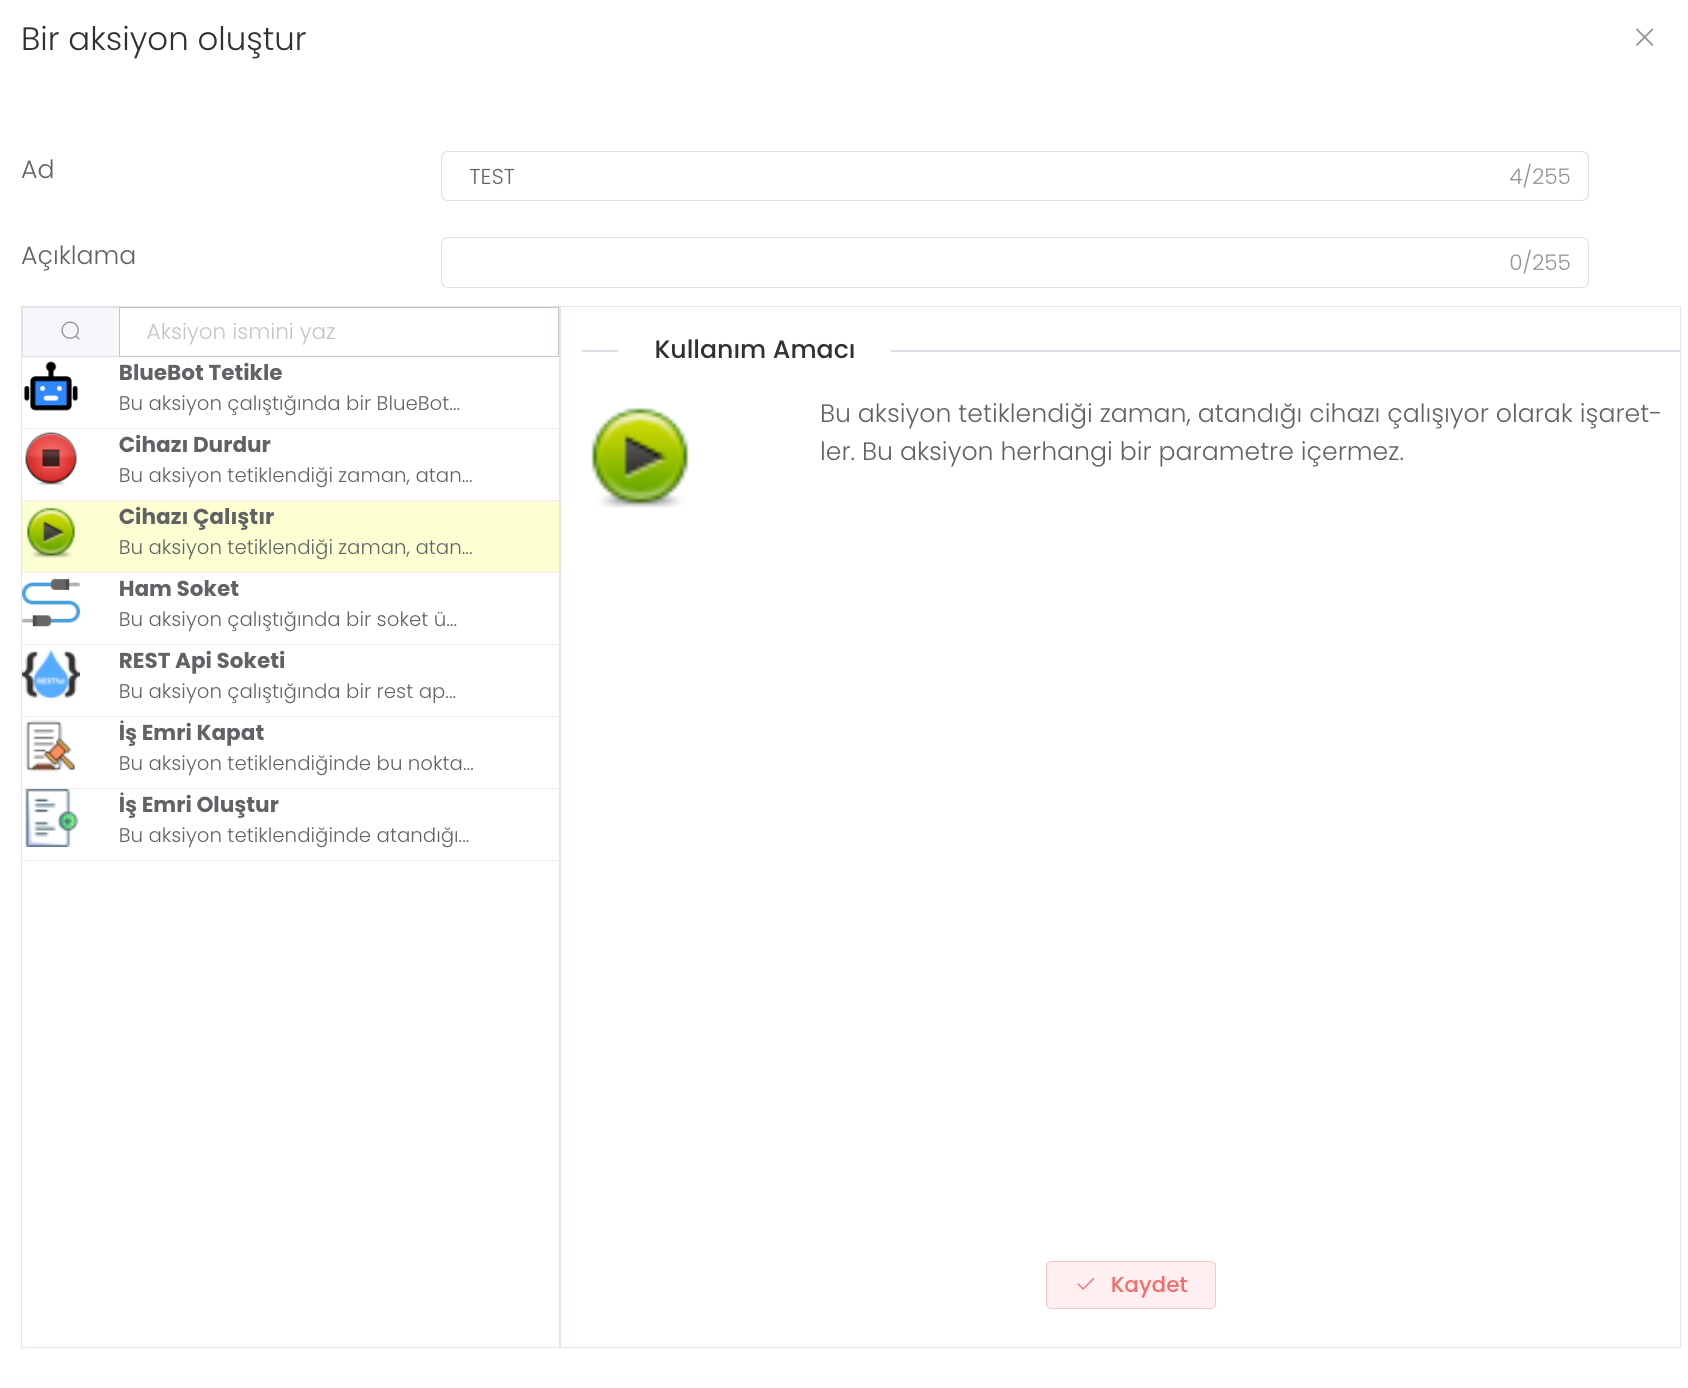
Run Device: When this action is triggered, it marks the assigned device as running. This action does not contain any parameters.
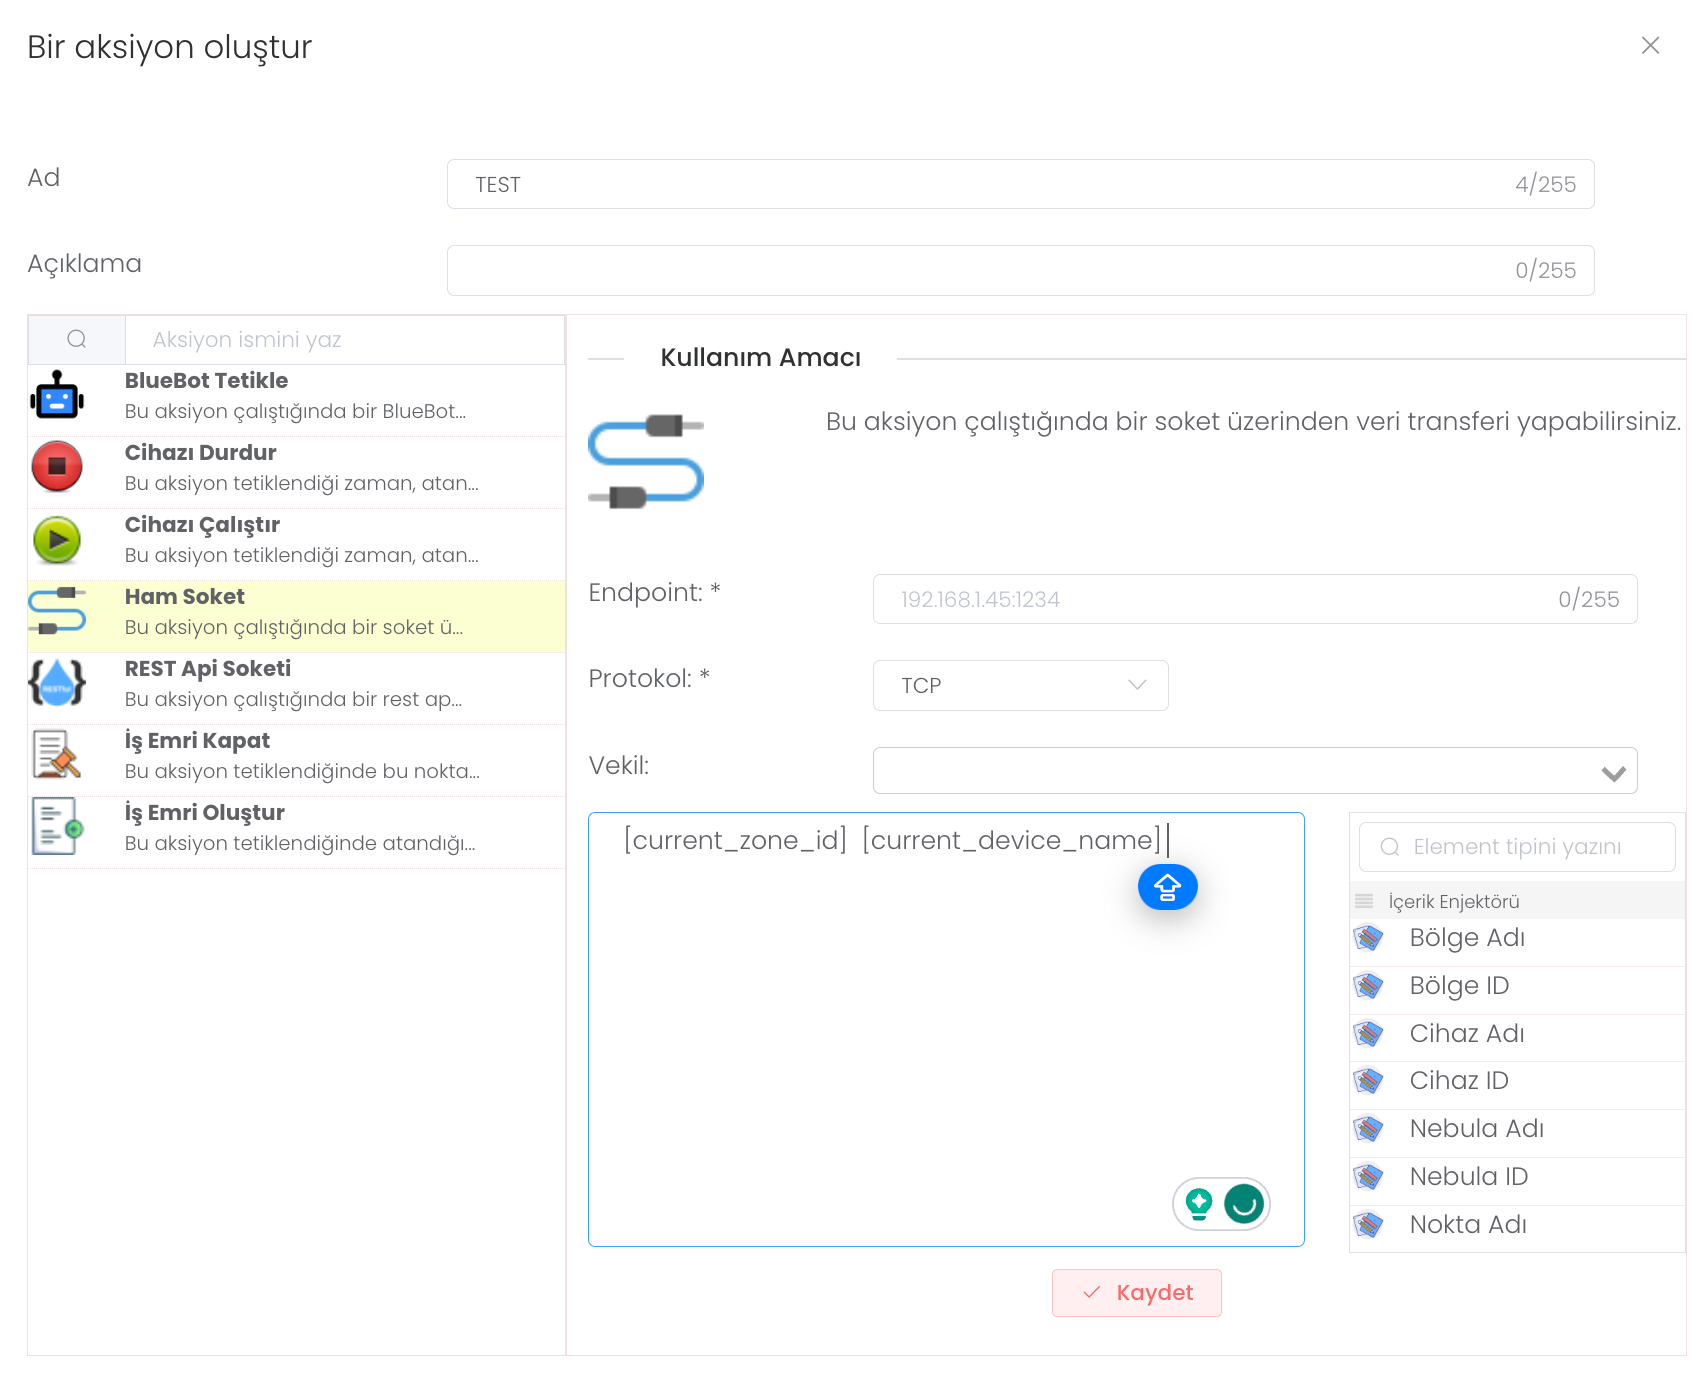
Raw Socket: When this action is executed, you can transfer data over a socket.
REST Api Socket: You can make a rest api query when this action runs.
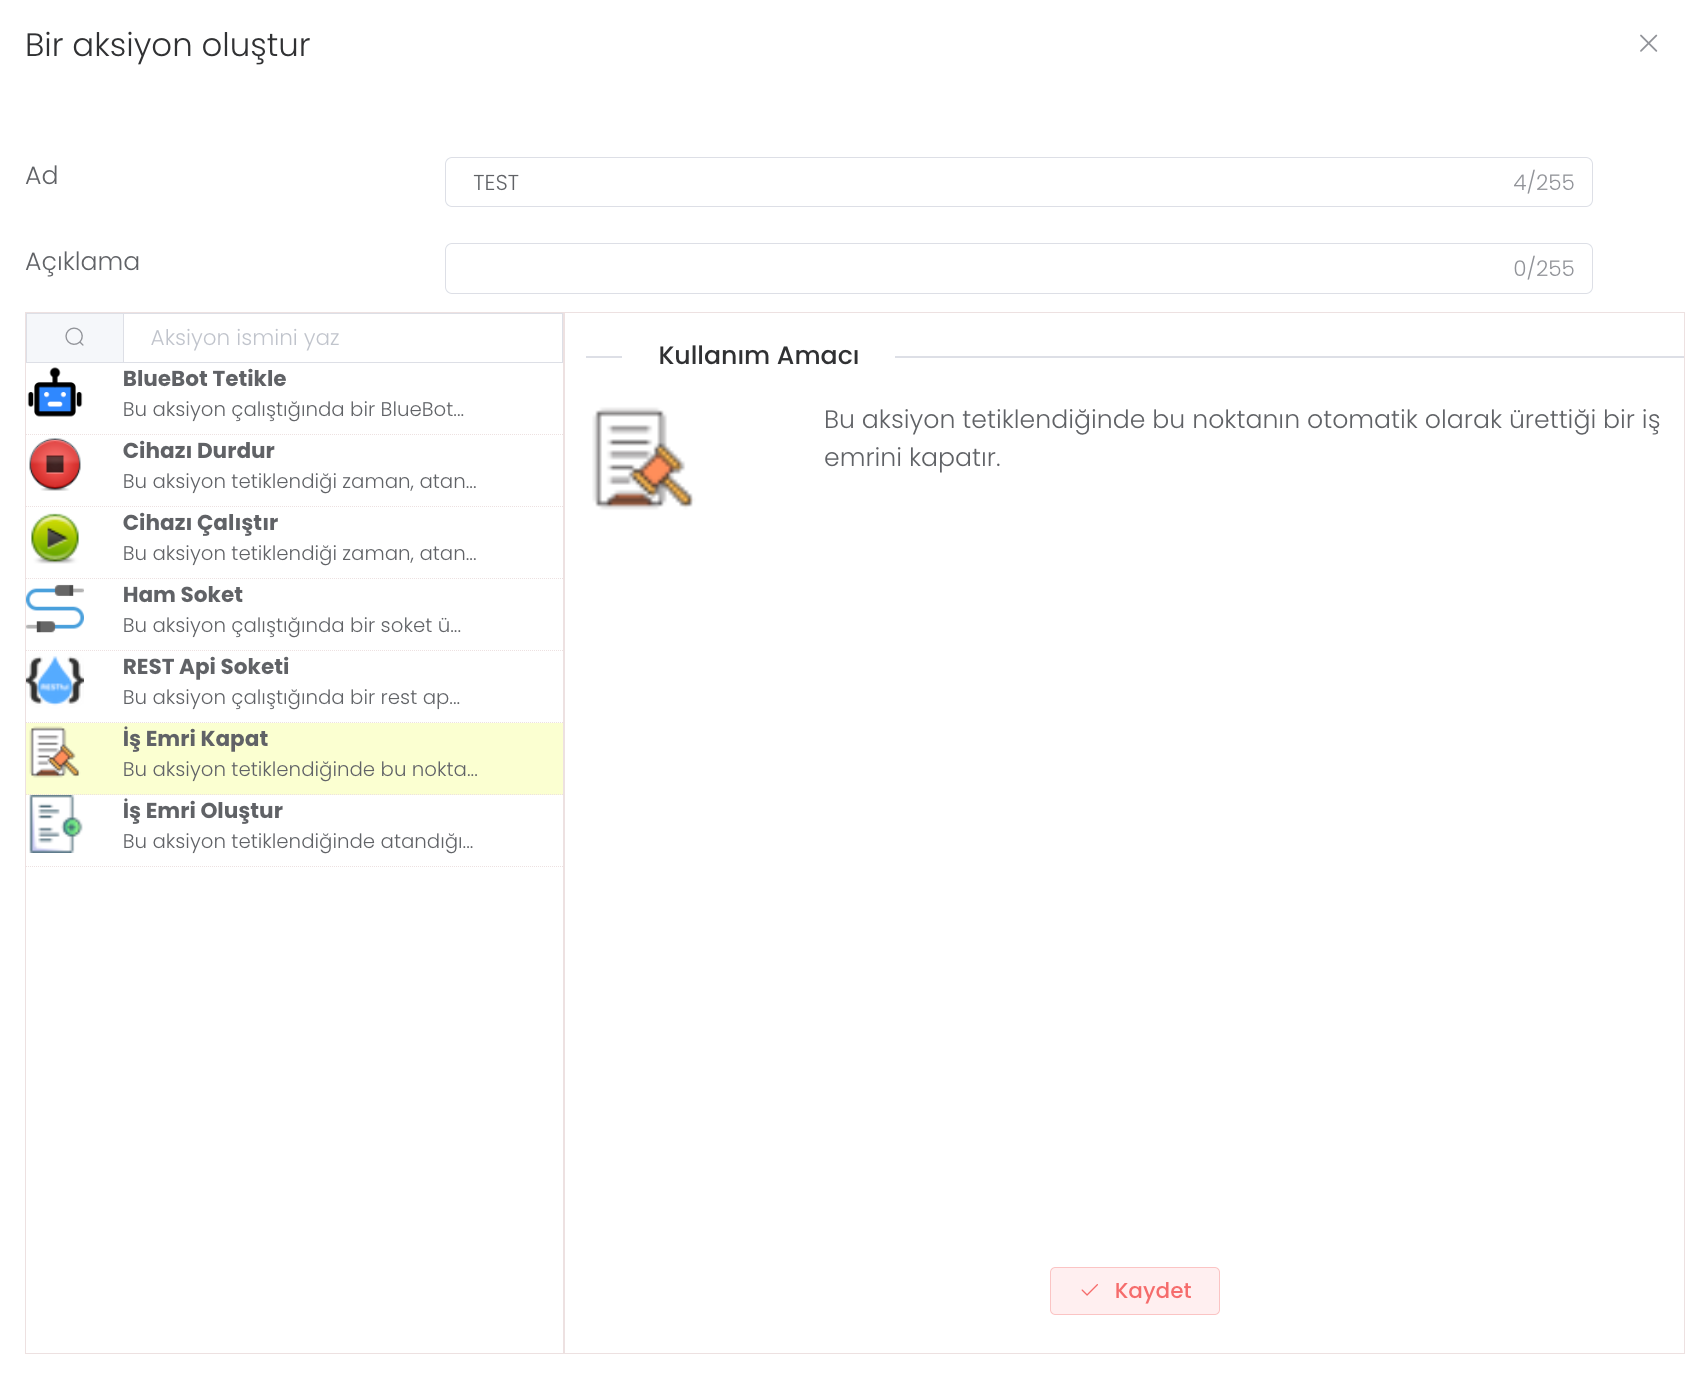
Close Work Order: When this action is triggered, it closes a work order that this point automatically generates.
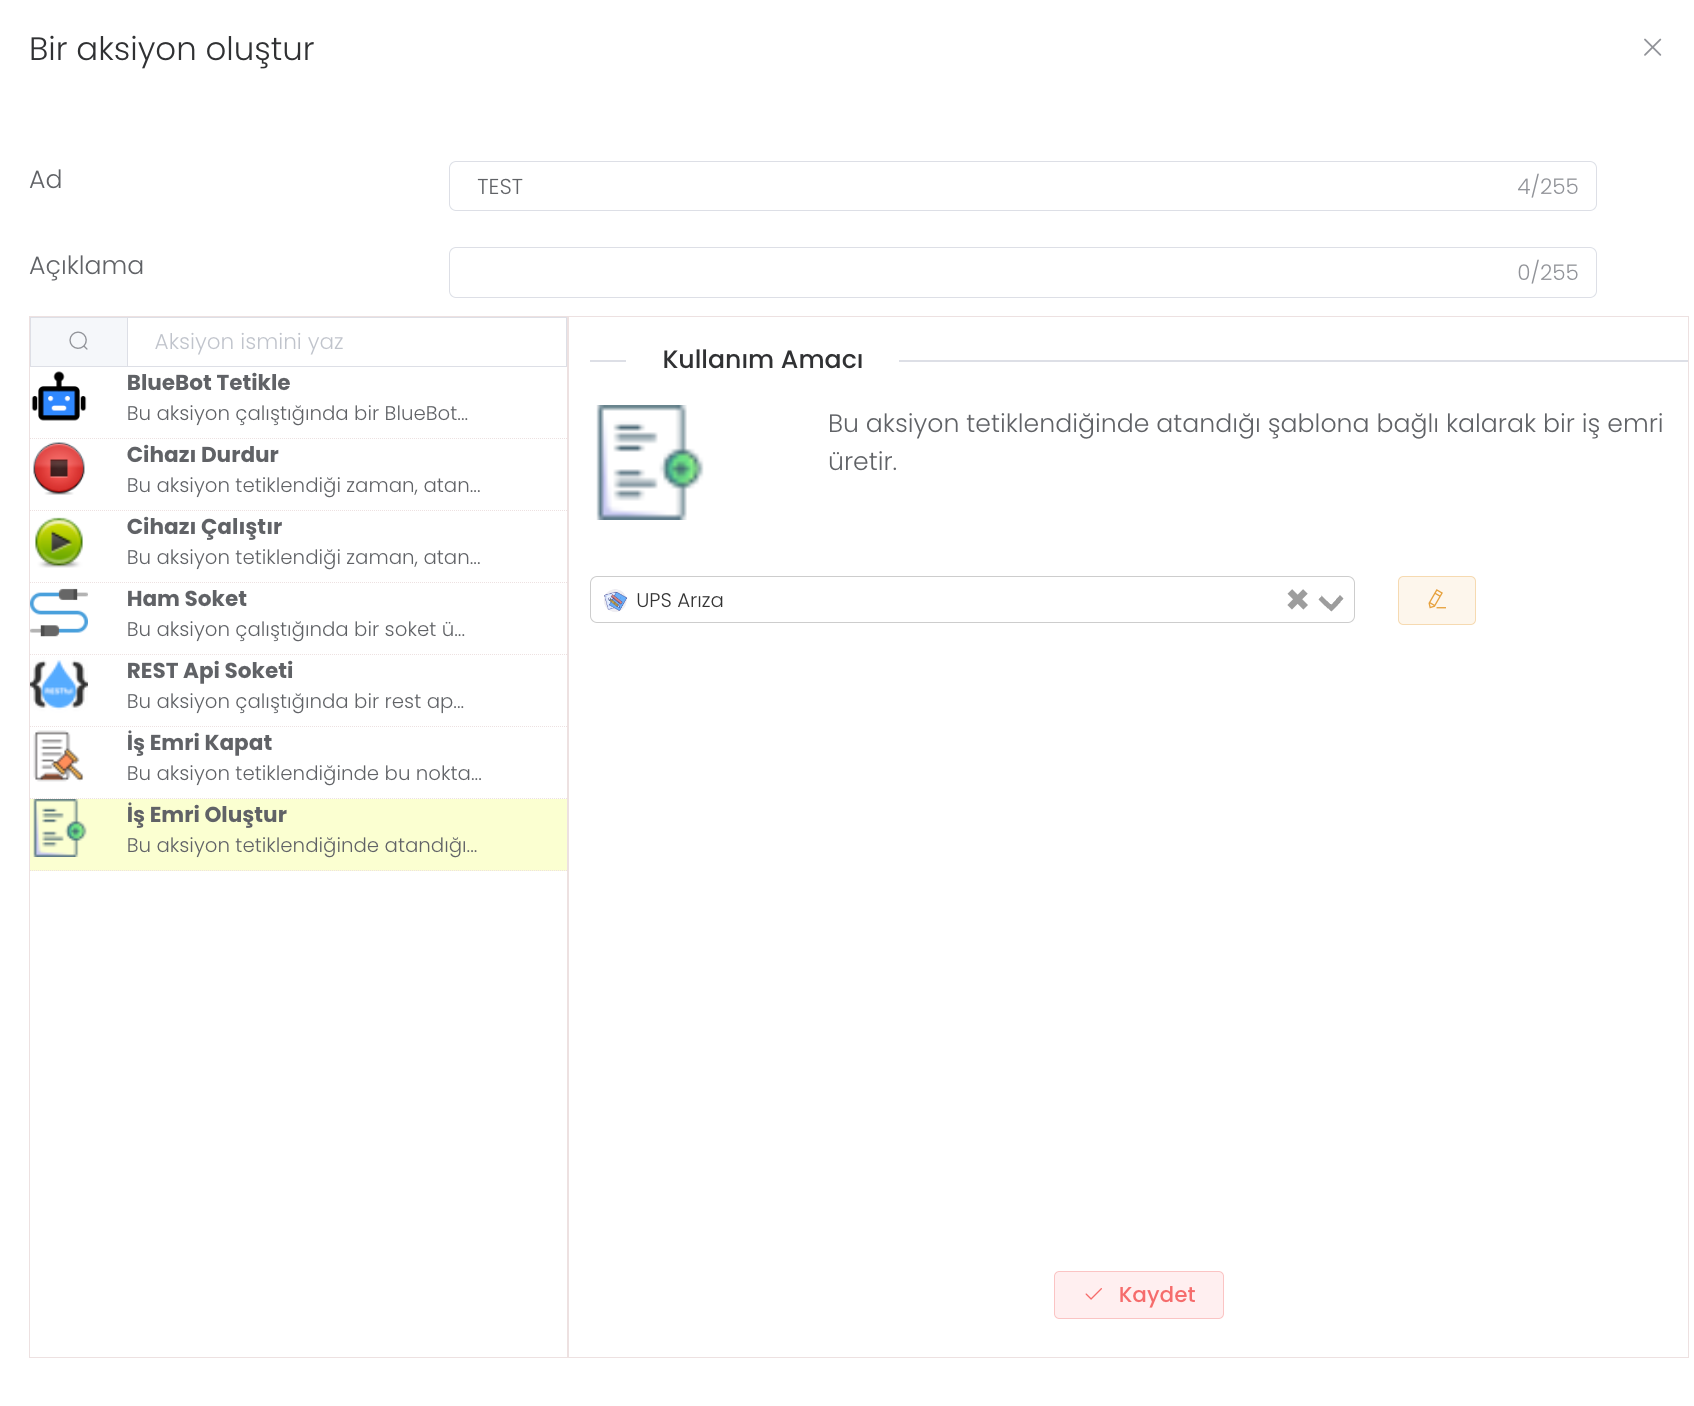
Create Work Order: When this action is triggered, it generates a work order based on the assigned template.
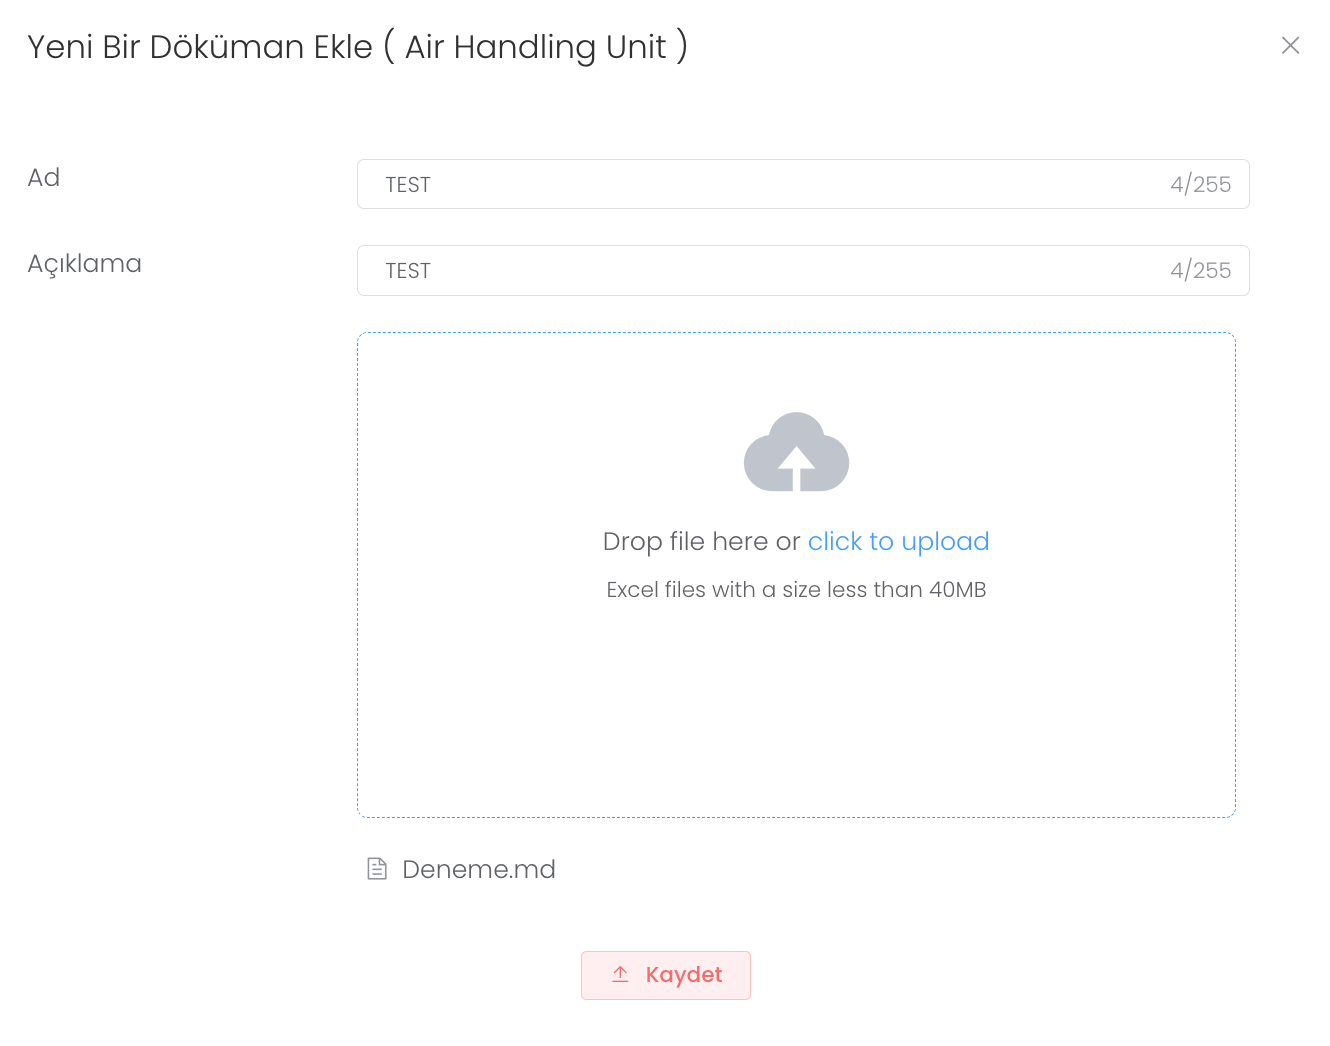
In the Documents section, it is the structure where you can view, manage the points of the device and download as a file when necessary. You can create a new document with the "Create" button.
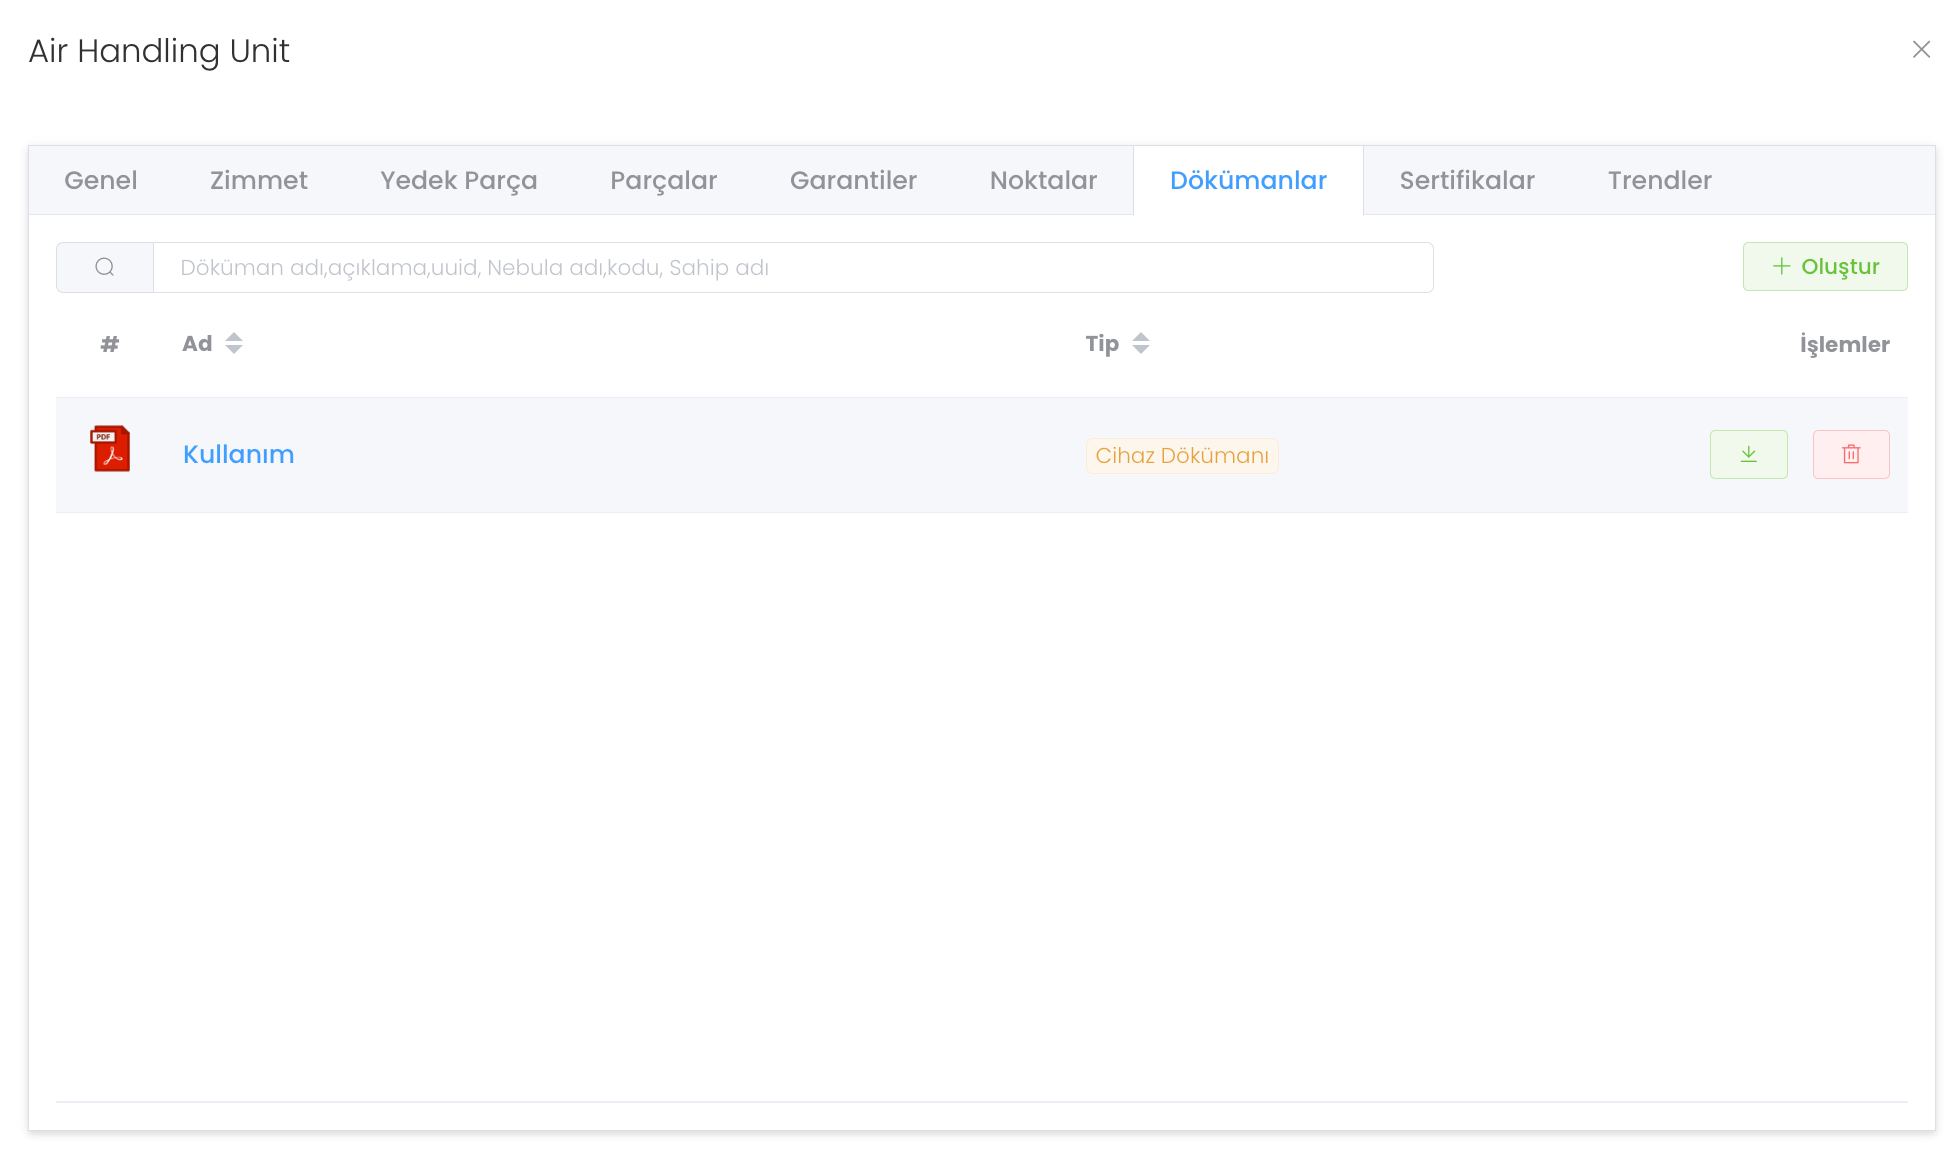
After pressing the "Create" button, you can upload the name description and required file and create a new device point.
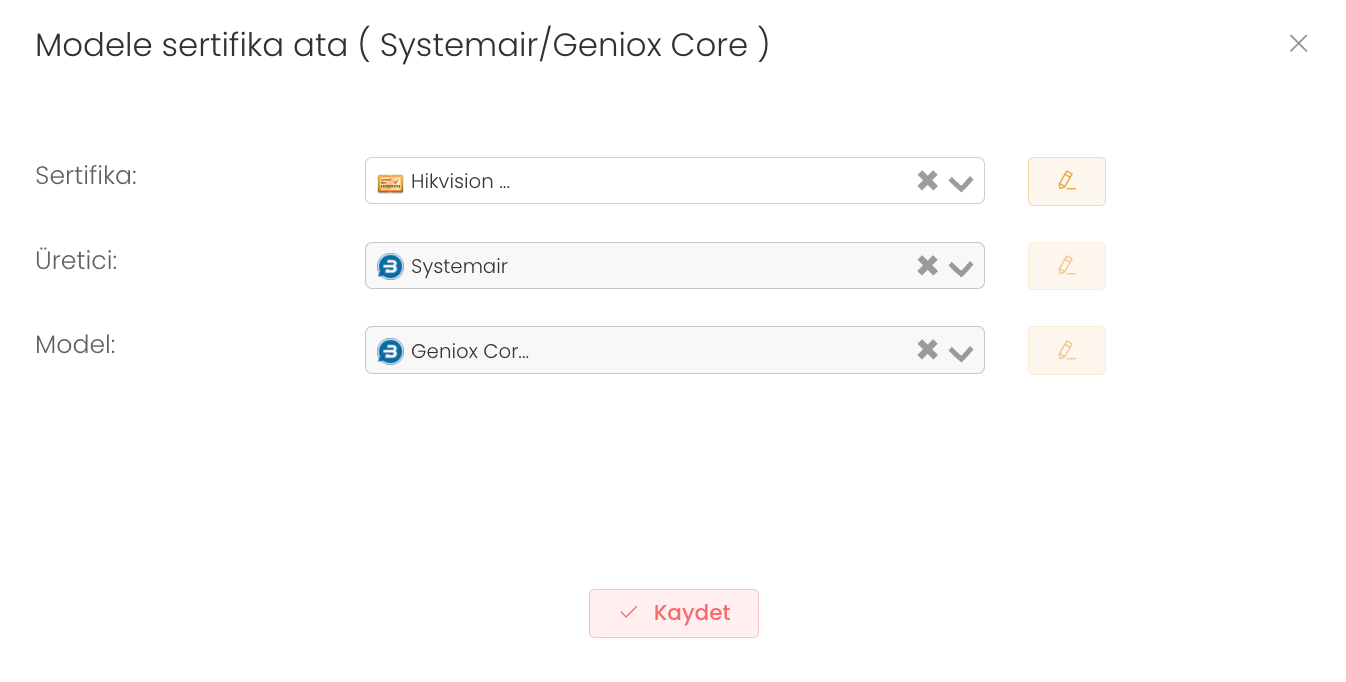
In the Certificates section, it is the structure where you can view, manage and delete the points of the device when necessary. You can create a new document with the "Assignment" button.
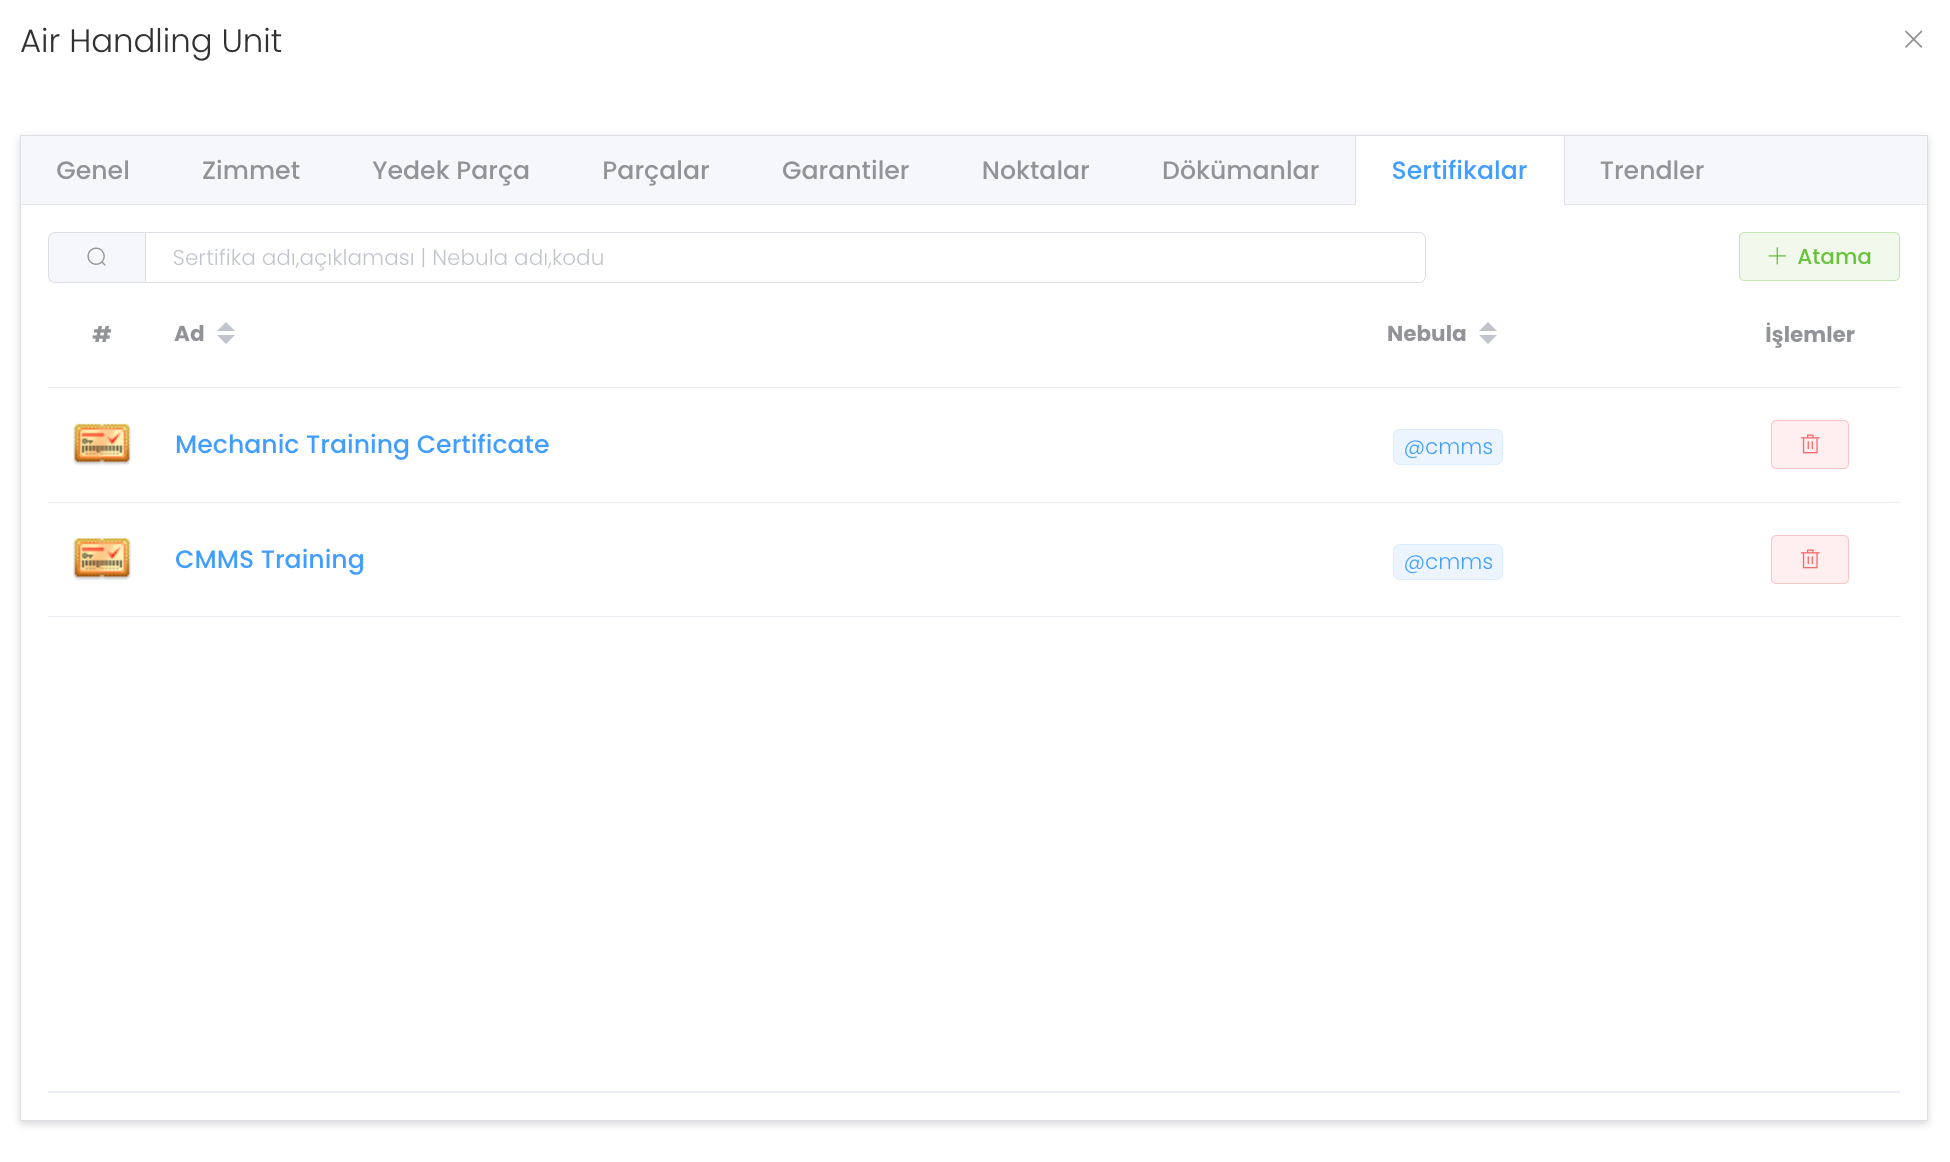
After pressing the "Assign" button, you can create a new device point by entering certificate and manufacturer and model information.
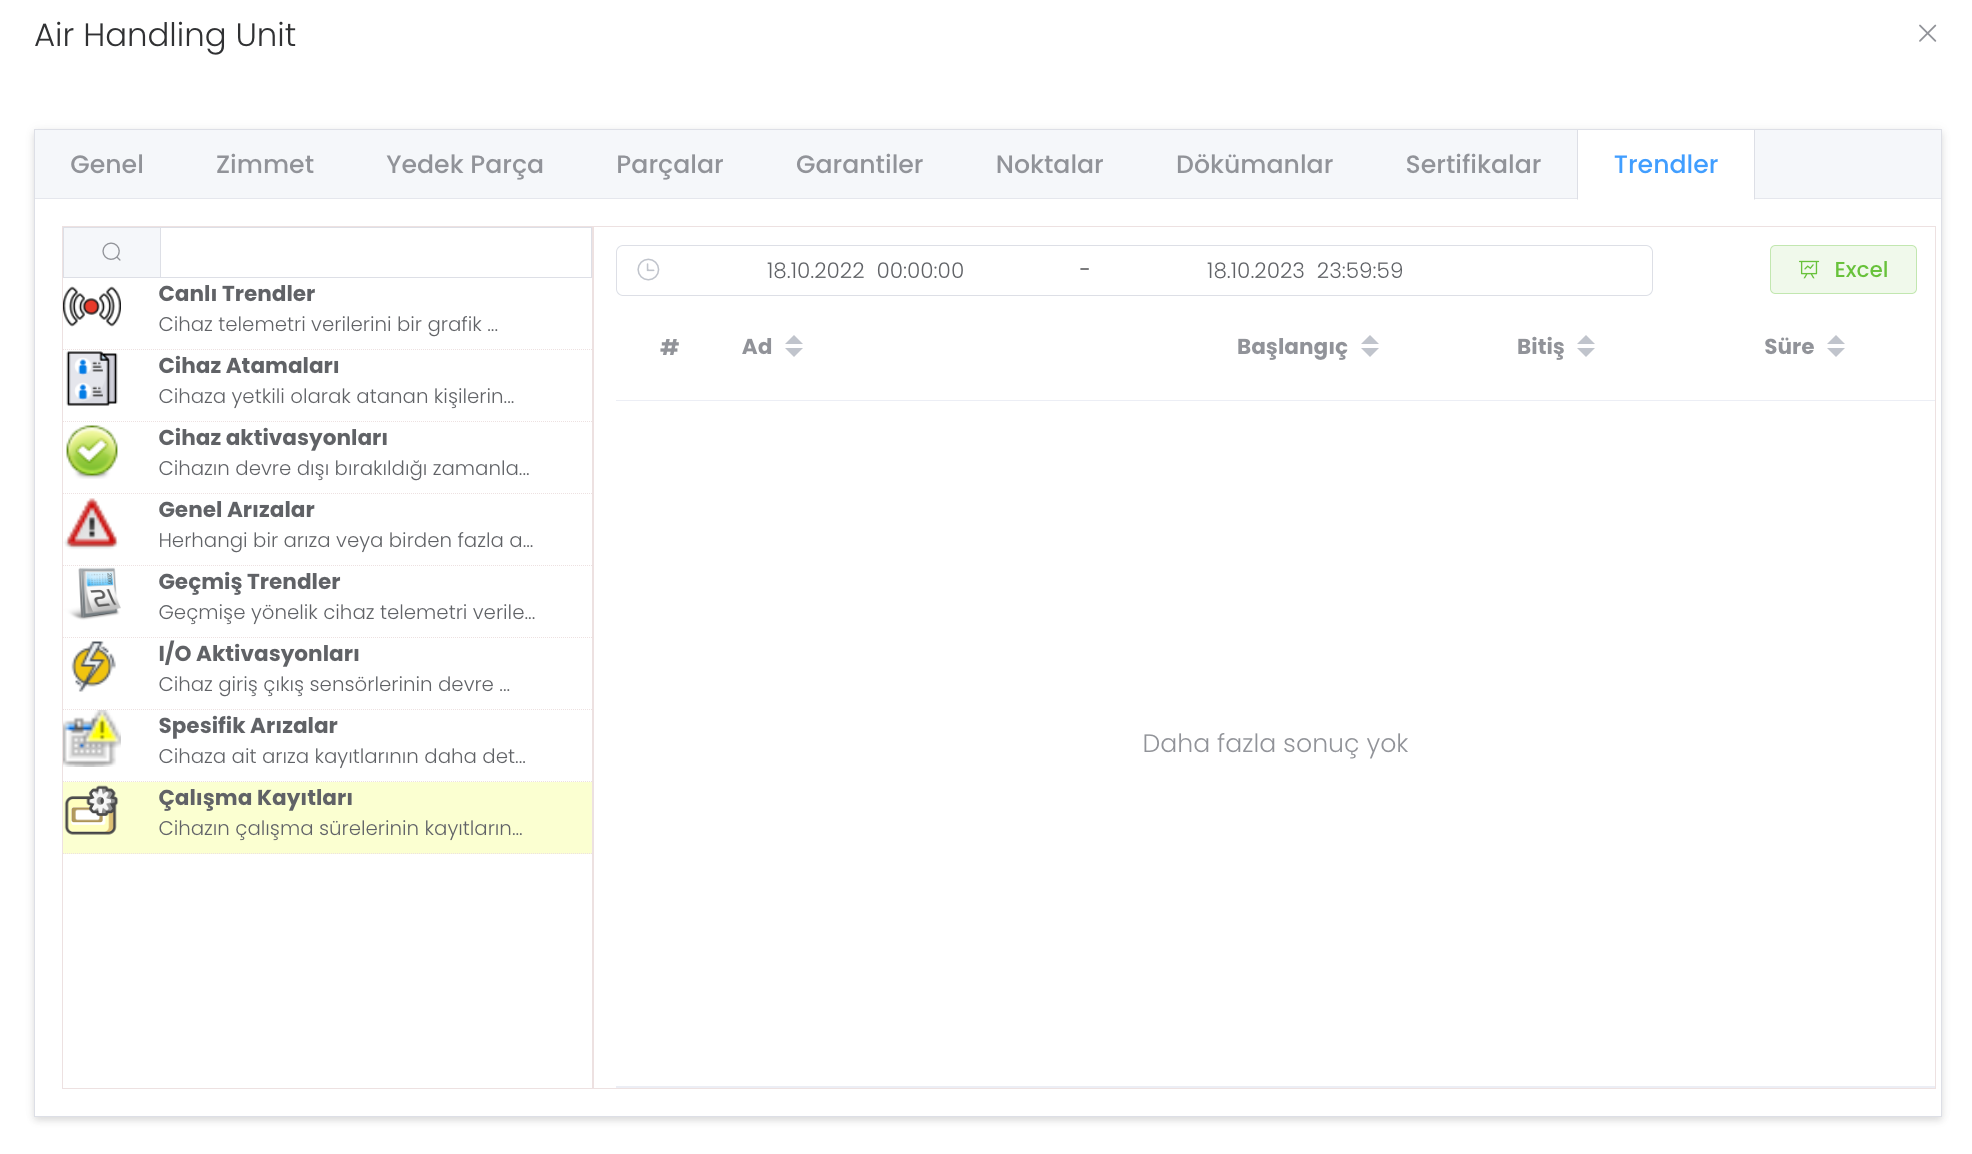
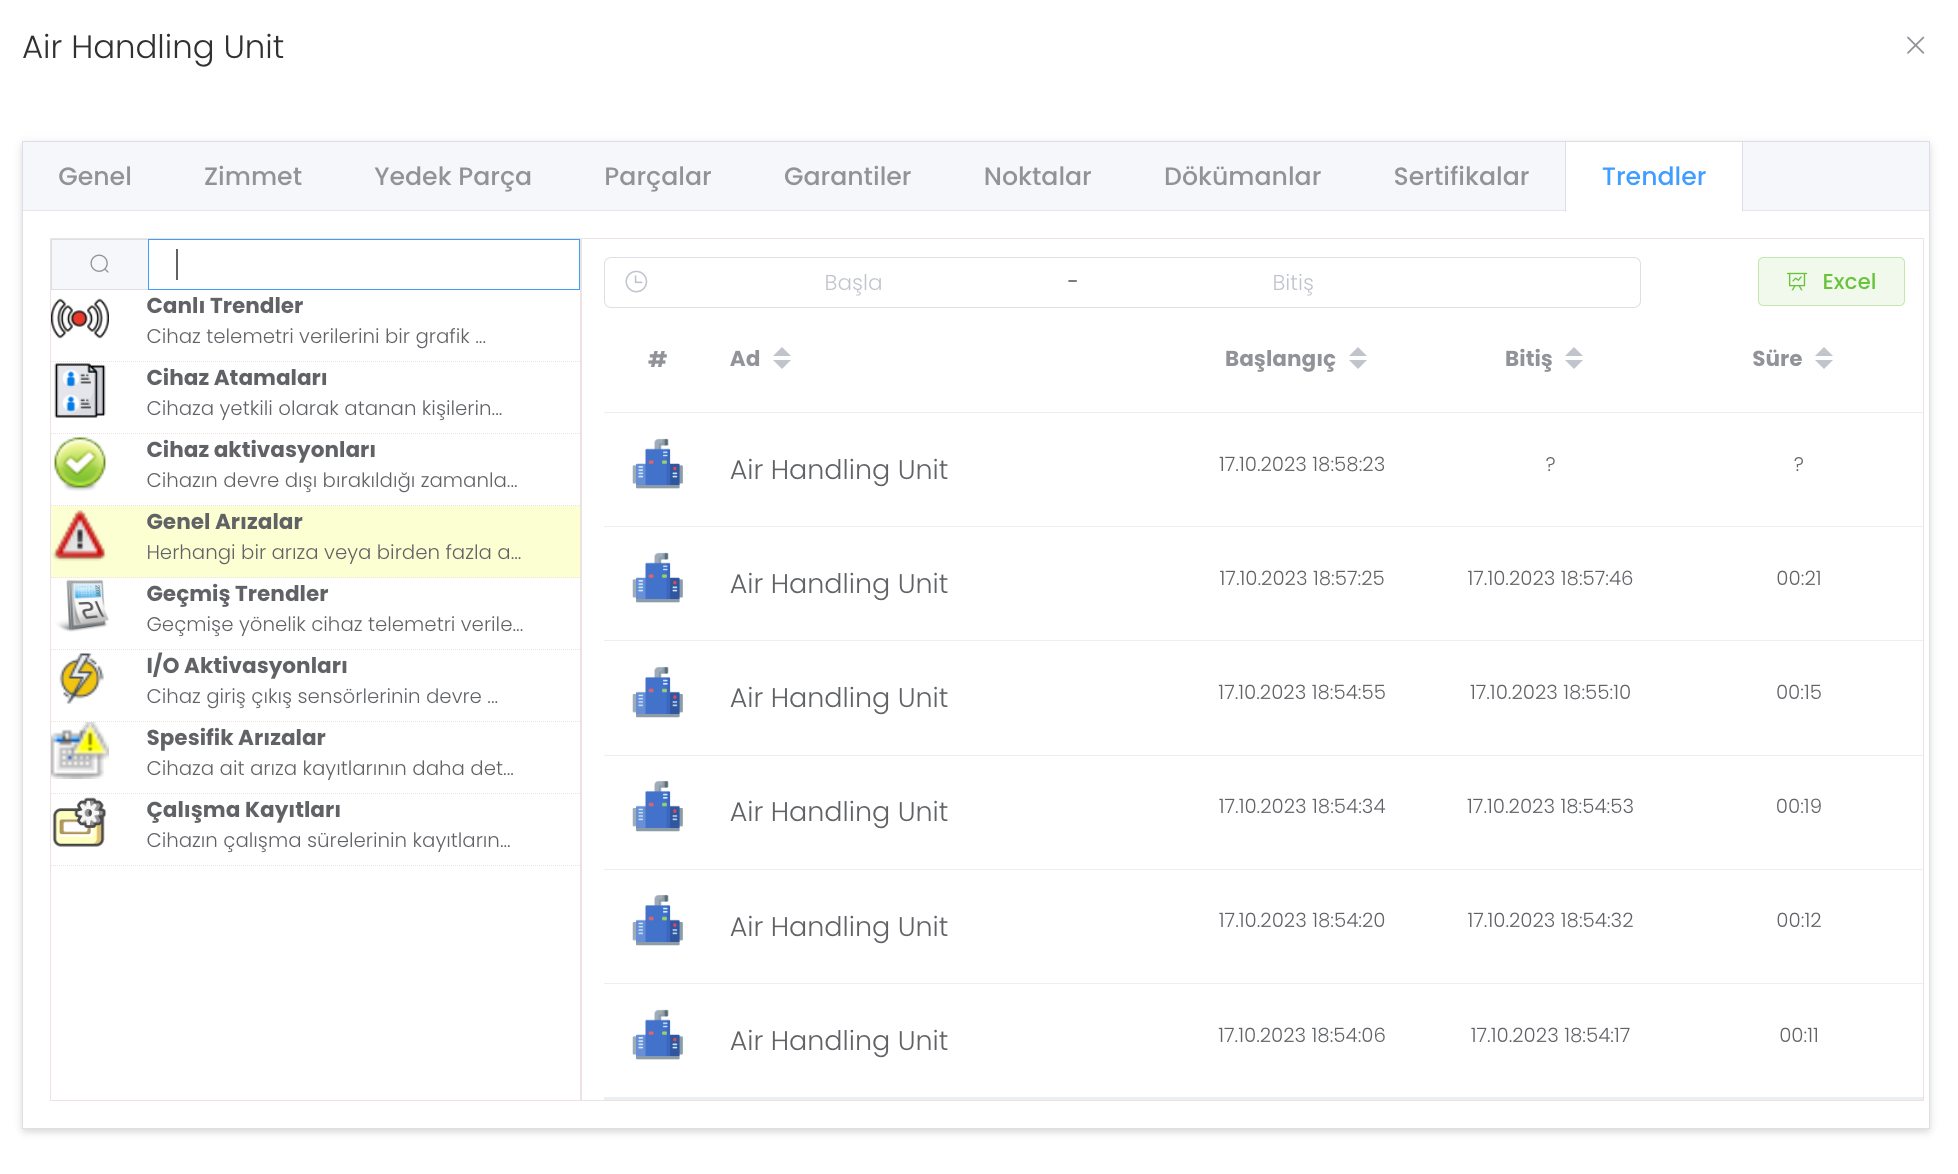
The Trends section is the structure that provides a very detailed report of the device as you wish. In this structure, events are recordedin acategorised` way.
You can download many of these reports in "Excel" format. We start to transfer all these trend features with our first trend.
Live Trends : The device allows you to monitor telemetry data live with the help of a graph.
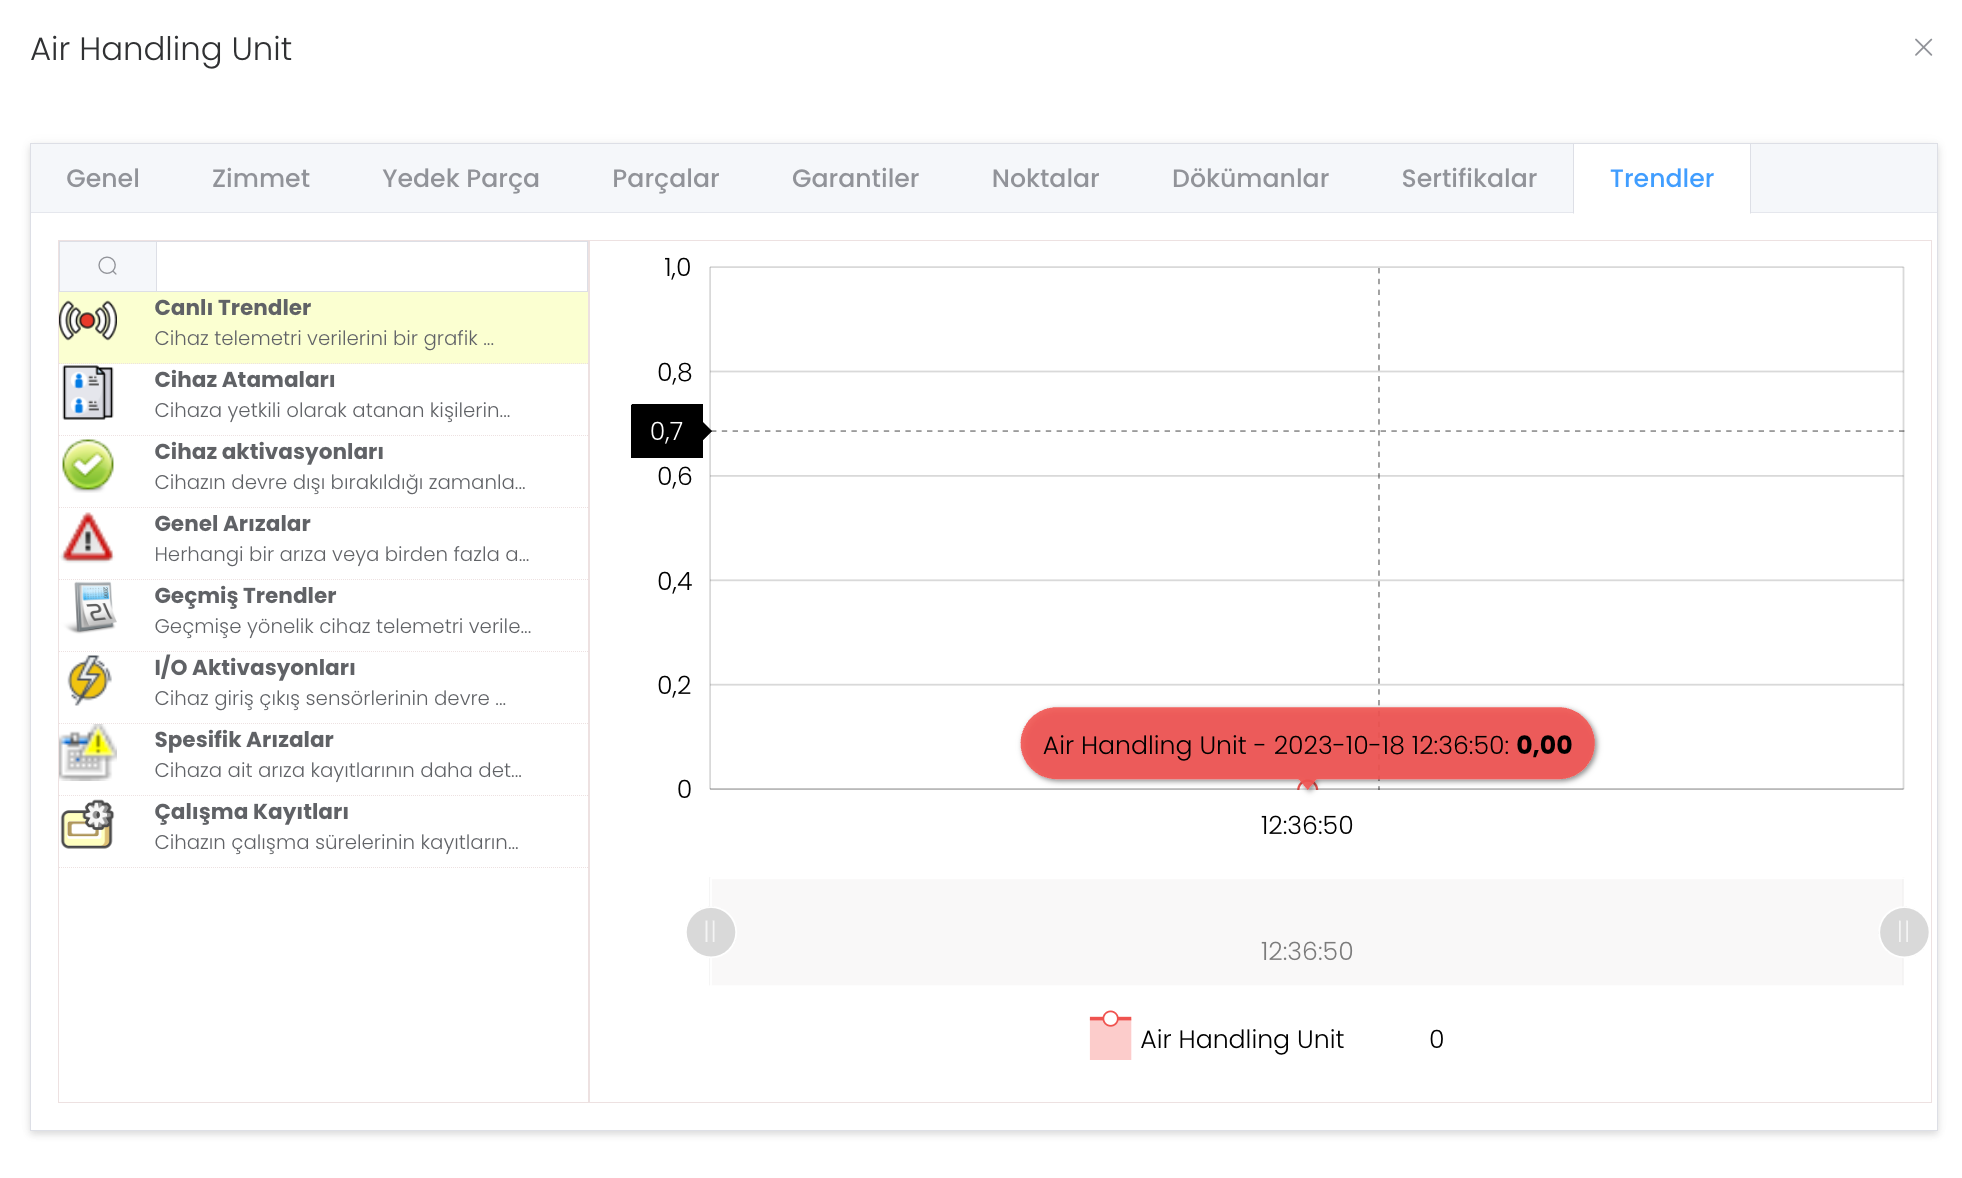
Device Assignments : Allows you to review the records of the people assigned as authorised to the device.

Device Activations : Allows you to track the times when the device is deactivated.

General Failure : Indicates the operating time of the device due to any malfunction or multiple malfunctions.
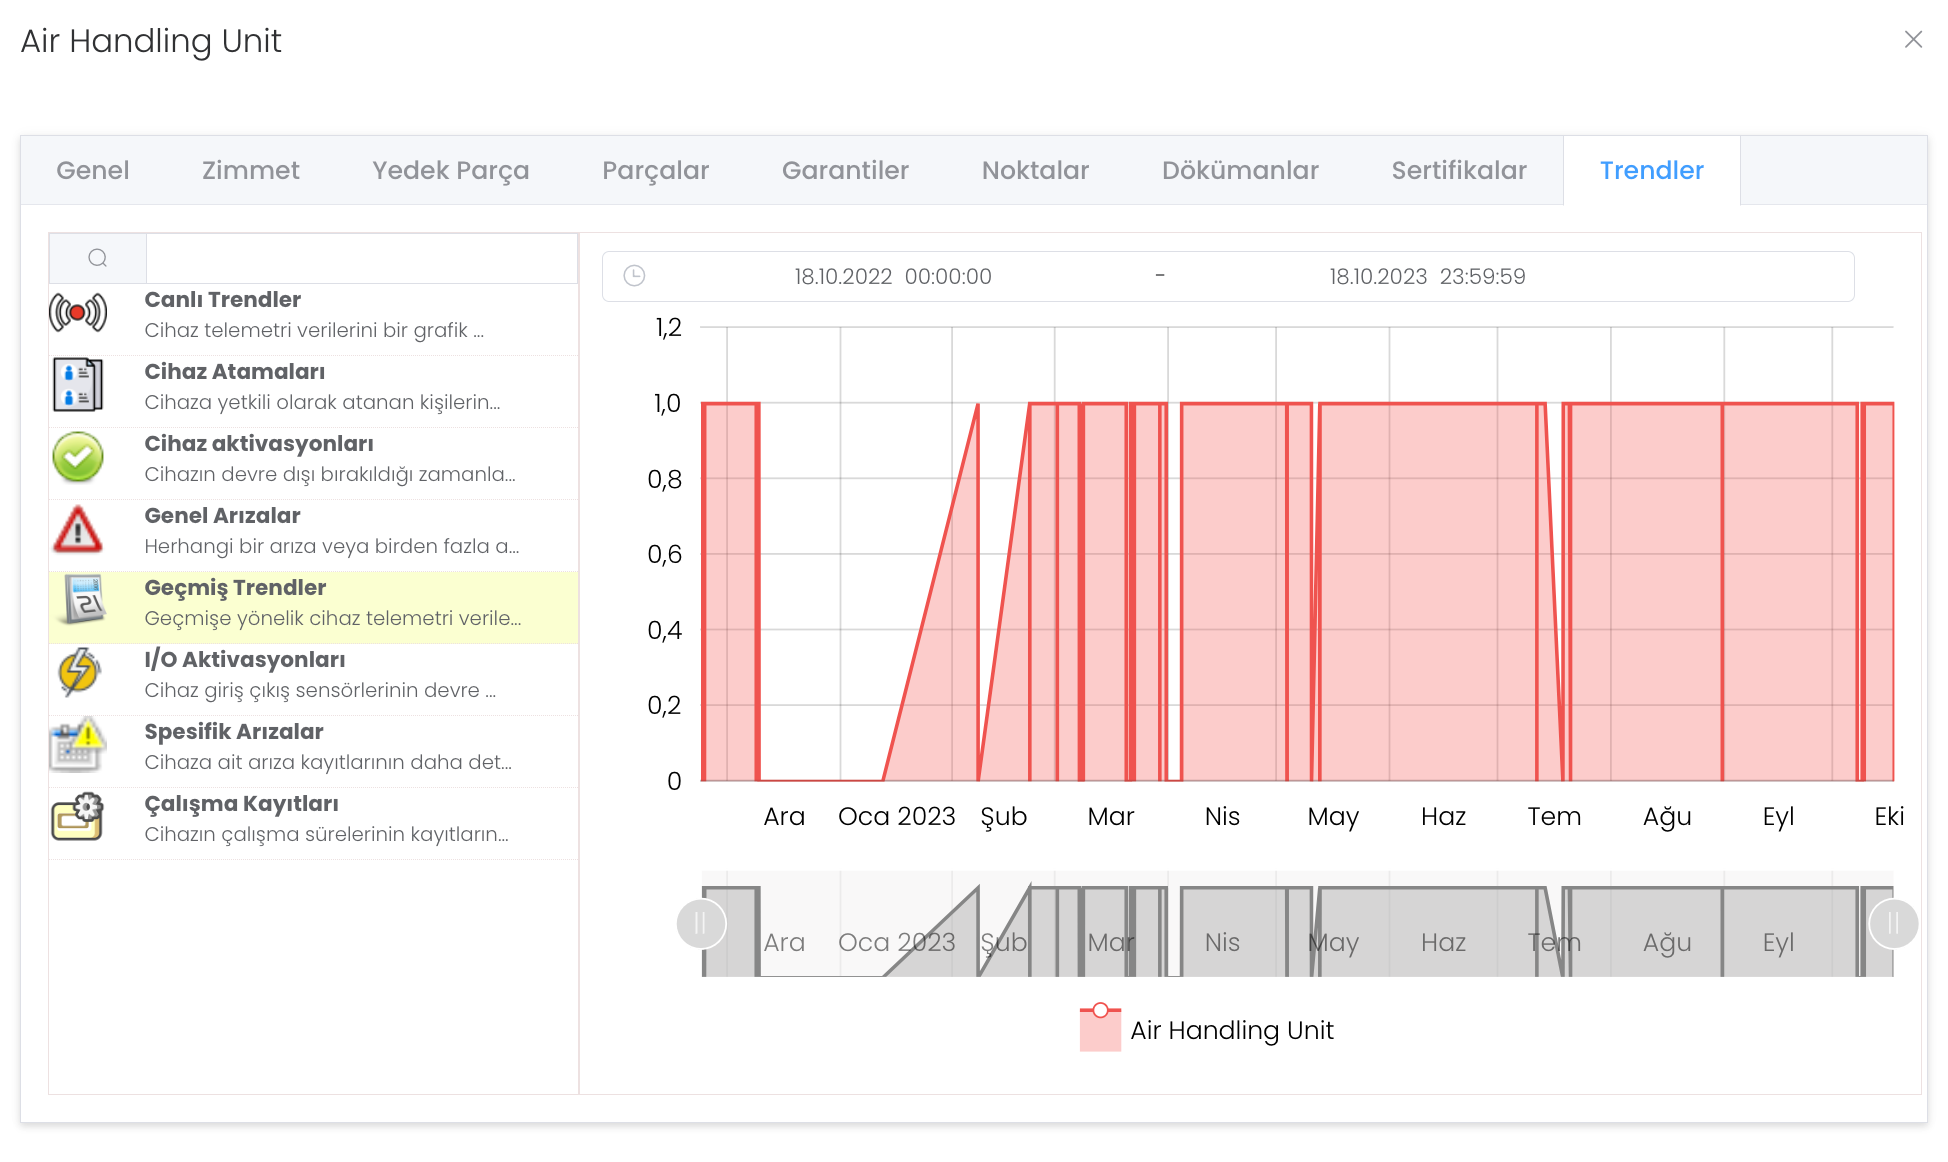
Historical Trends : Allows you to view historical device telemetry data.
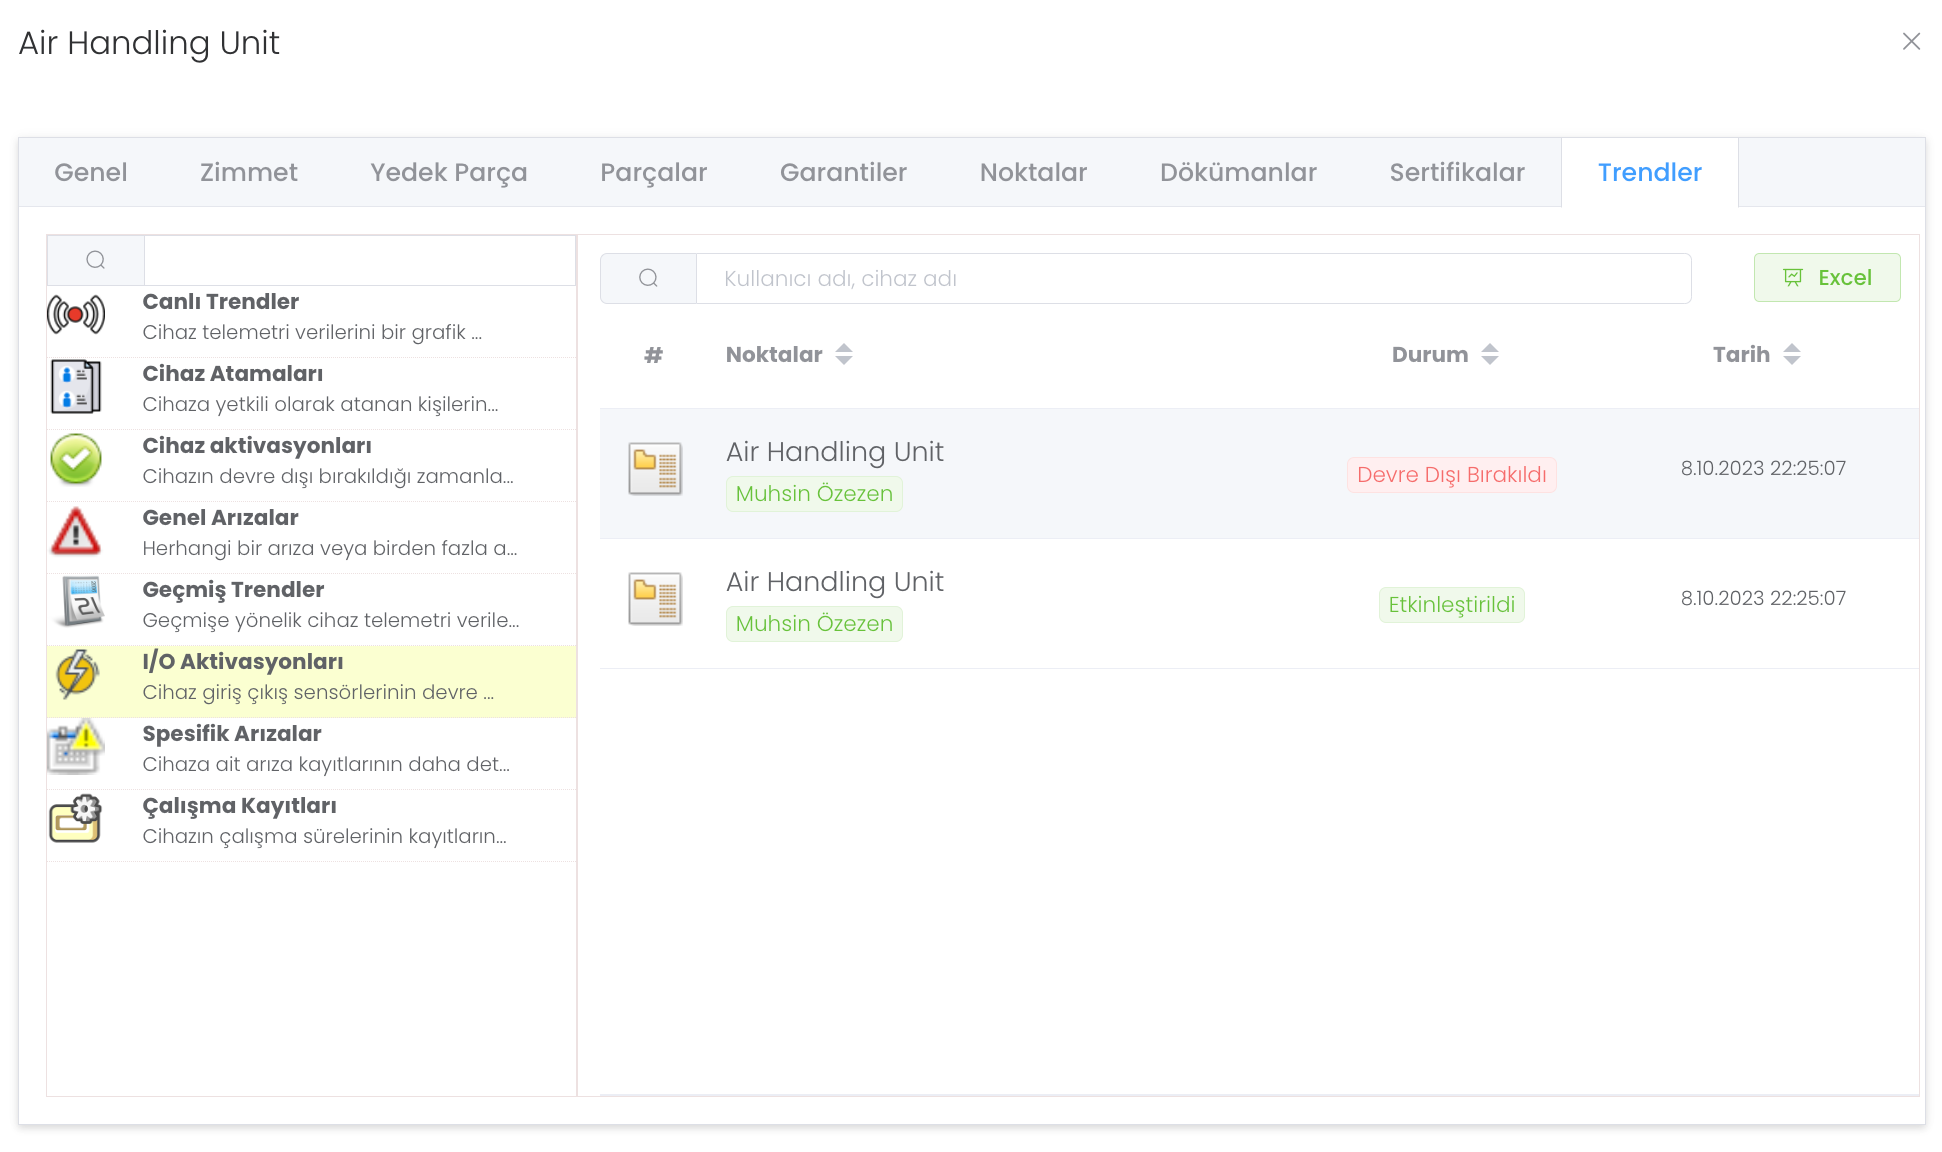
I/O Activations : Helps you find the times when the device input and output sensors are disabled.
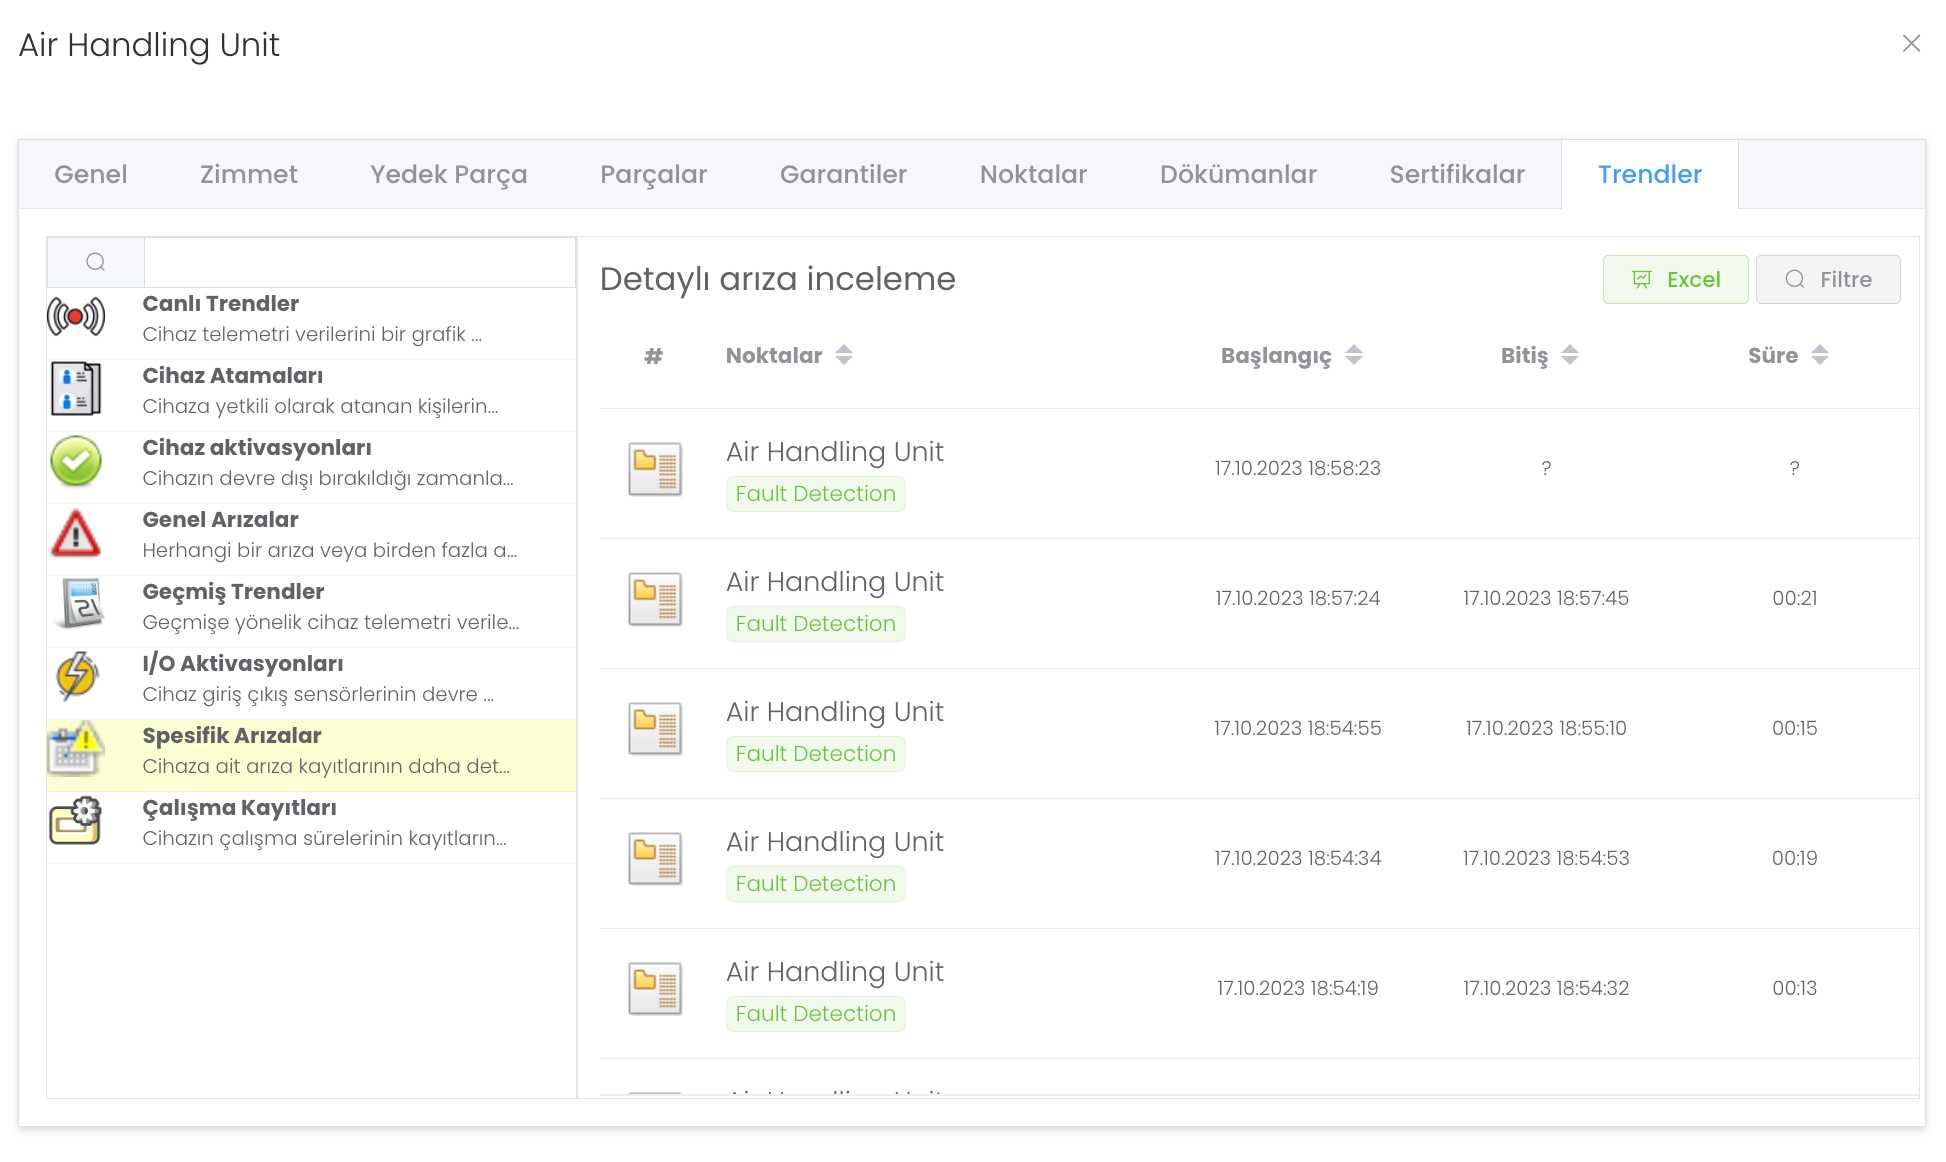
Specific Faults : It allows you to examine the fault records of the device in more detail. It allows you to search in more detail after specifying the points, date range and duration parameter.
Operation Records : You can examine the records of the device's operating times.